Title gotchya didn’t it? But no seriously, I might be a newbie in the woods but when it comes to home preparedness, I know my stuff. Come what may, I can survive at home when the grid goes down, which it can and has done during the winter. So I thought I’d share some serious practical advice and know-how when it comes to surviving in your home during a grid down situation during the winter. Been there done that and lived to tell the tale here.
Number one rule: be careful what you use inside your home…candles, oil lamps, any type of flame for light or heat can cause a fire if not carefully attended to, including propane and kerosene heaters. Trust me on that one. Better to skip those if you can, especially if you can’t be right there while using them. I bought a Detz oil lamp that you can heat up or cook on top of and it will throw some good heat too, but I would NEVER EVER leave it where my kids, dogs or I could potentially knock it over. I am ALWAYS right there. I do not use candles, though I have them if and when all other sources of light are used up.
Number two rule: be careful what you use inside your home…to heat your home, to cook food or even get a little bit of power in your house (generator). Do NOT use anything inside that is designed and intended for outdoor use. Most heat and cooking sources use some sort of combustible to generate the heat. If you have combustibles, then you have the potential for carbon monoxide and it is a silent and deadly killer. That’s why previously I advised to have a battery operated carbon monoxide alarm.
Those are the two simple rules of the road in any grid down situation (no power) no matter the season. Remember those and you will be okay.
Alright, now on to the good stuff, tips and tricks to staying warm during Snow/Icemagedeon outside of the typical preparedness/survival stuff:
Here’s the obvious one…have an alternative heat source to heat your home that does NOT depend upon electricity and obviously is SAFE to use indoors.
Story time…
When I first bought my little slice of country the house came with an unvented propane fireplace. Yep, seriously. I personally never used that thing but my ex would and did to get heat into the home during the coldest parts of the first winter. I would wake up and instantly know he had used it that nasty thing because I could smell it and my head would be pounding (carbon monoxide, I am extremely sensitive to it having had mild carbon monoxide poisoning growing up due to a faulty gas heater). Finally, I called the propane company to come get their tank of gas and cut the line…end of subject…it was pretty, but dangerous to have that thing. So round about the ex and I went about ‘spending’ the money on a wood burning stove. This argument went round about until one March morning we awoke to being able to see our breathe in the air. Power was out for only a few hours but needless to say, sometimes pain makes people see reason. I got my wood stove installed about 2 weeks later. And I use it A LOT during the cold times.
There are safe alternatives if you can’t afford a wood stove, pellet stove or something else similar, or you don’t live some place that can have one. Mr. Heater makes a very safe line of propane heaters that can be used indoors for those of you that can’t have anything else.
As a last resort if you go on over to Lehman’s you can find some really good oil lamps that will throw heat in a small space, but as previously warned, be warned this isn’t the best idea.
Best advice to getting heat into your home: Be SAFE and NEVER USE ANYTHING INTENDED FOR OUTDOOR USE.
Up next, minimize heat loss…and heat it up BEFORE it happens.
If you have a wood stove or fireplace use that, get it going well before you actually ‘need’ the heat. As for any heat pump or furnace, crank it up BEFORE the storm comes. You’d be surprised just how quickly the temperature can drop once the power is off and just how long it takes to get heat back into the hours.
One last comment on this…if you have a wood stove, pellet stove or coal stove or use a rocket stove or other type of cooking stove that requires ‘dry’ material…get it in place and out of the weather BEFORE the snow hits…nothing sucks worse than having to traipse outside when you are already cold to get the wood or find wood/pellets/coal. Not to mention that wet stuff is a lot harder to burn and get to burn that dry stuff.
Pick ONE room to ‘survive’ in where you will have the most heat.
If you have a fireplace, wood burning stove or a small propane heater, that is where you will stay.
Keep all exterior windows and doors closed and close the interior doors to the rooms you will not be using. In an extended case you may want to consider hanging blankets, or even emergency blankets over doors and windows to keep the heat in. Use duct tape or some other heavy duty tape to keep the blankets up…it works! Especially emergency Mylar blankets which you can get on the cheap in bulk on Amazon.
Also, don’t forget to block drafts such as that bottom of the door you never got around to putting weather stripping on.
Also consider your heat loss through your flooring. I have a one level home that has a crawl space underneath it and bamboo flooring…all neat and good when the power is on or during the summer, but when its cold those floors get COLD. If you have something along these lines consider insulating the floor where you will be staying put. Be mindful however of fire hazards. Blankets, rugs, pillows…kinda the same idea as when camping, get as much insulation between you and the ‘floor’ as possible to keep your body heat and heat ‘inside’.
Last resort or maybe just an idea to keep the kids distracted…set up a tent and go camping inside while the power is off. Small spaces can be warmed up with just body heat alone and if you use mylar emergency blankets over the outside of the tent you get even more ‘heat’ trapped inside the tent.
For those with a basement…in a prolonged power/heat outage consider your basement. It might not be the Hilton, but if the basement is underground it will be considerably warmer than upstairs, sometimes as much as a 20 degree difference.
Layer your clothes, can’t say too much about that. Without power and a good heat source inside the home, you are basically ‘outside’. Dress as if you were outside.
Sleeping, well, this is an interesting subject. For those that camp and don’t have a good heat source inside the home you know the rules…wet or even damp (even slightly) will suck the heat right out of you. The heat loss through the ‘head’ is a myth…it’s your feet. CHANGE YOUR CLOTHES BEFORE GOING TO SLEEP IF AT ALL POSSIBLE ESPECIALLY THE SOCKS!! If you are a camper then you have some idea of how to handle things, just inside your home. But if not…hopefully you have picked out your one room and have stayed put as much as possible. Create a communal sleeping area there. Share body heat. Sleeping bags are great. Next up pillows, cushions, blankets piled one on top of the other. You get the idea. If you do have a tent and I don’t care if its one of those outside pop up with sides that you can zip on, USE IT. The smaller the space the easier it is to get warm and stay warm. If you don’t have sleeping bags consider a cheaper, emergency alternative…emergency bivvys by SOL.
One last thing…get a stash of hand and feet warmers that hunters use. In the case of the heat going out due to power outage during a winter storm these things are cheap and easy to use to keep the extremities warm. And its sure nice to have toasty feet while you sleep!
Food comes to mind next…if you are lucky to have a wood stove with an area flat enough and big enough to cook on, good for you! (I do and do use it to cook on). But if you don’t or there isn’t an area large enough to get a pot on (such as those wood/pellet stoves that are put into a fireplace) then you have to start thinking about how you are going to eat.
It takes more calories and more water to survive when you are cold. So you need to think about this. Using camping equipment or other OUTSIDE methods of cooking INSIDE is a disaster waiting to happen. Hot food is great, but not at the risk of death. Consider keeping a stash of MRE’s (but keep in mind the colder it is the less warm/hot they will get) as a quick way to have meals. Keep bottled water on hand, this is especially important for those who have well water and becomes important for those on city water IF the power stays off for an extended time (water pipes can and do freeze). Keep canned goods that would be tolerable to eat, even if cold. Use up what is in the fridge. Cook out, yep, on the grill or your rocket stove or whatever you have…it will suck for the person tending the food outside, but hey, a hot meal is worth it.
You get the idea, beef jerky, dried foods…heck, protein bars! Just remember the 2 rules I started with.
Here are some great options and ideas for emergency cooking. Be sure to practice BEFORE you need it!
And here’s a tricky one:
When water is scarce, the “mellow yellow” rule should apply. Don’t flush the toilet unless you *really* need to.
If you have no water for flushing, use a 5 gallon bucket and paper or sawdust to absorb liquid and odor. You could also cover a bucket tightly or use a garbage bag. If you have a wood stove and don’t mind getting a little primitive, you can do what my older sisters used to do. Rather than running out to the outhouse in winter (the farmhouse I was raised in had no running water when my parents started their family), my oldest siblings would poop on several sheets of newspaper and burn it in the wood stove. As I said, primitive, but it worked. I was very glad we had indoor plumbing by the time I was born, as I have used the outhouse when there was a minus 40 below zero wind chill one Christmas and the septic system froze. It was not pleasant.
Don’t bathe unless absolutely necessary. Getting wet is a quick way to get really cold. Keep some baby wipes on hand for waterless cleaning.
If you still have running water, protect faucets that are at risk of freezing by turning on a pencil size stream of water.
(taken from commonsensehome.com…couldn’t have said it better)
But one thing to keep in mind for females…urinary tract infections can happen fast…so keep mindful ladies of keeping clean ‘down there’. Also, when its really cold and you have to go I have found that using a Shewee or PMate is an excellent way to decrease skin exposure to the cold and still ‘go’.
Fill bathtubs before hand with warm water. You can use this water just like in any other emergency.
Have hand crank options for lights and emergency radio.
DON’T use your generator in the snow/ice. Um…think electrocution hazard.
Personally I have a portable charging station that I can recharge the batteries for via the car. It’s a smaller generator that made by Boise that is mainly used on construction sites but no gas is needed, uses batteries just like the ones for your cordless drills and such… it will recharge cell phones, run a light, laptop, etc.
Finally, if keeping warm and eating won’t keep you busy, you’ll need ways of staying entertained…especially children. Just one idea here for you…they do make a DVD player, radio/karaoke player that uses D batteries you can find it on Amazon…it is a life/mind saver, trust me…worth the investment.
These are my tips for you just in case grid down happens during snow/icemegedeon…feel free to comment and ad your own tips and tricks!

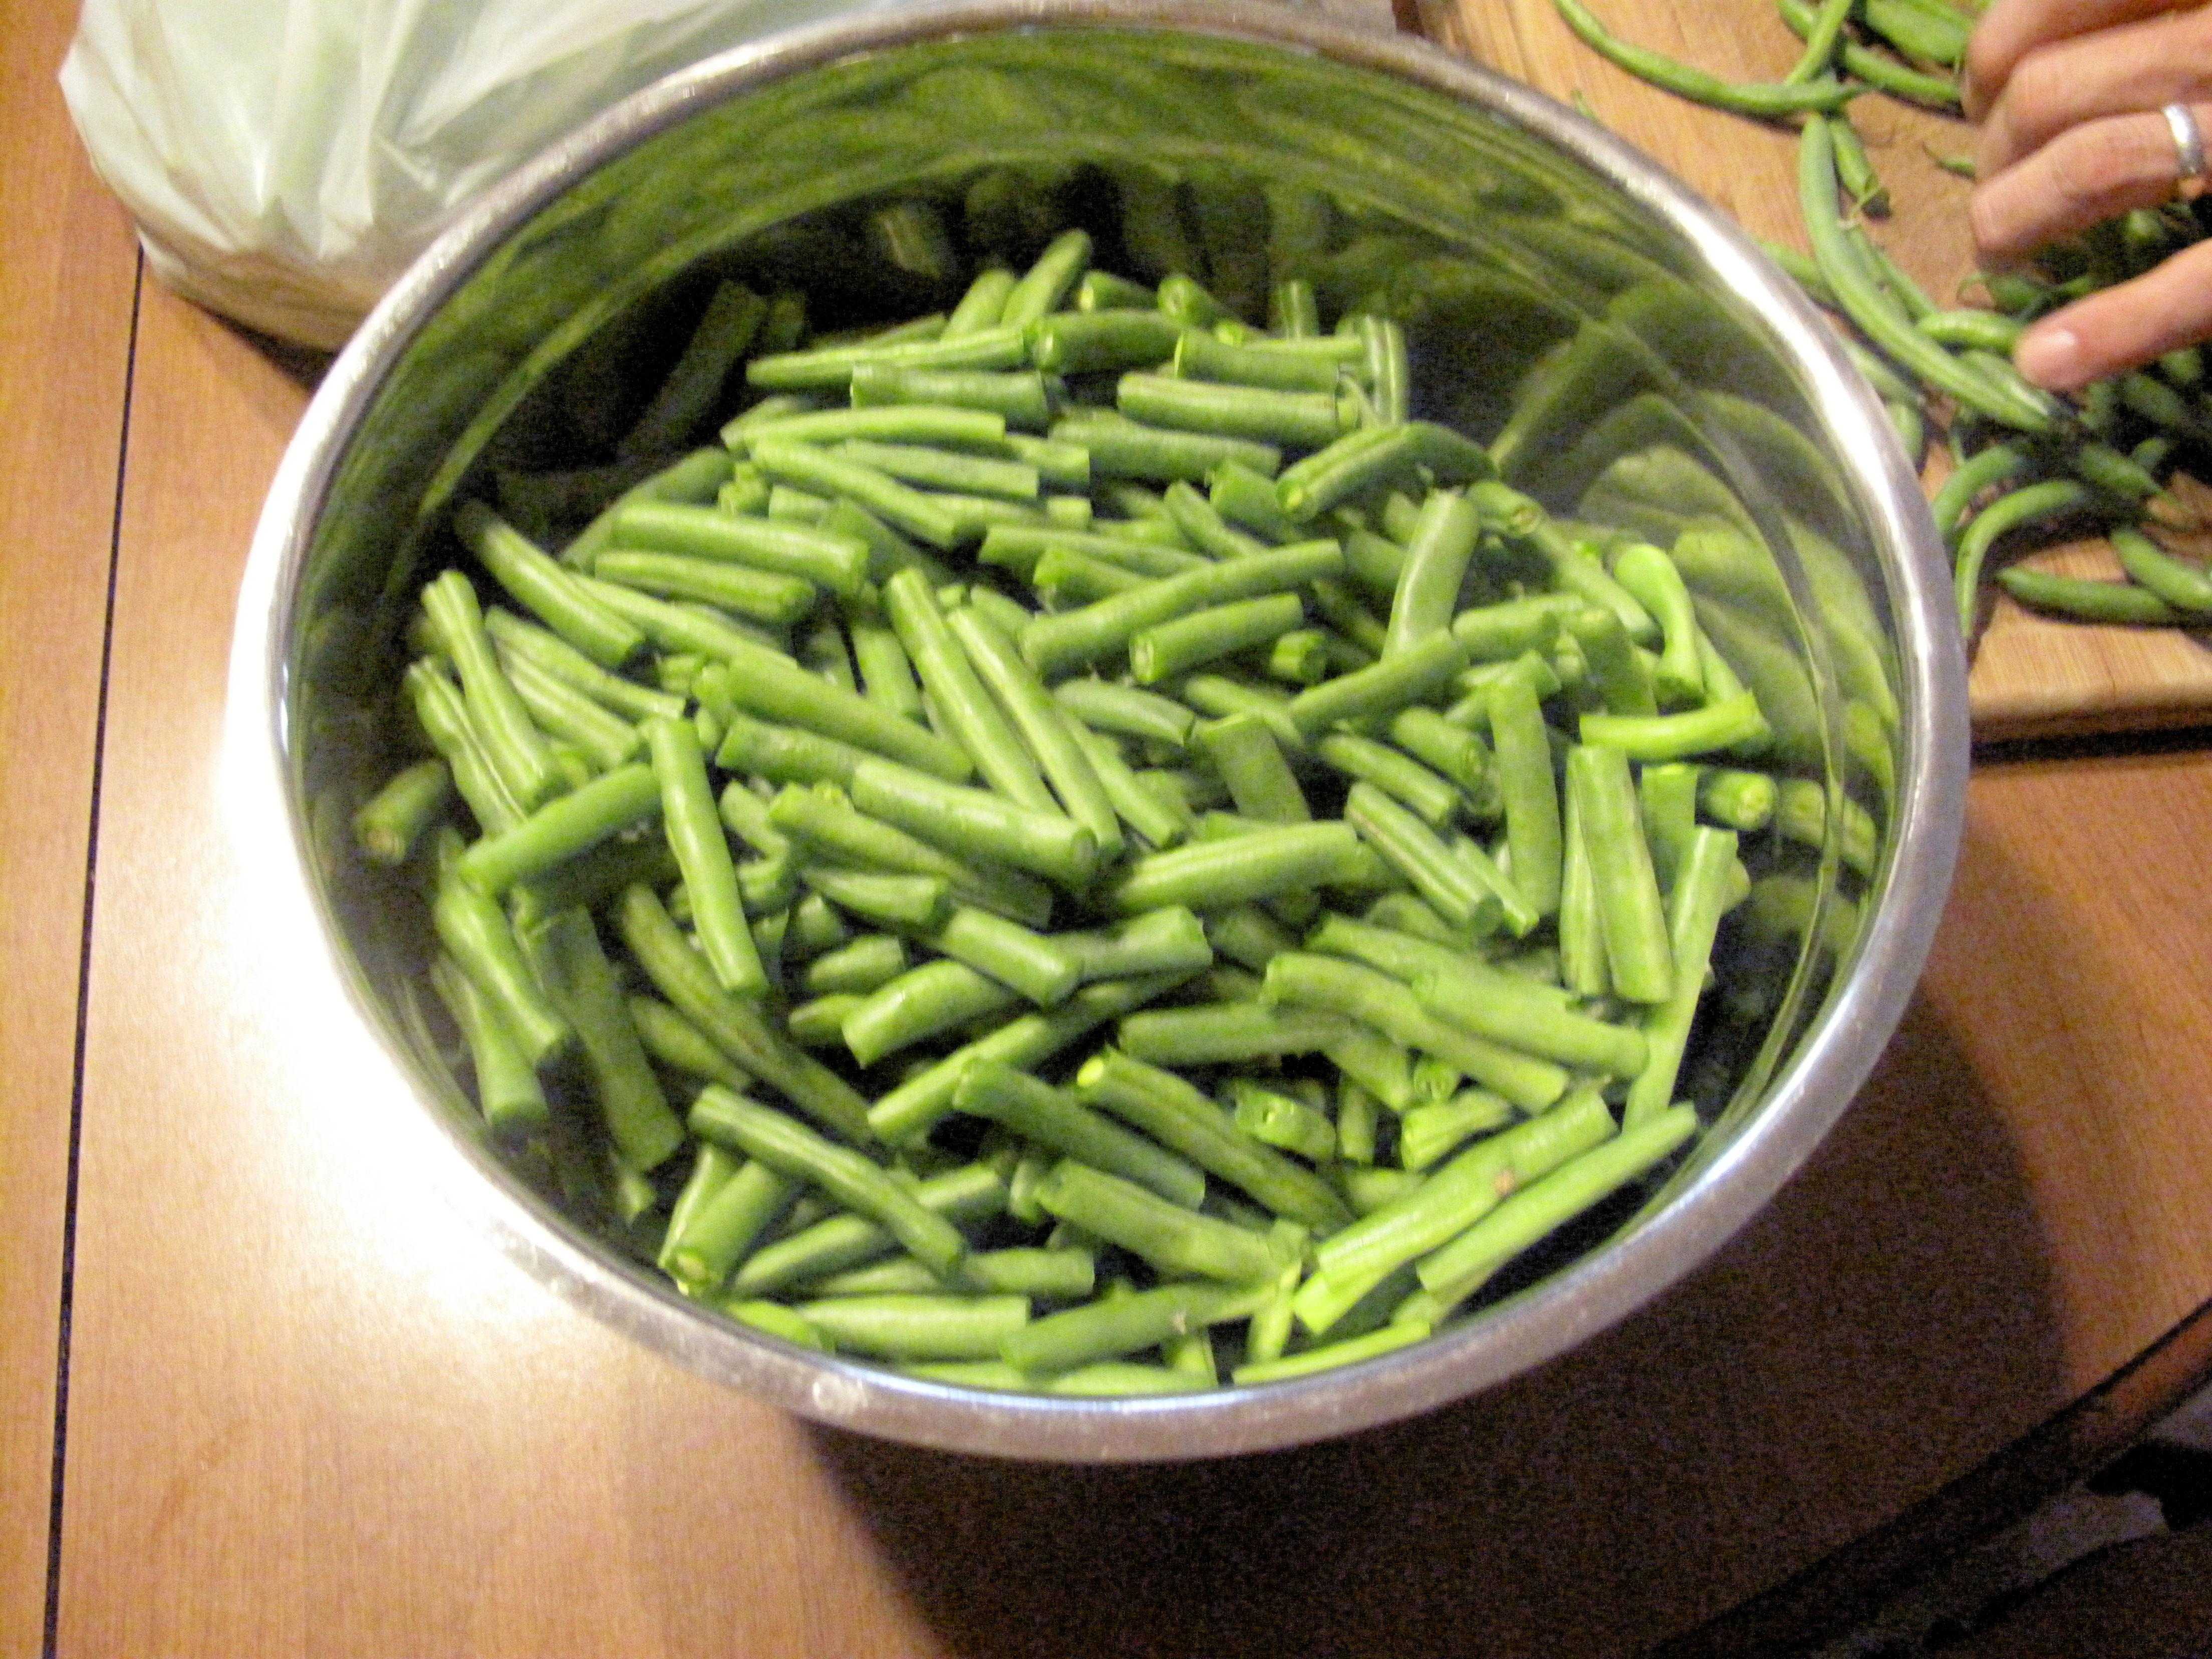
 Green beans…these are so easy to grow and are often prolific producers. So how can you preserve them? Canning and freezing are our favorite ways.