Tag Archive: chicken


20150103_19

I like to play around with my canning. I often find great deals on meat at the grocery store and given how expensive meat has become I will pick up every reduced priced piece of meat they have. But what I have run into is a complete lack of canning recipes for ‘meals’. Yes, there are soups out there and your traditional ‘how to can meat’ but a meal? Not much so I have turned to traditional meals and other types of recipes from old cook books and have found that I can can most of it so that all I have to do is add rice or pasta or something else for a fast and delicious meal.

We like Chinese food, especially sweet and sour chicken but it can be time consuming to make it for dinner and I thought: ‘why not pressure can it?’ so we can heat and eat. It is super easy to do and tastes delicious over rice.
The following recipe is enough for 7 quarts which is about 2-3 people over rice.

Get all your supplies ready. 7 quart jars, lids, pressure canner, etc. PLEASE! Remember that the new Ball Canning Lids do NOT get boiled any more. Simply wash and get them ‘warm’. I like to put them in a pan and turn my stove on the ‘melt’ setting. If you boil the new lids you might just find out down the road that they won’t stay sealed.

What you will need for the recipe:
5 lbs of raw chicken thigh meat (or breast if that is what you have)
2 lbs of shredded carrots
1 large can of crushed pineapple
3 small cans of water chestnuts
2 medium onions
2 Cans of corn
Sweet and Sour Sauce (make your own or if you want you can buy a jar of it)

Remember, a recipe is but a suggestion! Add or subtract to your taste.

First, cut up your raw chicken into bite sized chunks. Place into large container (I tend to use my water bath canner for mixing up large batches of food).
Chop up to your taste the onions and add to the chicken.
Add your shredded carrots

Next, get your sweet and sour broth going. I use a 4 quart sauce pan and typically will put 3 quarts of water into it and then add whatever flavoring I will use. I got lucky and found a bunch of pre-made sauces and marinades for 99 cents each. A few were sweet and sour marinades. So I added 2 12 ounce bottles to the 3 quarts of water and stirred well and brought to a boil and then turned down to a simmer while I finished up the food part.

Drain your crushed pineapple into the simmering sweet and sour water.
Drain your water chestnuts into the simmering sweet and sour water.
Drain your corn into the simmering sweet and sour water.

Next, dump your crushed pineapple and water chestnuts in with the carrots, chicken and onions. Mix well.

Now you are ready to can.

Evenly distribute your chicken mix into the 7 jars.
Pour your sweet and sour broth to about ½ inch head space.
Stir using a knife to get out air pockets and bubbles. Add more broth if necessary.
Clean the lip of jar with vinegar.
Place lids and rings on.
Put jars into canner as usual and you know what to do next.

Processing time is 70 minutes at 10 lbs pressure. And YES that is more than adequate to get the chicken thoroughly cooked!
Allow to cool as usual.

To use:
Simply open jar and heat up while you are cooking your rice! Put over rice and enjoy!

Have fun canning!
Survivingshtfmom

PS I will add a picture of the product shortly!

20141102_1220141102_13
Jerky…a staple of those who hunt, camp, hike or just enjoy being able to eat a high protein snack without cooking. I have been making jerky for about 20 some odd years now and want to share a few ‘secrets’ to making it. You can make jerky out of ANY type of meat, including fish, deer, beef and chicken.

I personally got started making jerky when I was blessed with A LOT of venison/deer meat and had no idea how to cook it. After several not so good attempts at making normal meals out of the venison my hunter friend mentioned how much he liked jerky and asked if I could make that for him. And that is how I got into the jerky making business. It’s fun, easy and tasty and it doesn’t matter much what you are trying to use. For purposes of this article I will be speaking about making chicken and beef jerky.

First things first, people almost always ‘question’ homemade jerky and freak out about the safety of eating it (after all its NOT cooked) and how long you can keep it safely. If you do it right neither of these two things will matter. I have eaten my own personal jerky that was over 3 years old…no problems!!! But it usually doesn’t last that long. So, without further ado let’s get making jerky!

What you will need:
Your protein source (meat..fish, beef, chicken, deer, whatever!)
Salt (or high sodium content marinating sauce)
Seasonings of choice (if making your own)
Dehydrator

For simplicity’s sake I typically use BBQ sauce, or salad dressing or Worchester sauce…almost ANYTHING that you could use for marinating your protein.
The REAL trick is to have a high sodium content in your marinating sauce. This ‘cures’ the meat so that no nasty critters/germmies can grow. You want at least 40% of your ‘daily’ sodium allowance to be in your marinating sauce. Not hard to do really especially if you use soy sauce (which I did for this particular batch).

I used a honey mustard salad dressing (one bottle) and then ½ of one bottle of soy sauce. Just stirred together…use your imagination here. I have been known to just add table salt to increase the sodium content. Typically 1 tablespoon to 1 cup marinating sauce. I have been known to make my own ‘salad dressing’ and just add the extra salt. Don’t be afraid to have fun here to make new and interesting tastes! As a note: if you happen to decide to use venison I typically soak the slices in butter milk and salt to get the ‘game/blood’ out of the meat for about 2 days in the refrigerator. Doing it this way means needing to use less salt for the ‘marinating’ part.
20141102_1

Next, slice your protein into strips no more than ½ inch thick. If you have a lot of fat, trim it off. The thicker the slice, the longer it will take to dry and the longer you will have to marinate. If using chicken, the chicken breast is best for making jerky.
20141102_220141102_5

After slicing into thin strip simply put your meat into a ziplock baggie and put in your marinating sauce. Allow to sit for 20 minutes at a minimum in the refrigerator (or counter top). Some of my best jerky has been allowed to sit in its marinating sauce for 2 or 3 days in the refrigerator, especially if I am making large amounts.
20141102_6

Next lay the strips out on your dehydrator trays.
20141102_920141102_10

Set the heat level (if you have one) to 155 and leave alone for the next 5 hours.
After 5 hours come back and check for doneness. It should be ‘dry’ but flexible but ‘hard’ too. I have found that chicken and fish dry much faster than denser types of meat such as beef. If not done yet, check back about once an hour until it passes the flexible, dry and hard test.
20141102_1320141102_12

Once you have the jerky ‘made’ let it sit to cool off for several hours. This is important to avoid moisture being trapped into the bag that you will place your finished jerky in.

Now there are 2 schools of thought on how to store homemade jerky. If you are going to eat it quickly, say within a couple of months, simply putting the jerky into a zip lock baggie will work and you can keep in a coolish dark place. However, if you are planning on long term storage you will want to vacuum seal it. Personally I vacuum seal a personal sized serving of the jerky and then place into 5 gallon buckets (yes, I make that MUCH!!!). One note on both methods, be sure that no pin prick holes are made in the storage bag, this allows moisture and air to get into the bag. Whenever I vacuum seal I will generally allow the sealed bags to sit over night and then reseal (double bag) any bags that have air in them, not doing so will shorten the shelf life. Or, you can just use that unsealed bag first.

Have fun! It takes just a little bit of work to make your own jerky but it tastes awesome and people will beg you for it!

Stay safe and be prepared
survivingshtfmom

One thing this shtfmom has given great thought to is how to cook if things go south. Back plans to back up plans…Of course I have your typical electric oven (which I wish was propane, but so it goes). But having gone through a few different times without electricity for long periods of time I have had to address the issue of how to cook without electricity. Yes, there is the rocket stove and you can make those on the cheap…but having a natural abundance of free wood spending that money on a good one (after all I have quite a few people to feed!) and a fire pit and cast iron…well, of course this is appealing to me…not to mention sitting around a good fire and eating great food with great company. There is nothing like an open fire to bring people together. And I don’t about you, but in a situation where you have chickens, alot of the time people avoid the ‘wings’. This is a GREAT way to use the wing and eat well. In any type of situation you may come across in this world, knowing how to cook over an open pit fire will serve well…give it a go and give it a try! Being prepared to cook under various conditions and using different methods is a plus in my book!

My friend over at VaCreepinOutdoors came up a bit ago and he made these awesome Garlic Parmesan chicken wings over the open fire…
Hope you enjoy the video and the inspiration it may give you and maybe next time you decide to ‘grill’ you may think about open pit cooking instead. And by the way…find him on YouTube for more great survival skills…great and informative videos.

Published on Oct 22, 2013

Making wings in a dutch oven. They turned out great.

9 fresh wings. ( total of all wing parts. flats and drumsticks combined)
1 tablespoon olive oil
1teaspoon Italian seasoning
1teaspoon garlic powder
2 tablespoons parmesan cheese
1/4 teaspoon sea salt
1/4 teaspoon crushed red pepper flakes

coat wings in olive oil, dredge wings in remaining ingredients. Cook at 425 in preheated oven for 30 minutes on a cookie sheet. You can flip them at 15-20 minutes. I usually don’t. If you like crispier wings, just cook longer. At time of plating you can ad shredded parmesan cheese or the regular granulated works fine. Or just eat as is.

That’s what I go by for fixing in the oven. A dutch oven takes longer and won’t crisp like an oven but they are fall off the bone good. Expect an hour minimum cook time. The longer they cook in a dutch oven the more tender they will be. If concerned about eating under cooked chicken of any kind, the rule is 160 degrees. If chicken exceeds 160, your good. There is actually enough moisture in the pot to cook for an hour and a half to 2 hours. As stated, longer cook time for a dutch oven, the more fall off the bone tender.

Just be careful that your skills doesn’t get you designated as camp cook. LOL

chicken
Protein is an invaluable source of long term energy in a survival situation or in any situation in which we are called upon to exert more energy than usual (camping, running, etc.) and/or a time when you can’t really cook or want to keep it simple during and emergency…prepackaged dehydrated food is great if you can find it cheaply, but knowing how to properly dehydrate protein NOW, yourself, before something happens is something to learn how to do and after the initial expense of buying a good dehydrator you will wind up saving yourself tons of money, not mention YOU get to control what goes in your food.

Previously I had dehydrated chicken breasts using one of those smaller, cheaper food dehydrators and honestly, after rehydrating and trying to eat it on the go, I thought that perhaps there could be a better, more flavorful way of doing this.

I wound up buying last year an excellent Excalibur Food dehydrator at a good discount from ebay simply because I was becoming frustrated with the limited amount drying space I had with my old round one. It wasn’t very efficient at drying, the middle ring took forever to dry, with the bottom and top ones drying very quickly and uneven drying on all rings so I was constantly moving the food I was drying around and the large slots meant a lot of food fell through as it was drying…nope…I bit the bullet and bought a good, solid Excalibur and I highly recommend that if you are serious about drying foods for storage or use during camping that you get one…well worth the money!

So here we go again on how to dehydrate chicken, while the first article I wrote on dehydrating chicken is a great and simple start to doing so, I have tweaked my technique and have learned a few tips to add to dehydrating your chicken to make your chicken turn out so much more better.

What you will need:
Dehydrator
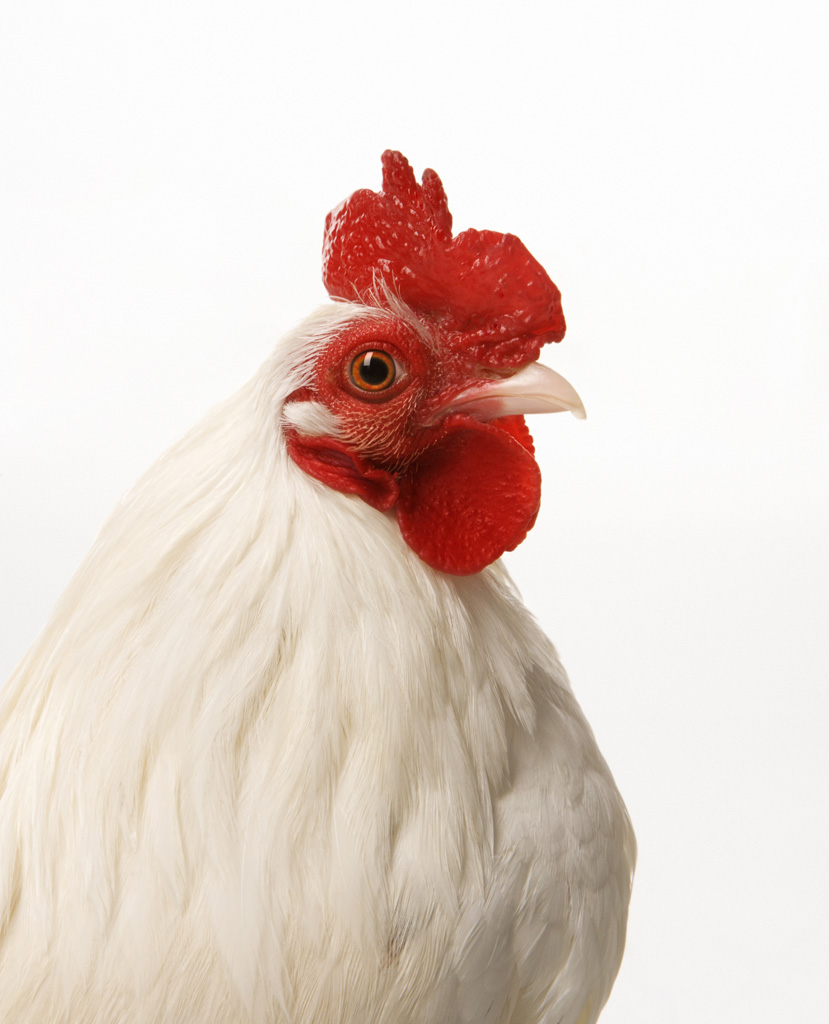
Chicken (whatever you can lay your hands on cheaply)
Large pot for boiling your chicken
Powdered Seasonings for infusing flavor into the chicken

One thing I have learned since last writing about dehydrating chicken is that DARK MEAT is the best when dehydrating chicken. When you go to rehydrate or eat it like jerky, it rehydrates much more readily which can be important if you are carrying it with you to eat on the run.

I also like to use thigh or leg meat verses the breast…again, just easier to rehydrate. But use what you have, white meat, thigh, breast, leg, whatever, the process drying is the same. My only note on chicken breast is that it rehydrates more slowly and is tougher after rehydrating (not to mention it COSTS more money unless you can get a real deal on it). And don’t forget you can use bone in or bone out.

So, I found on clearance boneless chicken thighs (mostly dark meat) at the local market…spent maybe $2 for the package. If you are using chicken with bones in it, you will just need to spend the time taking the meat off the bone before putting in the dehydrator.

In one large pot I put 12 cups of water, seasonings to taste (I like to use garlic and onion powder with a touch of salt) and put about 1/3 of cup of each into the water. Then in goes the chicken.

At this point I bring the water, seasonings and chicken to a roiling boil and allow it boil itself until done. You will have to gauge for yourself when it is done cooking as boiling/cooking time will depend upon what you are using. To speed up the process of cooking and if you are using chicken breasts, I have found that by cutting up the breast into chunks FIRST (raw) and then cooking saves time and you don’t over cook the thinner chicken.

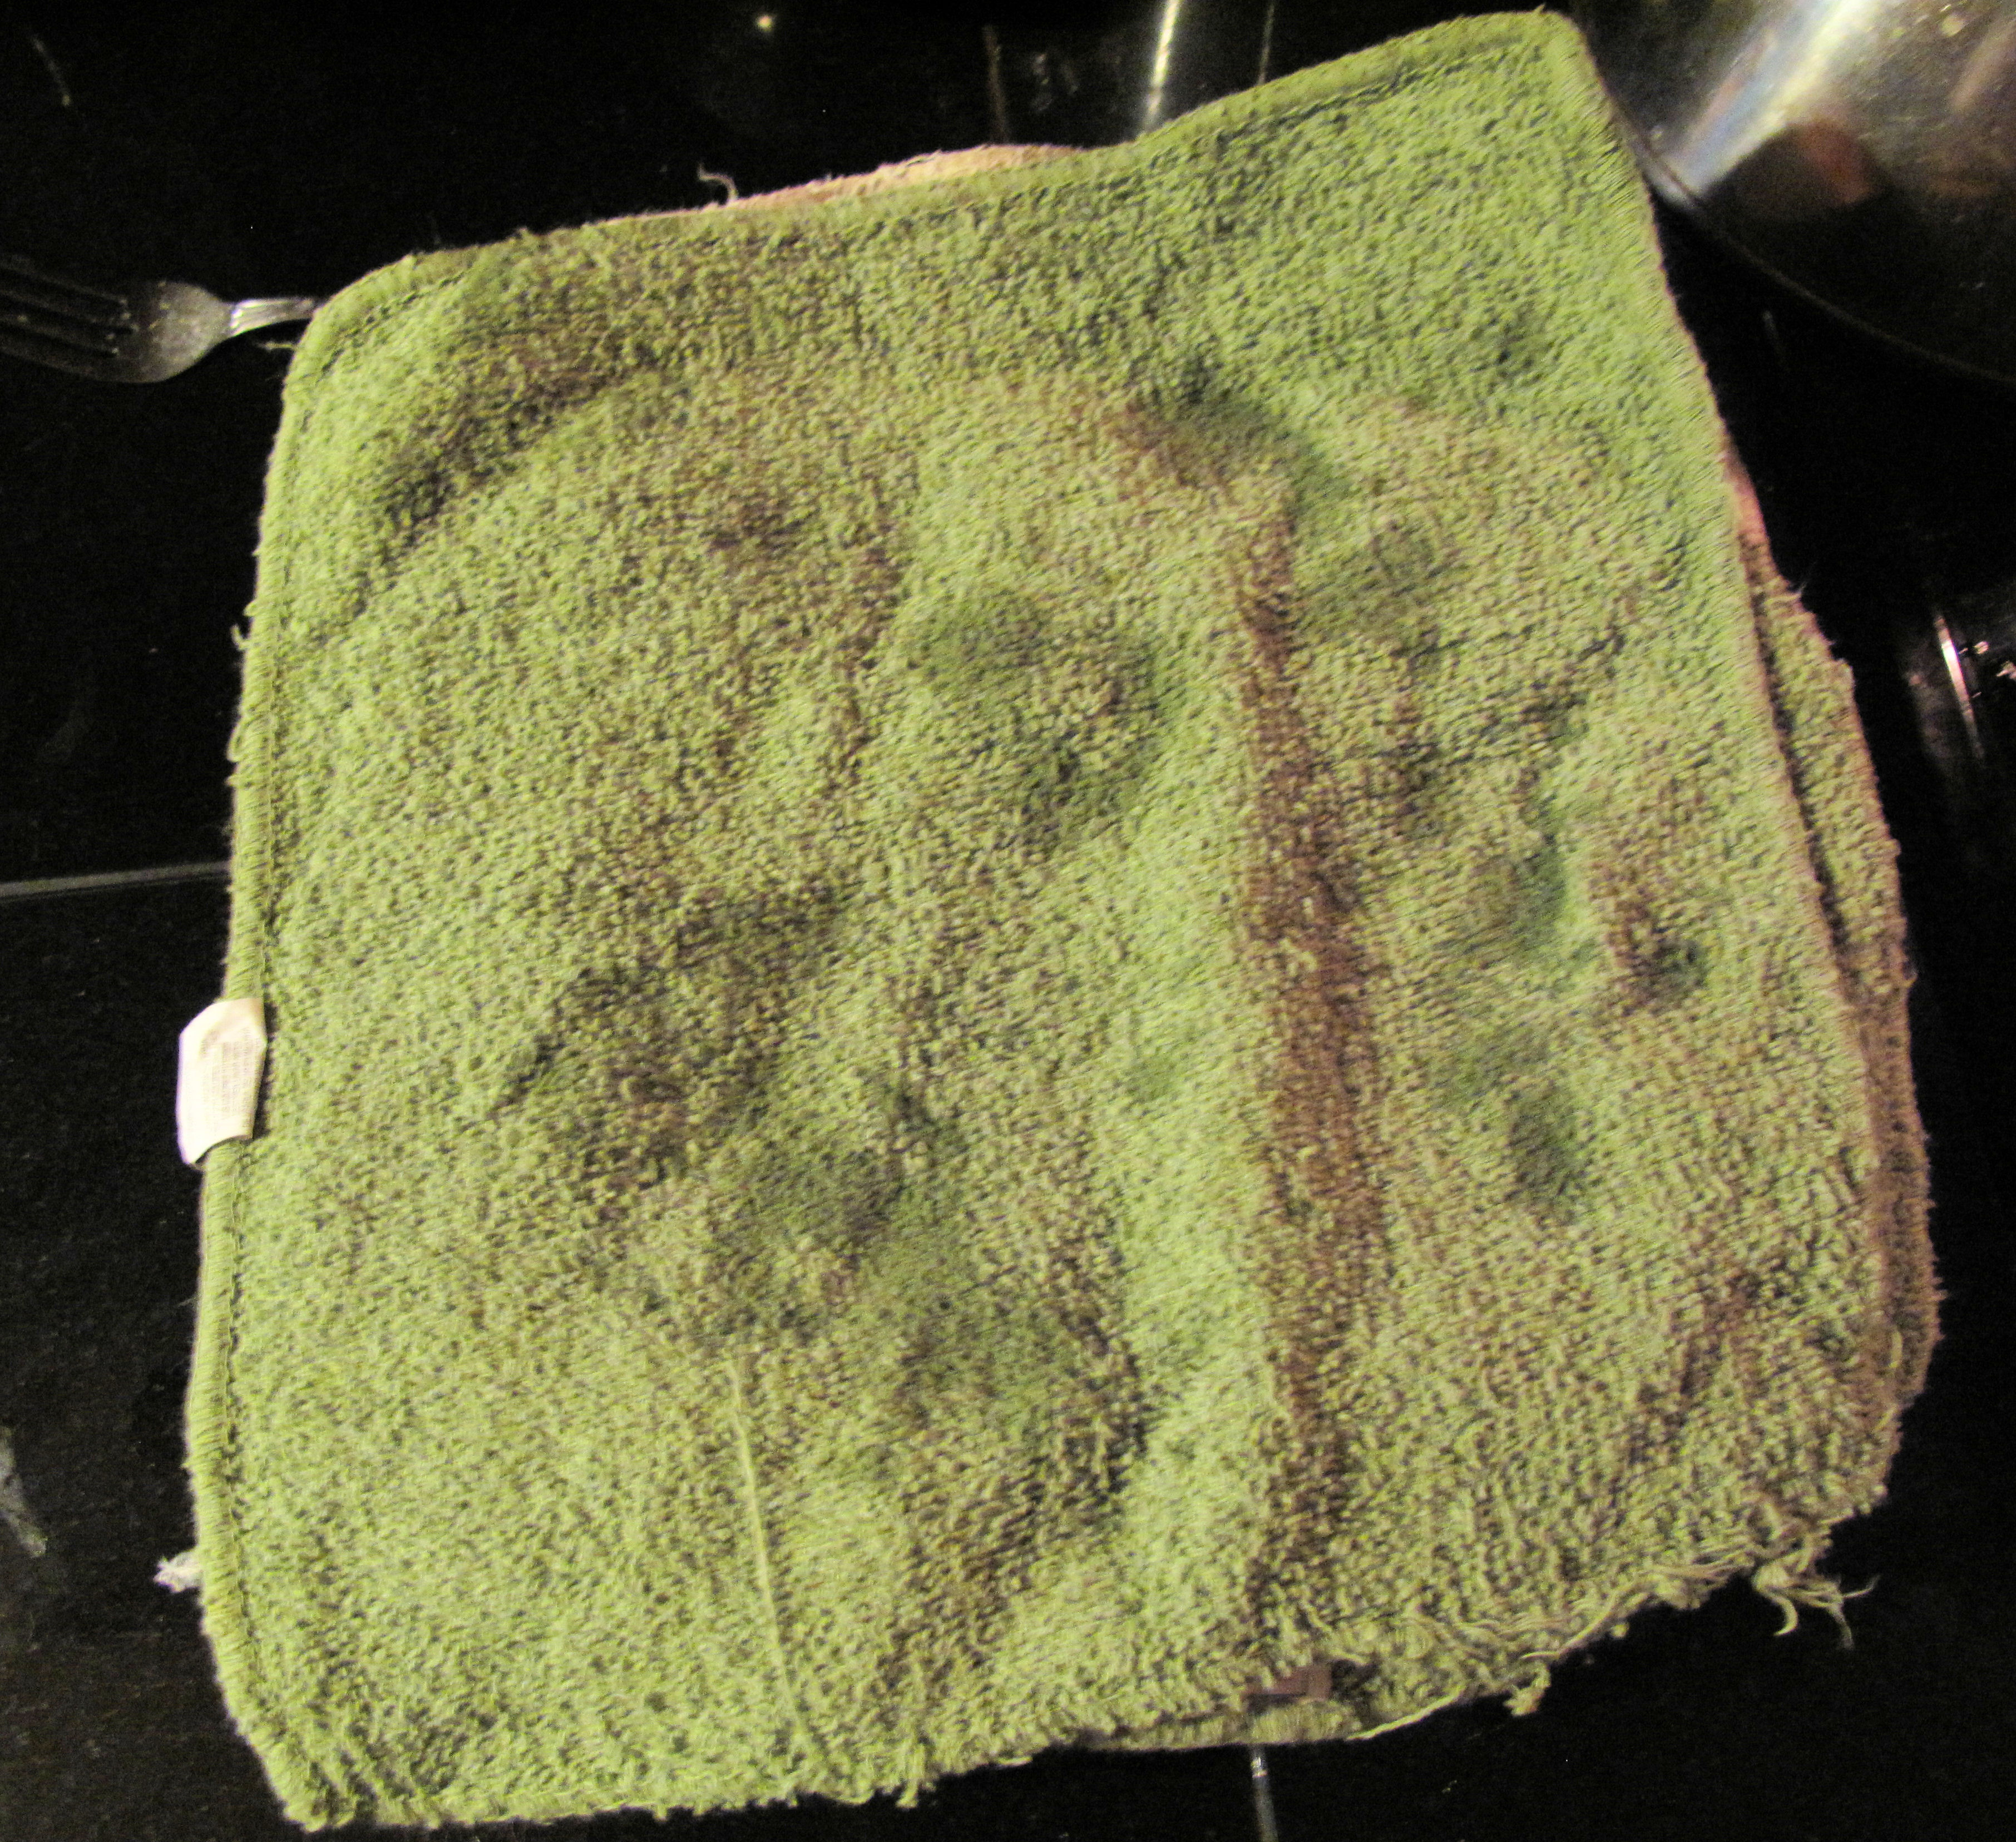
When the chicken is done cooking you will then need to do one of two things at this point…if you are using chicken that has a bone in it, you will need to get the meat of the bone place the meat on a plate covered with a couple layers of towels.
If you are using boneless meat you may just place the meat on a plate covered with a couple layers of towels.
20130821_13

FYI: That water you just added spices to and boiled your chicken in? Excellent stock/soup base…don’t throw it away! Extend your money! Can it, freeze it, etc. IF you find yourself without power you have ‘instant’ soup base to rehydrate your chicken in!

Next, you will want to take two more towels, lay them over your meat and press the ‘juice’ out of the meat…this helps to speed up the drying time and keeps the meat from becoming too tough from ‘over dehydrating’ which can easily be done since everything you dehydrate is from the outside in and meat likes to retain its moisture! It wouldn’t to ‘burn’ (over cook so to speak) your meat!

Then allow to cool to room temperature, to speed this up you may place in the refrigerator. I am not sure WHY this helps, but by accident and then by design I have found that this really helps with retaining texture, taste and helps prevent the meat from being tough after rehydration (even with chicken breasts).

After your chicken meat cools off you will need to pull or cut into bite size pieces or whatever size you want. I just like bite size because its faster to dry and easier to rehydrate in your mouth if you want to eat it like that and if using in soups or casseroles you require less water/time to rehydrate (which is important especially if using with noodles or dehydrated veggies which rehydrate faster).

Very lightly spray your trays with an oil (not a lot, just a very, very light coat). This will prevent sticking which is very important if you are using one of the dehydrators that cheaper ones with the big slots. Not so important with an Excalibur as the screen is flexible, but I still spray, makes clean up easier!

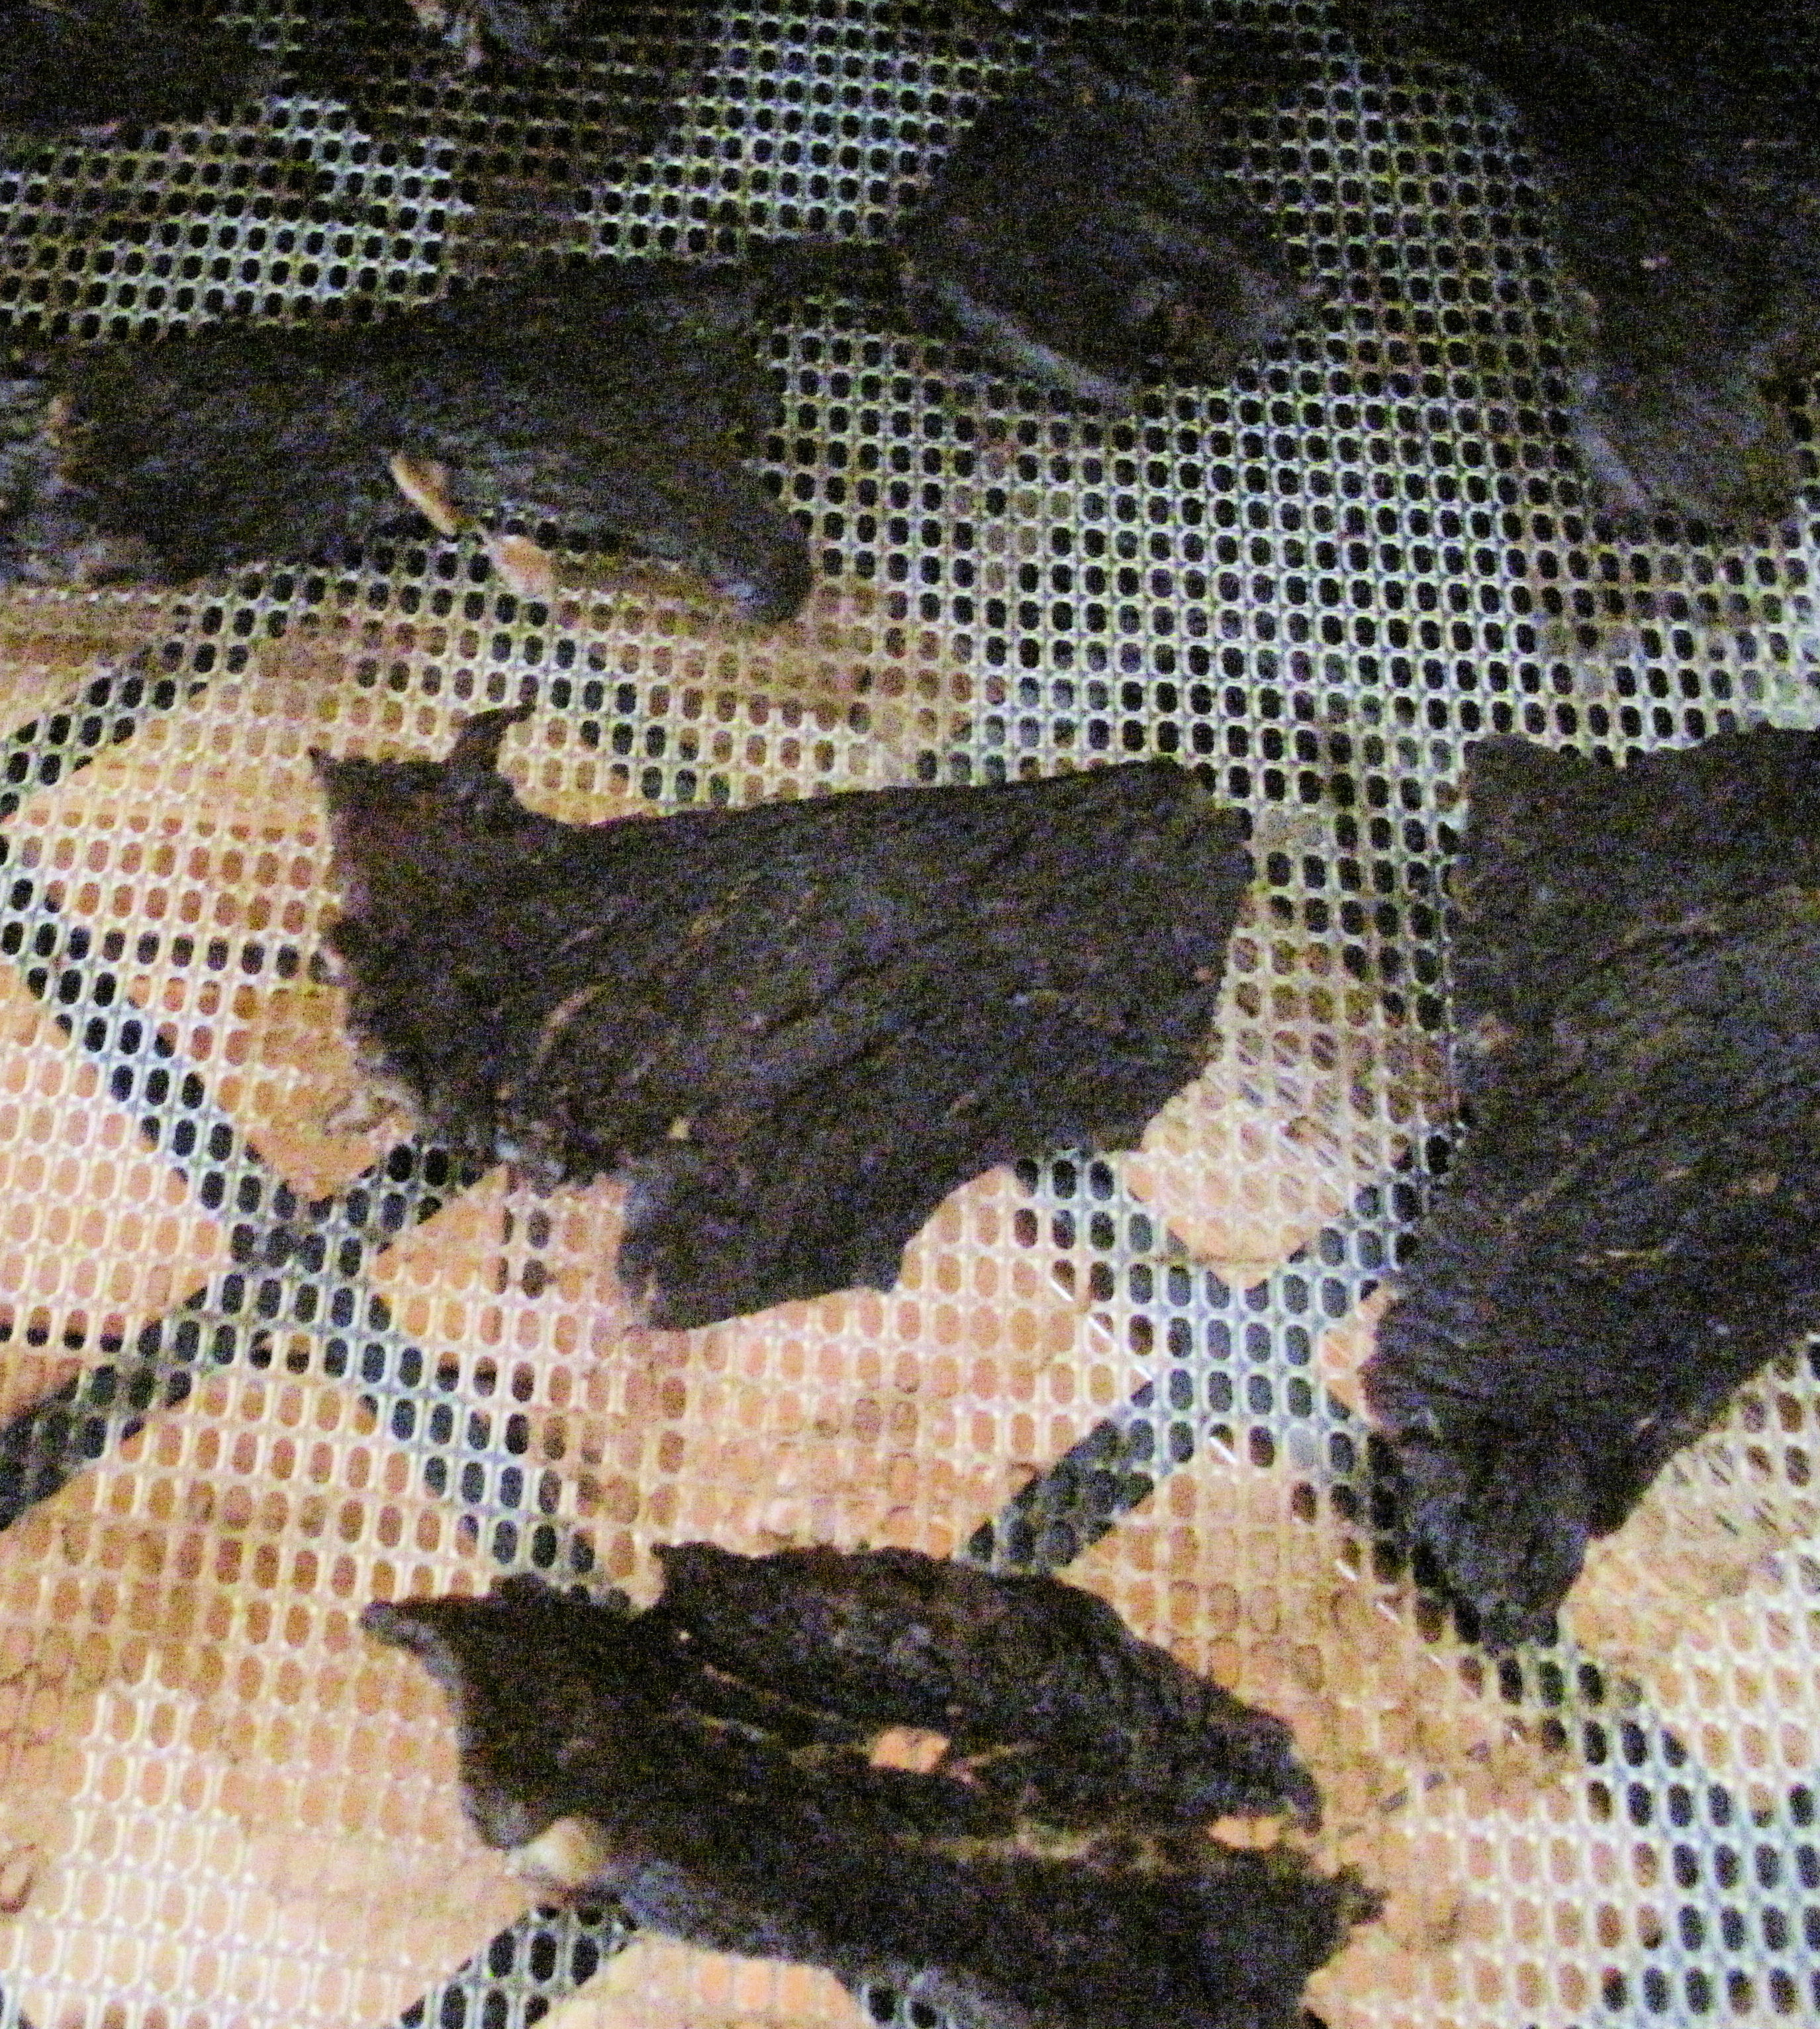
Now you are ready to put your chicken pieces on the drying racks…
20130821_18

At this point, close up your dehydrator…if you have one that allows you to set a temperature on it, you will use 155 degrees temperature setting, if not, just turn it on.
Leave the dehydrator be for at least 3 hours before opening and checking on the chicken. After 3 hours I found mine almost done. You may or may not have the same experience. But if not almost done at this point (and there are many factors that control this) close back up and check again in a couple of hours.

For those with the smaller, cheap dehydrators you may find yourself having to move trays and chicken around to get more even drying. If I am dehydrating A LOT of meat in my Excalibur I wind up moving the racks around once, the top one and bottom one go into the middle and the middle racks go on the top/bottom. But with only 2 racks in I did not have to do this.

IF almost done, shut it down and allow to cool again. I left mine overnight.
The point being is that you will want to shut the dehydrator off when the meat is almost completely dry and allow to cool off.

After cooling off, restart your dehydrator to finish dehydrating. Be careful at this point to check about every half hour so you do not over dehydrate and potentially burn your chicken.

You will know its completely dehydrated when it is no ‘spongy’. I like to ‘sample’ a piece. It will be ‘dry’ and crunchy but easy to chew. Don’t worry if it’s ‘hard’ that happens, but the more you dehydrate meat the better you will get at gauging when its ‘perfect’.

Allow to cool again before packaging by the method you want to do so. If you will be using within the week, ziplock baggies are great…anything longer than a week and you will want to vacuum seal the chicken some how, in a jar or a food saver, though the old timers never did this! For long term storage you will want to remove all the oxygen for best results and longest shelf life. Will store this way for AT LEAST a year, depending upon storage conditions.

Dehydrated properly, chicken (or any meat) is a great way to save money on food storage, make ‘fast food’ meals with little to no mess (one pot! Ever tried cooking after a hurricane? The less ‘pots’ the better!) or it’s a cheap way to make your own camping/bug out food.

My end result:
About 4 cups of protein and weighs in at just over 2 ounces.
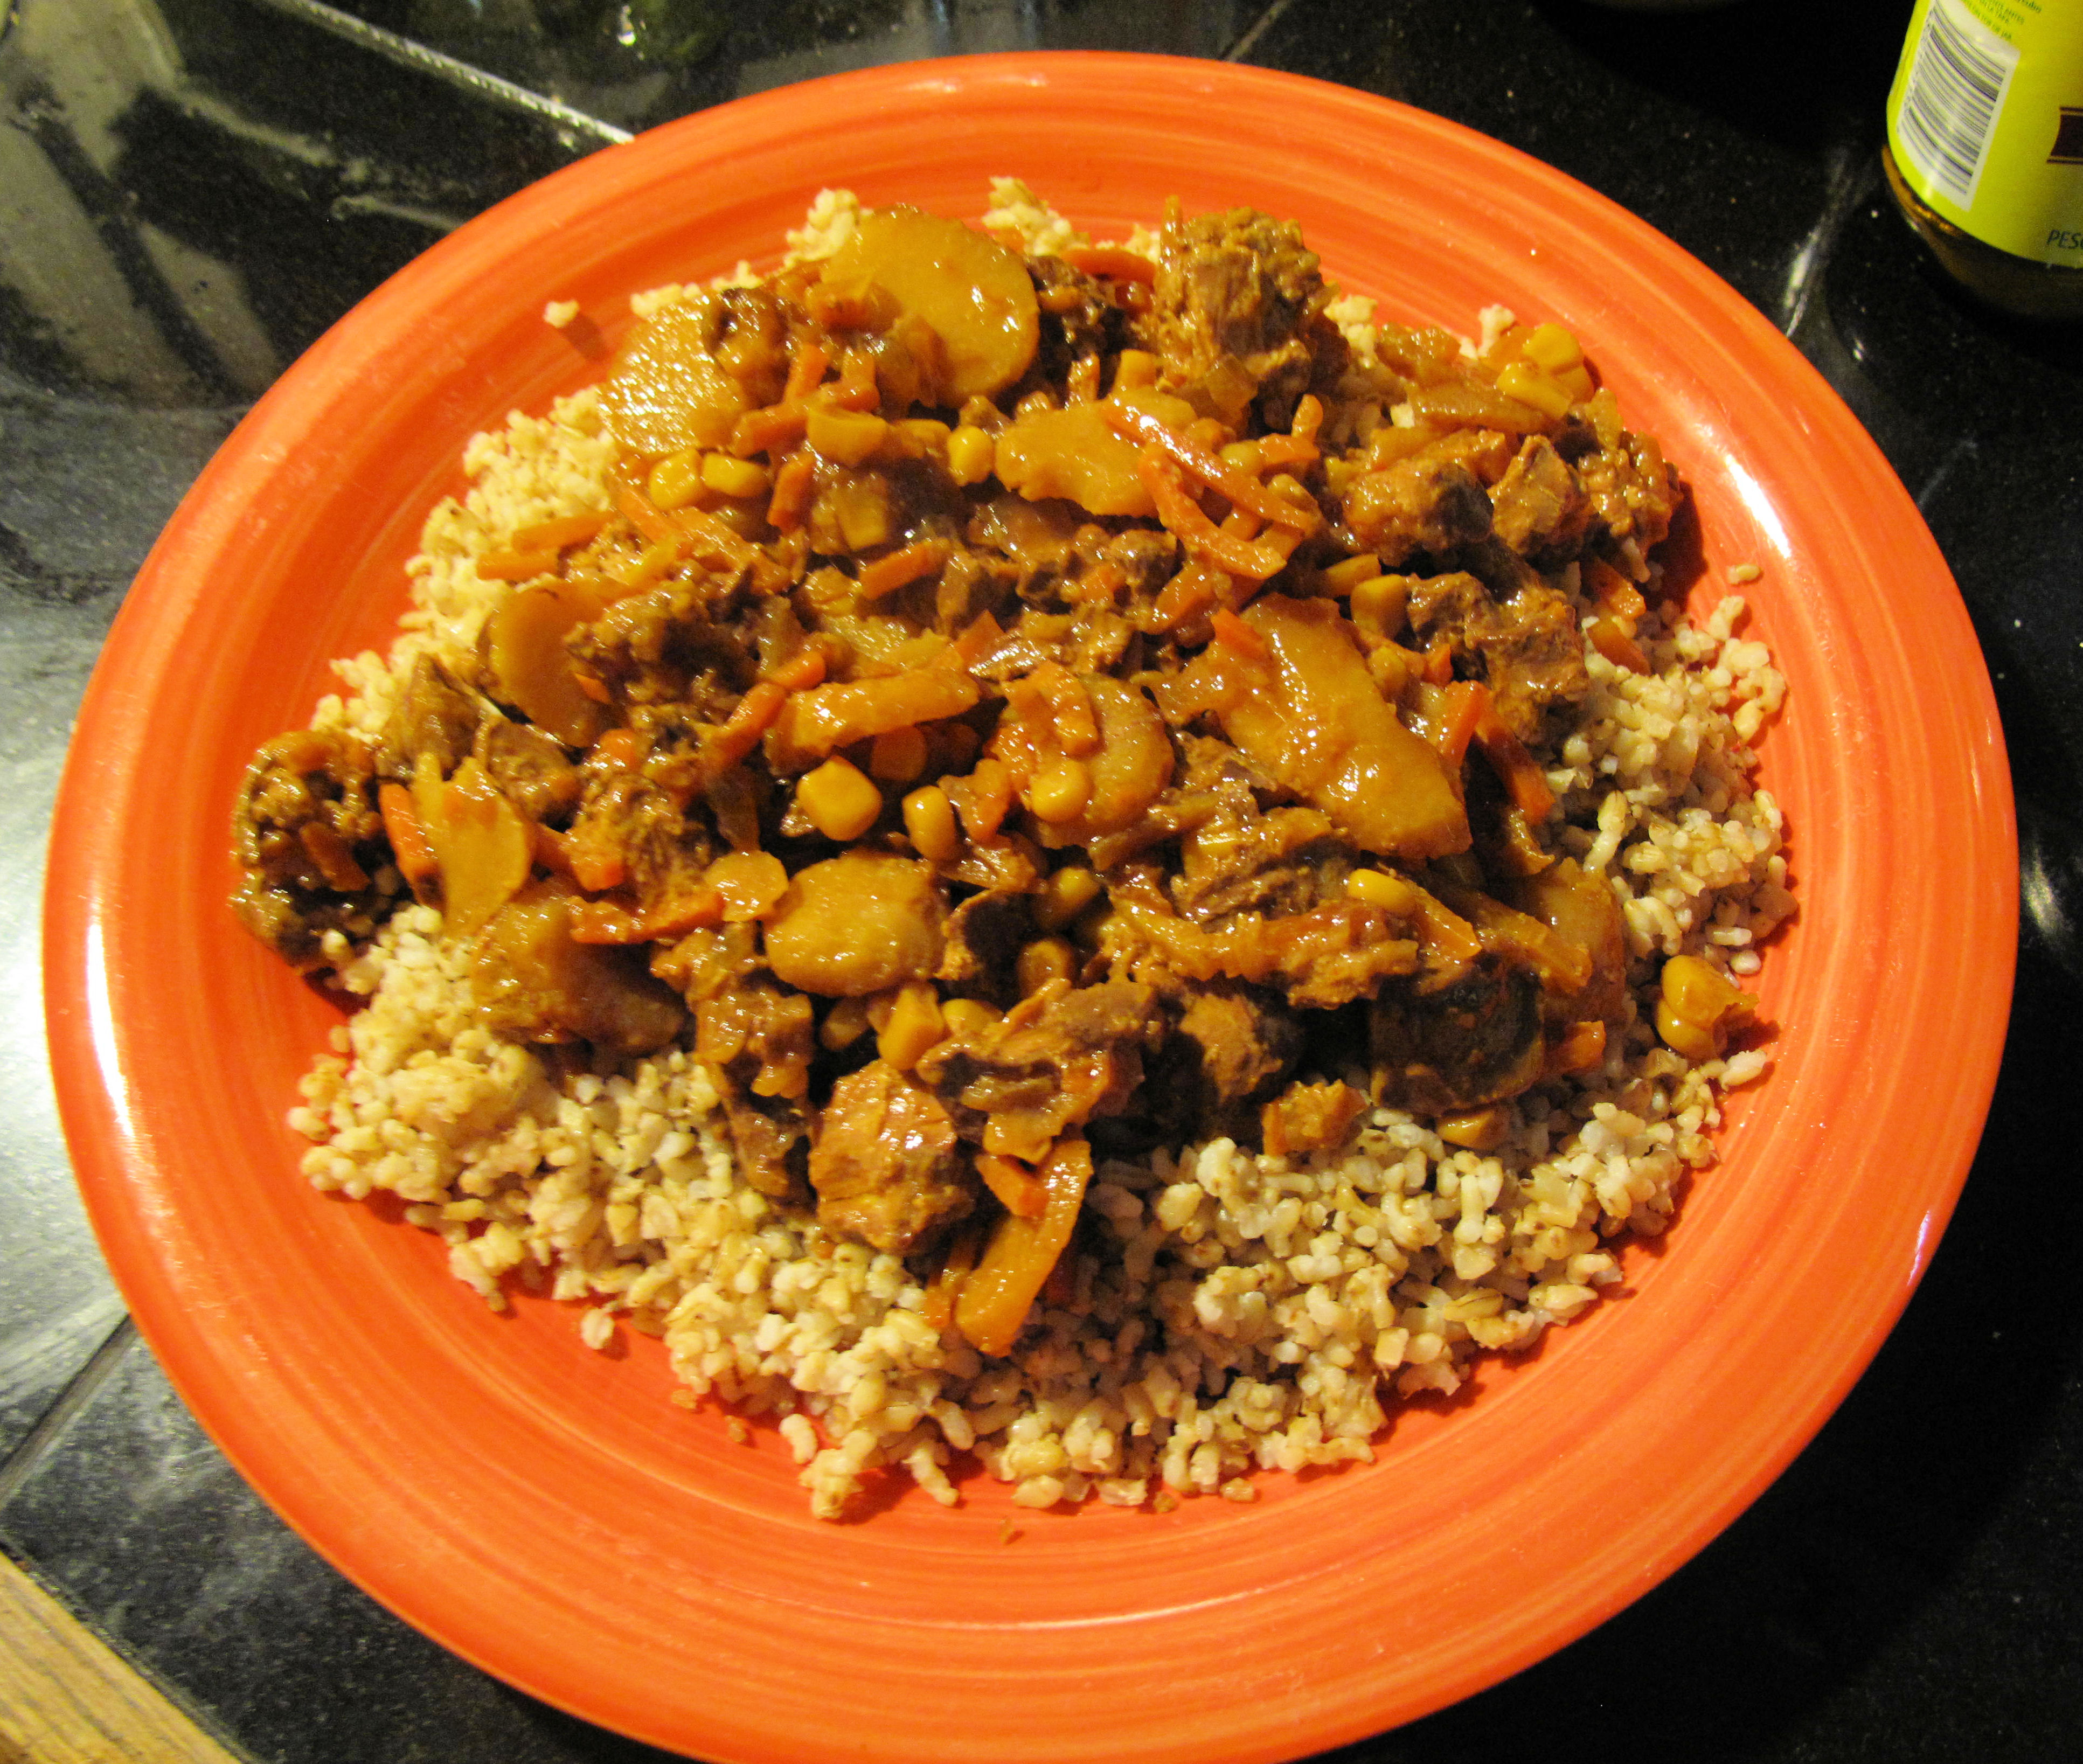
To use:
Pretty simple, you can either just munch on it using your own spit to rehydrate it or you can add to water, soups, and so much more! Put together with veggies and noodles in water for a fast meal. Takes about 15 minutes in boiling water to completely rehydrate and heat depending upon the size you make the ‘bites’.

Dehydrating Chicken Adventure

Feeling chatty today 🙂 been thinking about food storage alot lately, most especially after my latest trip to the grocery store. Found chicken breast on sale for half-price for the holiday weekend earlier this week so I bought every bit I could with the money I could spend. This was a good thing, but I wound up with over 20 pounds of the stuff and with no more room in either freezer but I had a brilliant idea (yeah, you know the kind, the kind that gets you in so deep that you can only go forward). Dehydrate it! Now, mind you, the dehydrator I have isn’t a fancy one (no temperature control or timer) and I haven’t used it in years…let alone ever used it to dehydrate chicken, but what the heck, I have been reading all over the place about dehydrating meat (and doing it myself is surely cheaper than buying it canned or freeze dried!) and thought perhaps I could do it myself..oh boy…dehydrating 20 lbs of chicken turned into a 4 day odessey of cooking, pressing, cooling, chopping and then watching the bits and pieces of chicken shrink up into tiny pieces over the course of a few hours. My family was looking at me like I was growing heads or had spots all over my face asking such questions like: What are you doing with all that chicken? (I could just hear the groans inside their heads as they saw visions of eatting chicken for the rest of their life) What’s in the pot? Um mom, why are you pressing that chicken in between towels? Then the final questions: are you done yet? what are you going to do with THAT? (referring  to the shriveled up, corn kernal looking things that now sit in 3 quart sized mason jars). Anyway, I digress from my purpose of telling you about dehydrating chicken…it actually turned out to be super easy to do (next on my list is eggs, maybe this weekend, after doing strawberries).

I first embolden myself and reaquainted myself with the process of dehydrating by dehydrating quite a bit of zucchini that my next door neighbor gave me and then tried rehydrating a few pieces just see that it would do so (never mind theory okay? I have to sometimes see it to believe it, just me). And first thing is this…I noticed this SMELL coming from the dehydrator…you know, that smell you smell when you turn on the hair dryer or space heater that you haven’t used in a LONG LONG TIME? yeah, that smell…and then I realized that I would have to play switch the trays around to keep it all drying at about the same rate, and then noticed that the food was sticking to the tray, and I forgot to make sure I had clean mason jars before it got done…you get the idea…but it worked out…growing pains I suppose you could say…next, I did some research trying to find WRITTEN instructions on how to dehydrate chicken online to no avail…sigh…YouTube had some videos on it, but they were long and boring…just TELL ME and let me get on with it okay? but I hung in there, thinking that maybe, just maybe there was some sort of ‘secret’ to dehydrating chicken that I just needed to know…nope…just the basics…keep it clean, cook it well, dry it well and then store it well…and try not to eat it at the sametime you are working with it (have to test the product don’t you?).

Below are the written steps to dehydrating chicken breasts that I was searching for (and if my internet search querry is correct…so are a million others)…I use chicken breasts, not bone-in chicken and that is what the directions are for…I suppose you could use bone-in chicken if you feel like taking the meat off the bones after cooking, but I haven’t done it that way myself…adapt if you must.

and one note: if you don’t want to get sick make sure you wash your hands well everytime before and after handling the chicken…don’t handle the chicken and then touch a spoon or pot or jar or anything like that…safe food handling practices are a must!

You will need:

Chicken, pot, water, seasoning, mason jar(s), oxygen absorbers, dehydrator, knife, towels, baggie, refrigerator.

1. Remove all the fat (if there is any) and skin from the chicken. Fats do not dehydrate nor store long-term very well.

2.Cook your chicken and cook it well…your choice on how you do this, but the idea is that you cook it well until its DONE…err on the side of caution and over cook it if you must. Personally I prefer to just boil it, that way I can add seasoning of my choice while its cooking and it gets in there really well…bonus to this way of cooking it is that you get a really nice broth that can be frozen for future use as a soup base or for replacing water in a receipe if you want more flavor.

3. Let the chicken and broth cool off completely.

4. Get towels (I use bath towels that have been re-purposed for kitchen use) and lay them out on the counter or table top double thickness at least.

5. Put the cooked chicken on the towels. Place another towel over the chicken and then press the HECK out of the chicken. Object being when doing this is to get excess juice out. Shorter drying time.

6. Personally I prefer at this point to stick the chicken into a zip lock baggie and refrigerate over night…makes it easier to cut it up into small pieces…warm chicken is hard to cut up easily.

7. The following day get your dehydrator out. Now, first time I dehydrated I didn’t have the mesh screens to go over the tray. Second time around I did. It will work either way, it is just a bit messier if you don’t have the screens for the trays. Make sure the dehydrator is clean and ready to use.

8. Cut the chicken up into small pieces. I tried a bit of experimenting at this point with different trays, big pieces, small pieces, tiny pieces…the tiny pieces got so small they fell through the cracks, small pieces and big pieces did okay, but use your judgement as to how big of pieces you chop it up into. This will depend upon your drier size since the racks (at least on mine) sit one on top of the other I found the best size for me were pieces about 1 inch long or so no thicker than 1/4 inch. Just chop it!

9. Spread the chopped up chicken around the tray evenly in one layer. Do this for each rack. I found I was able to get about 9 pounds or so onto 5 trays (that is my drier, its one of those round ones with plastic trays that stack up). But I had extra chicken that I just put back into the refrigerator to do later on.

10) Stack it up and turn it on! Now, with my dehydrator I have no temperture control so for me its just turning it on and watching it. If you have a dehydrator with temp control, it is my understanding that you want the temp set at at least 120 degrees for meat, but somehow I don’t think mine got that hot.

11) Walk away and let it go. For me, I had to switch trays around (bottom tray going to the top) every couple of hours to keep things dehydrating somewhat evenly. It took about 10 hours to completely dehydrate the chicken. You want it CRUNCHY and ‘brown’ looking with no softness to it whatsoever. That is moisture and that is NOT good when storing long-term.

*At this point, make sure you have your mason jar (or another glass jar) clean and ready. Also, make sure you have one 200-300 cc oxygen absorber ready for when you need it.*

13) When it is ‘done’ turn off the dehydrator and let the chicken cool off again. Heat will cause condensation which you don’t want in the jar.

14) Once completely cool, you can now fill up the mason jar…fill the jar until you have about 1 inch from the top. Now place one 200-300 cc O2 absorber on top and tightly screw the lid/top on.  Set the jar aside and check to make sure that it has made a seal about an hour later…you check this by pushing on the top…as long as it doesn’t move you are good to go, if it does move, your O2 absorber was probably bad and you need a new one. Repeat.

All done! Now you have your dehydrated chicken that will store for several years and can be used in soups, stir frys and such.

Wasn’t that simple?