Category: Cooking


20150611_217Soungs crazy right? They SAY you can’t do it ‘safely’. But I am hear to say that YES YOU CAN can hard boiled eggs and pickled eggs….Let me dispell the epic myth about canning eggs. The USDA has only this to say: it has not been proven safe to do so. All that really means is that they haven’t taken the time to test it!!! But in FACT people have been doing this for generations and I have yet to find a single case of samonella or botulism related to home canned hard boiled eggs!!!

Anyway, on with the good news:

Hmmm…yes YOU CAN can hard boiled eggs! It is rather simple too as long as you have water bath canning supplies!
Note: this method is best used only for quarts and use the regular mouth size (this aids in keeping the eggs in the brine solution.

As always, be sure to follow proper canning instructions to get your jars and lids ready. Remember! The Ball canning lids only need to be washed now. DONOT and I repeat, DONOT bring to a simmer anymore, otherwise you might experience lids seal failure.

Now for the fun part.

Hard Boiled Eggs:

Get you jars going along with your water bath canner.

Get your eggs together and bring to a ‘soft’ hard boiled status.
Personally I like to use FRESH eggs that I pick up at the local Farmers Market
Peel them, rinse well, set aside.
You will only want to use eggs that are intact, no cracked eggs! Tiny nicks are okay.

20150611_21020150611_211
I get about 10 regular eggs into one quart jar.

20150611_213

Your liquid will be a simple brine solution:

I use a 25% salt (either canning or non-iodized salt) solution with about 50% sugar. So your ratio will be 1 cup salt, 2 cups sugar to 4 cups water. This amount will be enough to do about 3 quarts. Bring to a boil enough to dissolve the salt and sugar. You will want to keep an eye on this so you don’t burn the solution. Stir as needed.

Once the liquid brine solution is ready get your hot jars out of the oven (this is how I keep my jars hot, 250 degree oven on a cookie sheet) and place about 10 soft boiled eggs in each jar. You do not want to have the eggs go above the first ring on the neck.

After getting all eggs into the jars ladle your brine solution into each jar. You will want to leave about a ½ inch head space.

20150611_216

Wipe the rim with a rag to remove any salt/sugar solution.
Place lids on and then the rings tightening to finger tight.
Place your jars into the water bath canner and bring back to a boil.
Place lid of water bath canner on.

Now WAIT!

Processing time is as follows:
For those living under 1,000 feet in elevation process for 25 minutes.
For those living between 1,000 and 2,000 feet in elevation process for 30 minutes
Once you have processed them then take them out and cover as you would normally any other home canned fare.

These eggs will turn a slight tan color but that is OKAY!

The night before using I recommend taking them out of the jar and soaking in cold water to dry the salt out. But its not really necessary. Just remember that anything you add these eggs to (they can be used in any dish requiring cooked eggs or eaten just like they are if you are brave!) you won’t need to add SALT to!
Pickled eggs you will do the same steps, but instead of salt you will/can use your favorite pickled egg solution!

Enjoy!

20150103_19

I like to play around with my canning. I often find great deals on meat at the grocery store and given how expensive meat has become I will pick up every reduced priced piece of meat they have. But what I have run into is a complete lack of canning recipes for ‘meals’. Yes, there are soups out there and your traditional ‘how to can meat’ but a meal? Not much so I have turned to traditional meals and other types of recipes from old cook books and have found that I can can most of it so that all I have to do is add rice or pasta or something else for a fast and delicious meal.

We like Chinese food, especially sweet and sour chicken but it can be time consuming to make it for dinner and I thought: ‘why not pressure can it?’ so we can heat and eat. It is super easy to do and tastes delicious over rice.
The following recipe is enough for 7 quarts which is about 2-3 people over rice.

Get all your supplies ready. 7 quart jars, lids, pressure canner, etc. PLEASE! Remember that the new Ball Canning Lids do NOT get boiled any more. Simply wash and get them ‘warm’. I like to put them in a pan and turn my stove on the ‘melt’ setting. If you boil the new lids you might just find out down the road that they won’t stay sealed.

What you will need for the recipe:
5 lbs of raw chicken thigh meat (or breast if that is what you have)
2 lbs of shredded carrots
1 large can of crushed pineapple
3 small cans of water chestnuts
2 medium onions
2 Cans of corn
Sweet and Sour Sauce (make your own or if you want you can buy a jar of it)

Remember, a recipe is but a suggestion! Add or subtract to your taste.

First, cut up your raw chicken into bite sized chunks. Place into large container (I tend to use my water bath canner for mixing up large batches of food).
Chop up to your taste the onions and add to the chicken.
Add your shredded carrots

Next, get your sweet and sour broth going. I use a 4 quart sauce pan and typically will put 3 quarts of water into it and then add whatever flavoring I will use. I got lucky and found a bunch of pre-made sauces and marinades for 99 cents each. A few were sweet and sour marinades. So I added 2 12 ounce bottles to the 3 quarts of water and stirred well and brought to a boil and then turned down to a simmer while I finished up the food part.

Drain your crushed pineapple into the simmering sweet and sour water.
Drain your water chestnuts into the simmering sweet and sour water.
Drain your corn into the simmering sweet and sour water.

Next, dump your crushed pineapple and water chestnuts in with the carrots, chicken and onions. Mix well.

Now you are ready to can.

Evenly distribute your chicken mix into the 7 jars.
Pour your sweet and sour broth to about ½ inch head space.
Stir using a knife to get out air pockets and bubbles. Add more broth if necessary.
Clean the lip of jar with vinegar.
Place lids and rings on.
Put jars into canner as usual and you know what to do next.

Processing time is 70 minutes at 10 lbs pressure. And YES that is more than adequate to get the chicken thoroughly cooked!
Allow to cool as usual.

To use:
Simply open jar and heat up while you are cooking your rice! Put over rice and enjoy!

Have fun canning!
Survivingshtfmom

PS I will add a picture of the product shortly!

20141102_1220141102_13
Jerky…a staple of those who hunt, camp, hike or just enjoy being able to eat a high protein snack without cooking. I have been making jerky for about 20 some odd years now and want to share a few ‘secrets’ to making it. You can make jerky out of ANY type of meat, including fish, deer, beef and chicken.

I personally got started making jerky when I was blessed with A LOT of venison/deer meat and had no idea how to cook it. After several not so good attempts at making normal meals out of the venison my hunter friend mentioned how much he liked jerky and asked if I could make that for him. And that is how I got into the jerky making business. It’s fun, easy and tasty and it doesn’t matter much what you are trying to use. For purposes of this article I will be speaking about making chicken and beef jerky.

First things first, people almost always ‘question’ homemade jerky and freak out about the safety of eating it (after all its NOT cooked) and how long you can keep it safely. If you do it right neither of these two things will matter. I have eaten my own personal jerky that was over 3 years old…no problems!!! But it usually doesn’t last that long. So, without further ado let’s get making jerky!

What you will need:
Your protein source (meat..fish, beef, chicken, deer, whatever!)
Salt (or high sodium content marinating sauce)
Seasonings of choice (if making your own)
Dehydrator

For simplicity’s sake I typically use BBQ sauce, or salad dressing or Worchester sauce…almost ANYTHING that you could use for marinating your protein.
The REAL trick is to have a high sodium content in your marinating sauce. This ‘cures’ the meat so that no nasty critters/germmies can grow. You want at least 40% of your ‘daily’ sodium allowance to be in your marinating sauce. Not hard to do really especially if you use soy sauce (which I did for this particular batch).

I used a honey mustard salad dressing (one bottle) and then ½ of one bottle of soy sauce. Just stirred together…use your imagination here. I have been known to just add table salt to increase the sodium content. Typically 1 tablespoon to 1 cup marinating sauce. I have been known to make my own ‘salad dressing’ and just add the extra salt. Don’t be afraid to have fun here to make new and interesting tastes! As a note: if you happen to decide to use venison I typically soak the slices in butter milk and salt to get the ‘game/blood’ out of the meat for about 2 days in the refrigerator. Doing it this way means needing to use less salt for the ‘marinating’ part.
20141102_1

Next, slice your protein into strips no more than ½ inch thick. If you have a lot of fat, trim it off. The thicker the slice, the longer it will take to dry and the longer you will have to marinate. If using chicken, the chicken breast is best for making jerky.
20141102_220141102_5

After slicing into thin strip simply put your meat into a ziplock baggie and put in your marinating sauce. Allow to sit for 20 minutes at a minimum in the refrigerator (or counter top). Some of my best jerky has been allowed to sit in its marinating sauce for 2 or 3 days in the refrigerator, especially if I am making large amounts.
20141102_6

Next lay the strips out on your dehydrator trays.
20141102_920141102_10

Set the heat level (if you have one) to 155 and leave alone for the next 5 hours.
After 5 hours come back and check for doneness. It should be ‘dry’ but flexible but ‘hard’ too. I have found that chicken and fish dry much faster than denser types of meat such as beef. If not done yet, check back about once an hour until it passes the flexible, dry and hard test.
20141102_1320141102_12

Once you have the jerky ‘made’ let it sit to cool off for several hours. This is important to avoid moisture being trapped into the bag that you will place your finished jerky in.

Now there are 2 schools of thought on how to store homemade jerky. If you are going to eat it quickly, say within a couple of months, simply putting the jerky into a zip lock baggie will work and you can keep in a coolish dark place. However, if you are planning on long term storage you will want to vacuum seal it. Personally I vacuum seal a personal sized serving of the jerky and then place into 5 gallon buckets (yes, I make that MUCH!!!). One note on both methods, be sure that no pin prick holes are made in the storage bag, this allows moisture and air to get into the bag. Whenever I vacuum seal I will generally allow the sealed bags to sit over night and then reseal (double bag) any bags that have air in them, not doing so will shorten the shelf life. Or, you can just use that unsealed bag first.

Have fun! It takes just a little bit of work to make your own jerky but it tastes awesome and people will beg you for it!

Stay safe and be prepared
survivingshtfmom

20141029_6

Homemade Sweet Saurkraut and Sausage Canned

Who doesn’t like sauerkraut? Okay, I know a few who don’t but its usually because of, well, what I shall call the ‘pucker’ factor. Its is ‘sour’ after all and most store bought kraut is very salty too. But in my quest for the ultimate, who wouldn’t like it sauerkraut I found a way to make ‘sweet’ sauerkraut and you can add whatever meat you want to it too! PLUS you can pressure can it to put up for a delicious meal or snack anytime. And as a bonus, there is no ‘waiting’ around for it to mature. Most canned sauerkraut recipes you either ferment the cabbage before canning it or are told to wait 10 days or more after canning fresh cabbage to get the ‘kraut’. But this, is instant and yummy.

What you will need:
Canning Jars (7 quart or 14 pint)
Canning salt
Sugar
Apple Cider Vinegar
6 lbs Cabbage (or there abouts)
Meat of your choice (sausage, polish sausage, hamburger, etc.)
Boiling water.

The first matter at hand will be to get your canning supplies ready. Following the ‘new’ manufacturer’s directions. Simply run the jars and lids and seals through the dishwasher. Put the jars on cookie pan and place into 250 degree oven.
Lids/seals/rings go into a pot of water and are brought right up to a boil and then taken off and put aside. Get your pressure canner water going at this time too.

Next you will want to process your fresh cabbage. Peel off the 2 outer most leaves and then wash the outside of the cabbage. Next cut up the cabbage into bite size pieces (however you like, shredded, pieces). Place in a bowl to the side.
20141029_2

Cook your meat. In my case I just browned the sausage in a pan. But how you cook your meat will depend upon what type of meat you use.
20141029_1

Once you have both the cabbage and meat ready you will then combine into a large bowl and mix well.
20141029_3

At this point, bring a kettle of water to boil, you will add this to the packed jars of cabbage/meat.

Pack your cabbage/meat mixture into your jars leaving about1 inch head space.
20141029_4

Then add to each jar:
½ tsp canning salt

If you are using PINTS then add:
1 tablespoon apple cider vinegar
1 tablespoon of sugar

If you are using QUARTZ then double the amount of vinegar and sugar.

You will then fill each jar with the boil water leaving at least ½ inch of head space.
Clean the rim using vinegar and then proceed as you usually would placing lids and rings on each jar.

20141029_5
Place the jars into the canner. Allow to come back up to a boil and then process as you would with any normal canning.
Pints: 55 minutes at 10 lbs.
Quarts: 75 minutes at 10 lbs.

After processing you once again follow normal canning procedures. Allow the pressure to come down before removing the top. Place on a towel and cover allowing to cool overnight. Wash the jars before putting up.

You can eat at will and its yummy!

Give it a try and share…
survivingshtfmom

20141029_6

20141020_5Need a great way to keep real butter safe? Can IT! Yes, you can can butter, safely, effectively and it’s a great way to save freezer space and/or refrigerator space plus put some up just in case the hard times hit.

I will note, this works for REAL BUTTER ONLY. Do not use ‘butter’ that isn’t real, the result will be a mess.

What you will need:
REAL BUTTER
Water Bath Canner
Pint or ½ Pint Canning Jars
Pot to melt butter in.
Vinegar
Small Towel

Prior to beginning melting your butter, be sure your lids are clean. DO NOT simmer your lids continuously, the lids you find now on store shelves do NOT require this and in fact you face seal failure if you keep them simmering. I will place my lids into a pot of water being to a boil and the minute they ‘boil’ I take them off the heat and set aside. They stay warm, but this doesn’t harm the new ‘rubber’ on the lids.
Wash your jars and place onto a cookie tray the whole thing goes into a 250 degree oven (this keeps them ‘clean’ as the temperature kills any bacteria or gremmies). This will also help to keep water out of your jars and will help to ensure a good seal on the jar with the new lids.

I started out with 3 lbs of butter in sticks. Unwrapped each one and then sliced up into my pot.
20141020_1
Melt all the way down.
20141020_2
While doing this I brought my canning water (water bath canner) up to a boil (2 inches of water in it).
After melting the butter all the way down get the jars out of the oven. Then pour the melted butter into ½ pint jars (if I have no refrigeration I figured the smaller size would be best for keeping it once opened) leaving ½ inch head space.
Put a bit of vinegar onto your small towel to wipe the jar lip and screw on area clean. Be sure to do this step. I use vinegar as it works best on ‘fats’ to cut it/clean it.
20141020_3

Put your lids and rings on as usual.
Place all jars into the water bath canner.
Once it comes back to a boil, place the lid on it.

For ½ pint jars you will process for 20 minutes.
Pint jars require 30 minutes
Quartz will require 45 minutes.

After processing take out and cool as you normally would.
On a towel with the jars covered to make the cooling process slow.
20141020_4

And here is the TRICK for getting great results with canning your own butter:
After a couple of hours of sitting, come back and SHAKE each jar well about every 10 to 20 minutes until set solid.

And you are done!

Here is the finished project:
20141020_5

stay safe, enjoy and be prepared!
survivingshtfmom

immune systemOur immune system is what keeps us from getting sick and it is our own personal defense weapon (so to speak). Keeping the immune system in top shape, especially during viral season or during a time of crisis is actually pretty easy and can be done through a variety of methods. Our diet, being touched (yes touched in a positive way) stress reduction, getting enough sleep, and two specific herbs for the immune system plus herbs and foods that fight stress called adaptogens. An article on stress and the immune system can be found here.

Research has constantly noted that the healthier the immune system, the less likely you are to be infected and if infected, the less severe the infection will be. This has been proven time and time again amongst those living with HIV/AIDS, Lyme disease and even people who ‘catch’ the flu.

Our dietary habits become job #1 when we start talking about strengthening our immune system. Sugar, especially processed sugar actually depresses our immune system. And this includes all those artificial ones. Alcohol, drug use, processed foods also are of concern limit these as much as possible.

From top down lets talk about some of THE best supportive foods for the immune system.

Yogurt. People who consume REAL yogurt or Kefir without all the artificial ingredients (and no, not the low fat stuff either!) on a regular basis report few sick days. How? The body’s white blood cell count increases greatly and the GI tract (where many infections take hold of first) remains very healthy due to its bacterial community being strong. Suggested 2wo 6-ounce servings a day.

Oats and barley. Studies have shown that animals (and we are animals ehmm) that eat a mix of oats and barley regularly have fewer infections, including influenza. Suggested at least one in your three daily servings of whole grains.

Garlic. Regular intake of garlic boost the immune functioning. Studies have shown that people eating or taking garlic had a much higher rate of staying healthy than those who didn’t. Suggested two raw cloves a day and add crushed garlic to your cooking several times a week.


Selenium-rich foods. These foods help to clear infections FROM the body. In descending order of how much is found, highest to lower.

Brazil nuts
Fish:
Suggested at least two servings a week.
Tuna
Cod
Halibut
Sardines
Flounder
Salmon
Poultry:
Chicken
Turkey
Sunflower Seeds

Shellfish:
Oysters
Mussels
Shrimp
Clams
Scallops
Meat:
Suggested a 3-ounce serving of lean beef provides about 30 percent of the Daily Value (DV) for zinc. That’s often enough to make the difference between deficient and sufficient. Not a beef person? Try zinc-rich oysters, fortified cereals, pork, poultry, yogurt, or milk.
Liver
Beef
Lamb
Pork
Eggs
Mushrooms
Whole grains
Wheat germ
Onions
Garlic
Asparagus
Broccoli
Tomatoes.

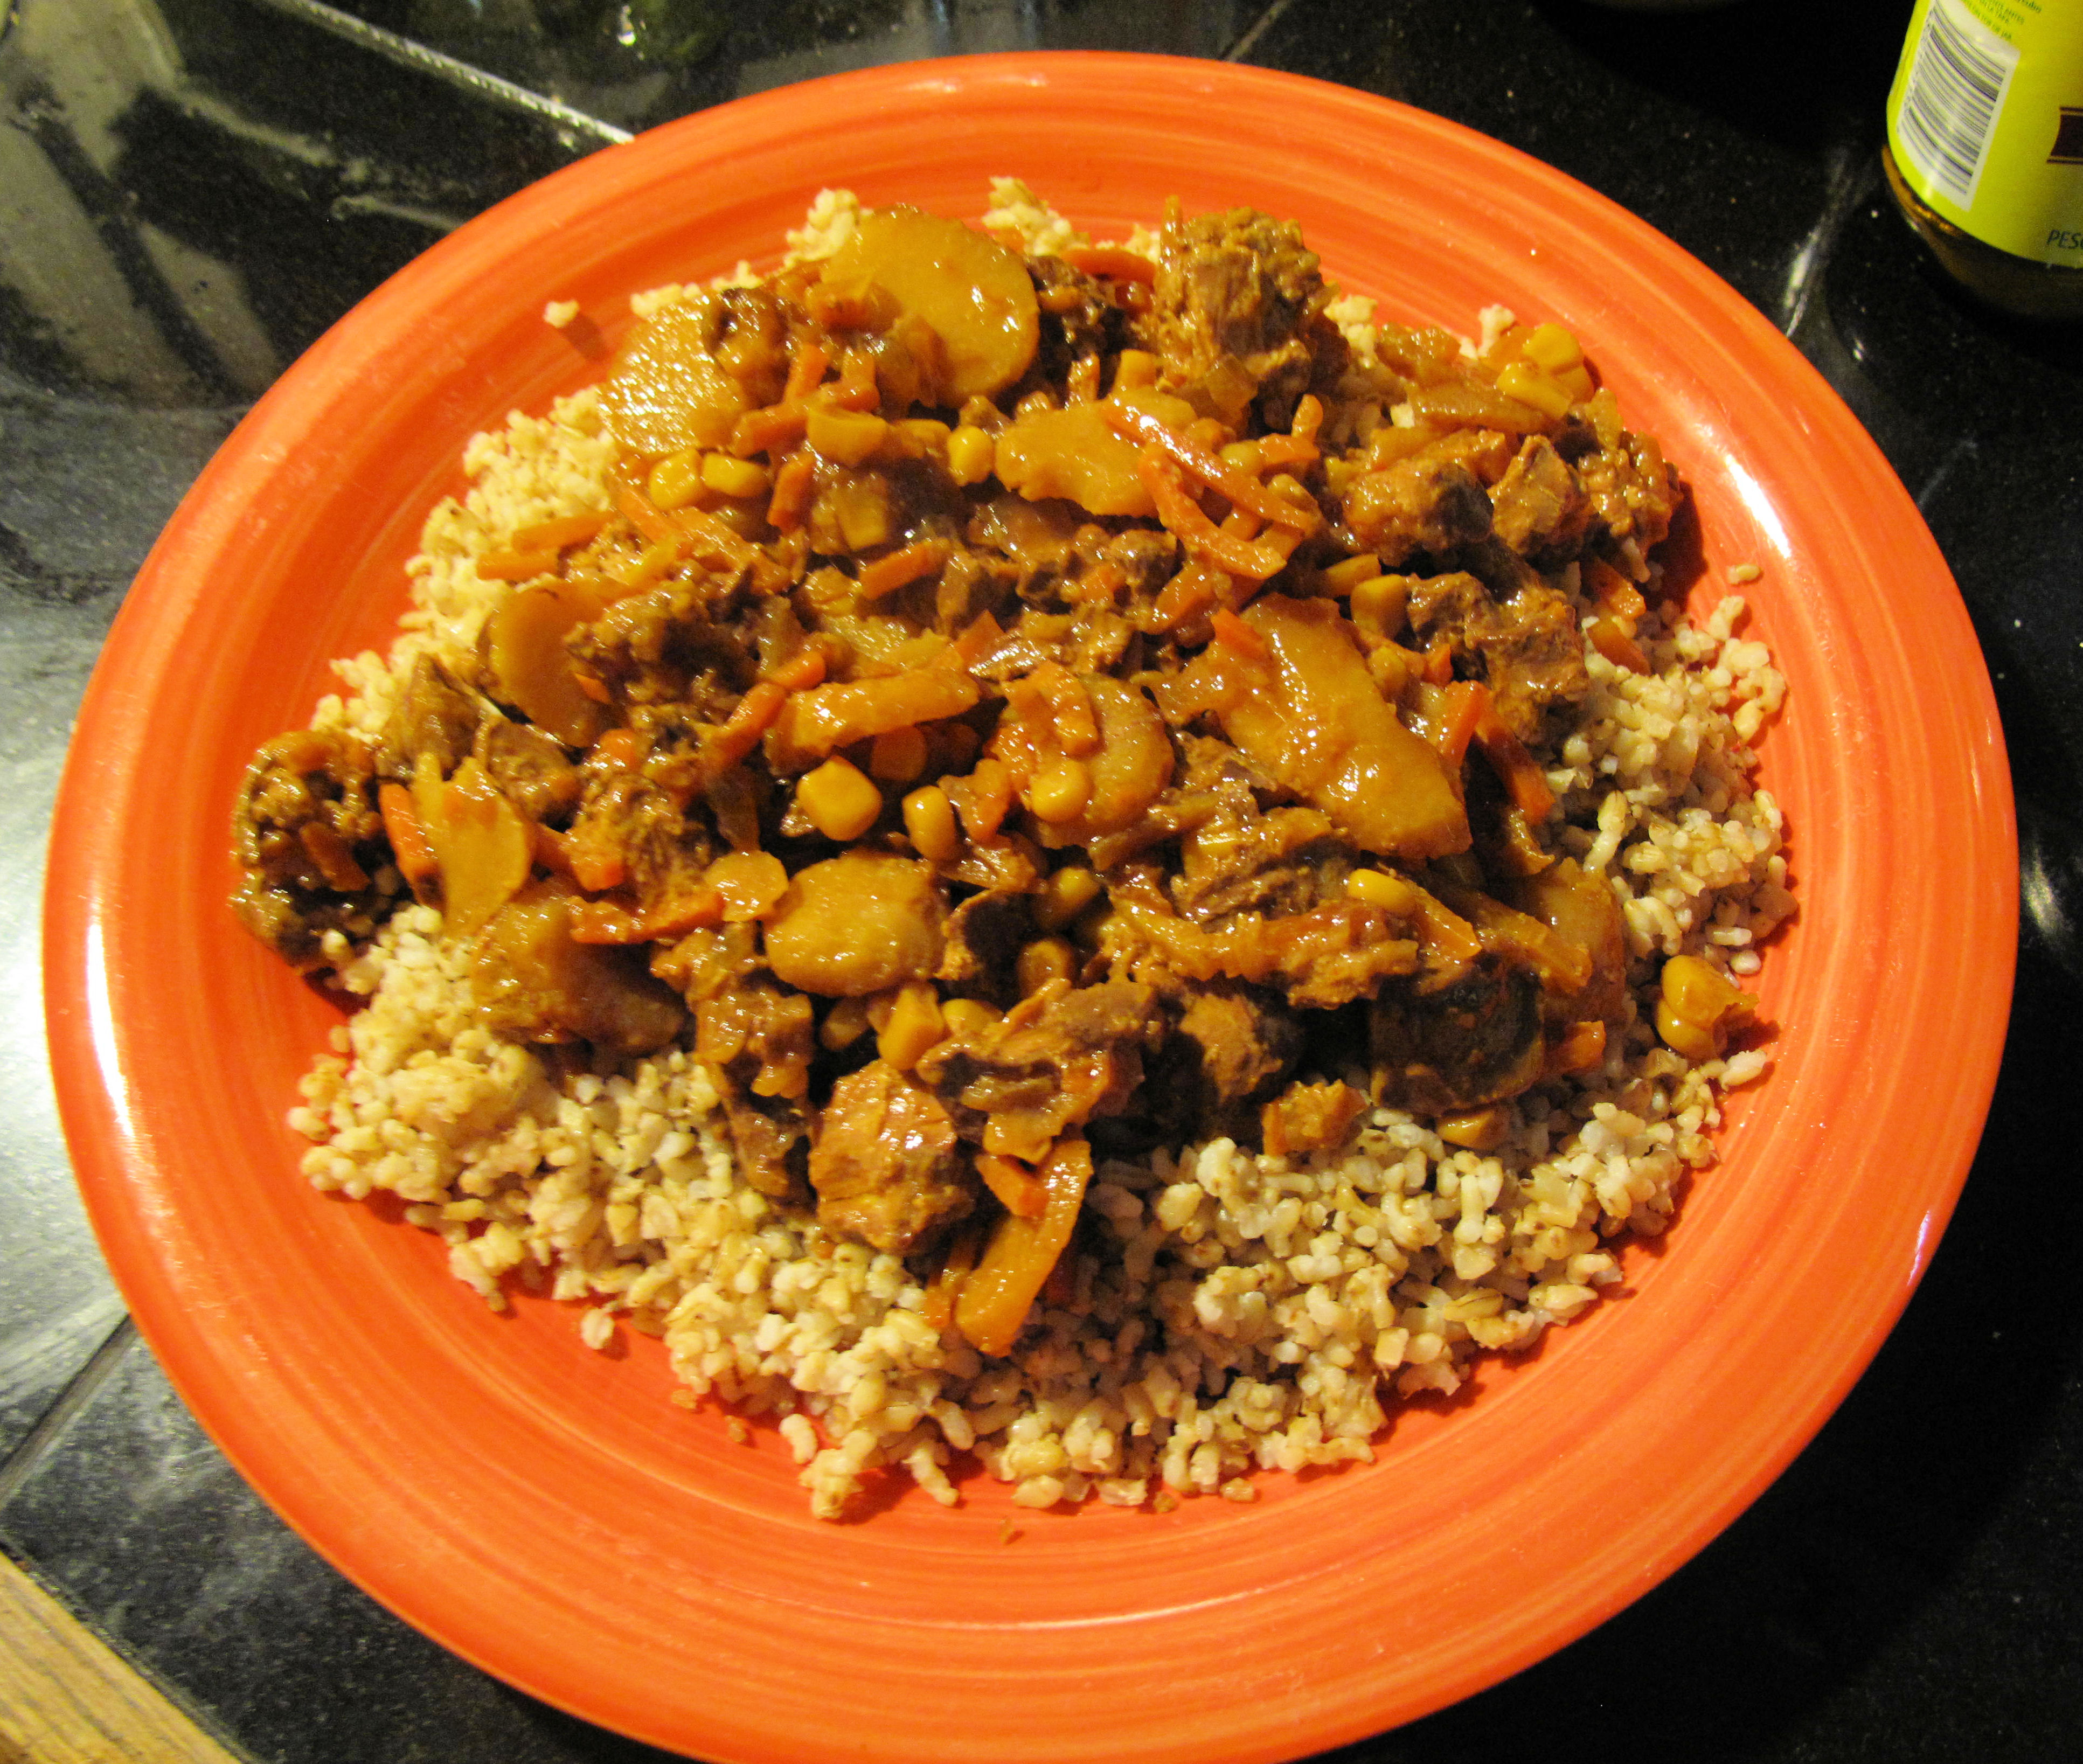
Remember how mom used to make Chicken Soup when you got sick? Well, it does work.

Black tea increases interferon levels which is what the immune system needs. Suggested several cups daily. To get up to five times more antioxidants from your tea bags, bob them up and down while you brew.

Zinc-containing foods…zinc plays an important role in the immune system. Zinc enhances many actions of the immune system including T cells. Higher amounts can be found in these foods:
Oysters
Wheat germ
Liver
Seeds
Sesame
Pumpkin
Squash
Watermelon
Roast beef
Dark chocolate
Cocoa
Lamb
Peanuts
Garlic
Chickpeas
Mushrooms
Ginger
Broccoli (and other braccea’s)
Red bell pepper
Oregano

So you can see that indeed you are what you eat. Simple dietary changes can make a big difference in your immune system and how well your body can fight off invaders.

And there are two specific herbs that very specifically reduce the cytokine cascade (known as an immune system response storm which can in and of itself be harmful) that many viruses cause and also just happen to cause the right immune system response to reduce viral invasion within the body.

#1 Astragalus
You can eat this root as food, take as a tincture, water extract, tea, or powder. Best way to use this herb is to cook with it or using as a tea as heat releases the best immune system boosters/viral fighters.

To make an tincture/water extract:
5 ounces of astragalus root (powder or shredded root)
12.5 ounces of water

Place the astragalus and water into a pot…bring to a boil. As soon as it boils put a lid on the pot and get off the heat, setting it aside to steep overnight. The next day put ALL of this into a jar and place the lid on the jar. Put aside for the next two weeks and if you remember, shake it once in a while. After two weeks, strain the powder or root out and then add 12.5 ounces of pure grain alcohol to the steeped water so it stays good for up to one year in a cool dark place. Shake well before using.

You can then pour this tincture/extract into smaller bottles for ease of use. Per Stephen Bhuner:
30-60 drops up to 4 times daily as a tonic
In chronic illness conditions take 1 tsp 4 times daily
As a preventative from viral infections 1 tsp 4-6 times daily
IF SICK take 1 tsp about every 3 hrs

To make a tea to drink through out the day put about 3 ounces of astragalus into 1 quart of hot water and allow to steep for approximately 3 hours, strain and drink. Any leftovers can be kept in the refrigerator for a few days.

Powder form: (which can be mixed into food, water or capsules)
Chronic conditions: 1 tablespoon 3 times per day
If sick, 2 tablespoons 3 times per day

From the book Herbal Defense you can make this broth using astragalus:
Ingredients:
3 cups water or vegetable broth
1 ounce astragalus
1 bulb (5-10 cloves) garlic
Salt/pepper to taste

Combine water/broth, astragalus, garlic and simmer for several hours until garlic is soft. Season with salt and pepper to taste. Consume all the broth if you feel something coming on or take a cup or two through out the week to prevent infection. Consume the cooked garlic separately or leave in the broth.

You can even use the powder when making barley, rice or anything else, the point is that you can use this herb in your cooking to kick up the immune system a notch.

Please note: those with auto-immune diseases may be sensitive to this herb. Those with late stage Lyme disease should avoid as it may make it worse.

Cordyceps is an herb that is used as a food. It is indicated that one should consume 3 to 9 grams per day. For preventative measures/strengthening 6 grams a day. If actively sick then 12 grams per day. Please keep in mind that most OTC capsules are 500 to 1,000 mg measurements. So if you get 500mg you will need to take 12 capsules to get 6 grams. 1000 mg capsules you will need to take 6 to get 6 grams.

So, eat healthy and reduce your stress. Food and herbs for your immune system are readily available to you, some directly help and others support. A few simple changes now might just keep you healthy!

As always, please keep in mind that I am not a professional healthcare provider, I am just very passionate about helping others help themselves and all information is taken directly from professional resources.

Stay safe and be prepared.
Survivingshtfmom

References:

http://www.health.harvard.edu/flu-resource-center/how-to-boost-your-immune-system.htm

http://www.organicgardening.com/living/9-foods-boost-immune-system

Herbal Antivirals by Stephen Harrod Buhner