Jerky…a staple of those who hunt, camp, hike or just enjoy being able to eat a high protein snack without cooking. I have been making jerky for about 20 some odd years now and want to share a few ‘secrets’ to making it. You can make jerky out of ANY type of meat, including fish, deer, beef and chicken.
I personally got started making jerky when I was blessed with A LOT of venison/deer meat and had no idea how to cook it. After several not so good attempts at making normal meals out of the venison my hunter friend mentioned how much he liked jerky and asked if I could make that for him. And that is how I got into the jerky making business. It’s fun, easy and tasty and it doesn’t matter much what you are trying to use. For purposes of this article I will be speaking about making chicken and beef jerky.
First things first, people almost always ‘question’ homemade jerky and freak out about the safety of eating it (after all its NOT cooked) and how long you can keep it safely. If you do it right neither of these two things will matter. I have eaten my own personal jerky that was over 3 years old…no problems!!! But it usually doesn’t last that long. So, without further ado let’s get making jerky!
What you will need:
Your protein source (meat..fish, beef, chicken, deer, whatever!)
Salt (or high sodium content marinating sauce)
Seasonings of choice (if making your own)
Dehydrator
For simplicity’s sake I typically use BBQ sauce, or salad dressing or Worchester sauce…almost ANYTHING that you could use for marinating your protein.
The REAL trick is to have a high sodium content in your marinating sauce. This ‘cures’ the meat so that no nasty critters/germmies can grow. You want at least 40% of your ‘daily’ sodium allowance to be in your marinating sauce. Not hard to do really especially if you use soy sauce (which I did for this particular batch).
I used a honey mustard salad dressing (one bottle) and then ½ of one bottle of soy sauce. Just stirred together…use your imagination here. I have been known to just add table salt to increase the sodium content. Typically 1 tablespoon to 1 cup marinating sauce. I have been known to make my own ‘salad dressing’ and just add the extra salt. Don’t be afraid to have fun here to make new and interesting tastes! As a note: if you happen to decide to use venison I typically soak the slices in butter milk and salt to get the ‘game/blood’ out of the meat for about 2 days in the refrigerator. Doing it this way means needing to use less salt for the ‘marinating’ part.

Next, slice your protein into strips no more than ½ inch thick. If you have a lot of fat, trim it off. The thicker the slice, the longer it will take to dry and the longer you will have to marinate. If using chicken, the chicken breast is best for making jerky.


After slicing into thin strip simply put your meat into a ziplock baggie and put in your marinating sauce. Allow to sit for 20 minutes at a minimum in the refrigerator (or counter top). Some of my best jerky has been allowed to sit in its marinating sauce for 2 or 3 days in the refrigerator, especially if I am making large amounts.

Next lay the strips out on your dehydrator trays.


Set the heat level (if you have one) to 155 and leave alone for the next 5 hours.
After 5 hours come back and check for doneness. It should be ‘dry’ but flexible but ‘hard’ too. I have found that chicken and fish dry much faster than denser types of meat such as beef. If not done yet, check back about once an hour until it passes the flexible, dry and hard test.
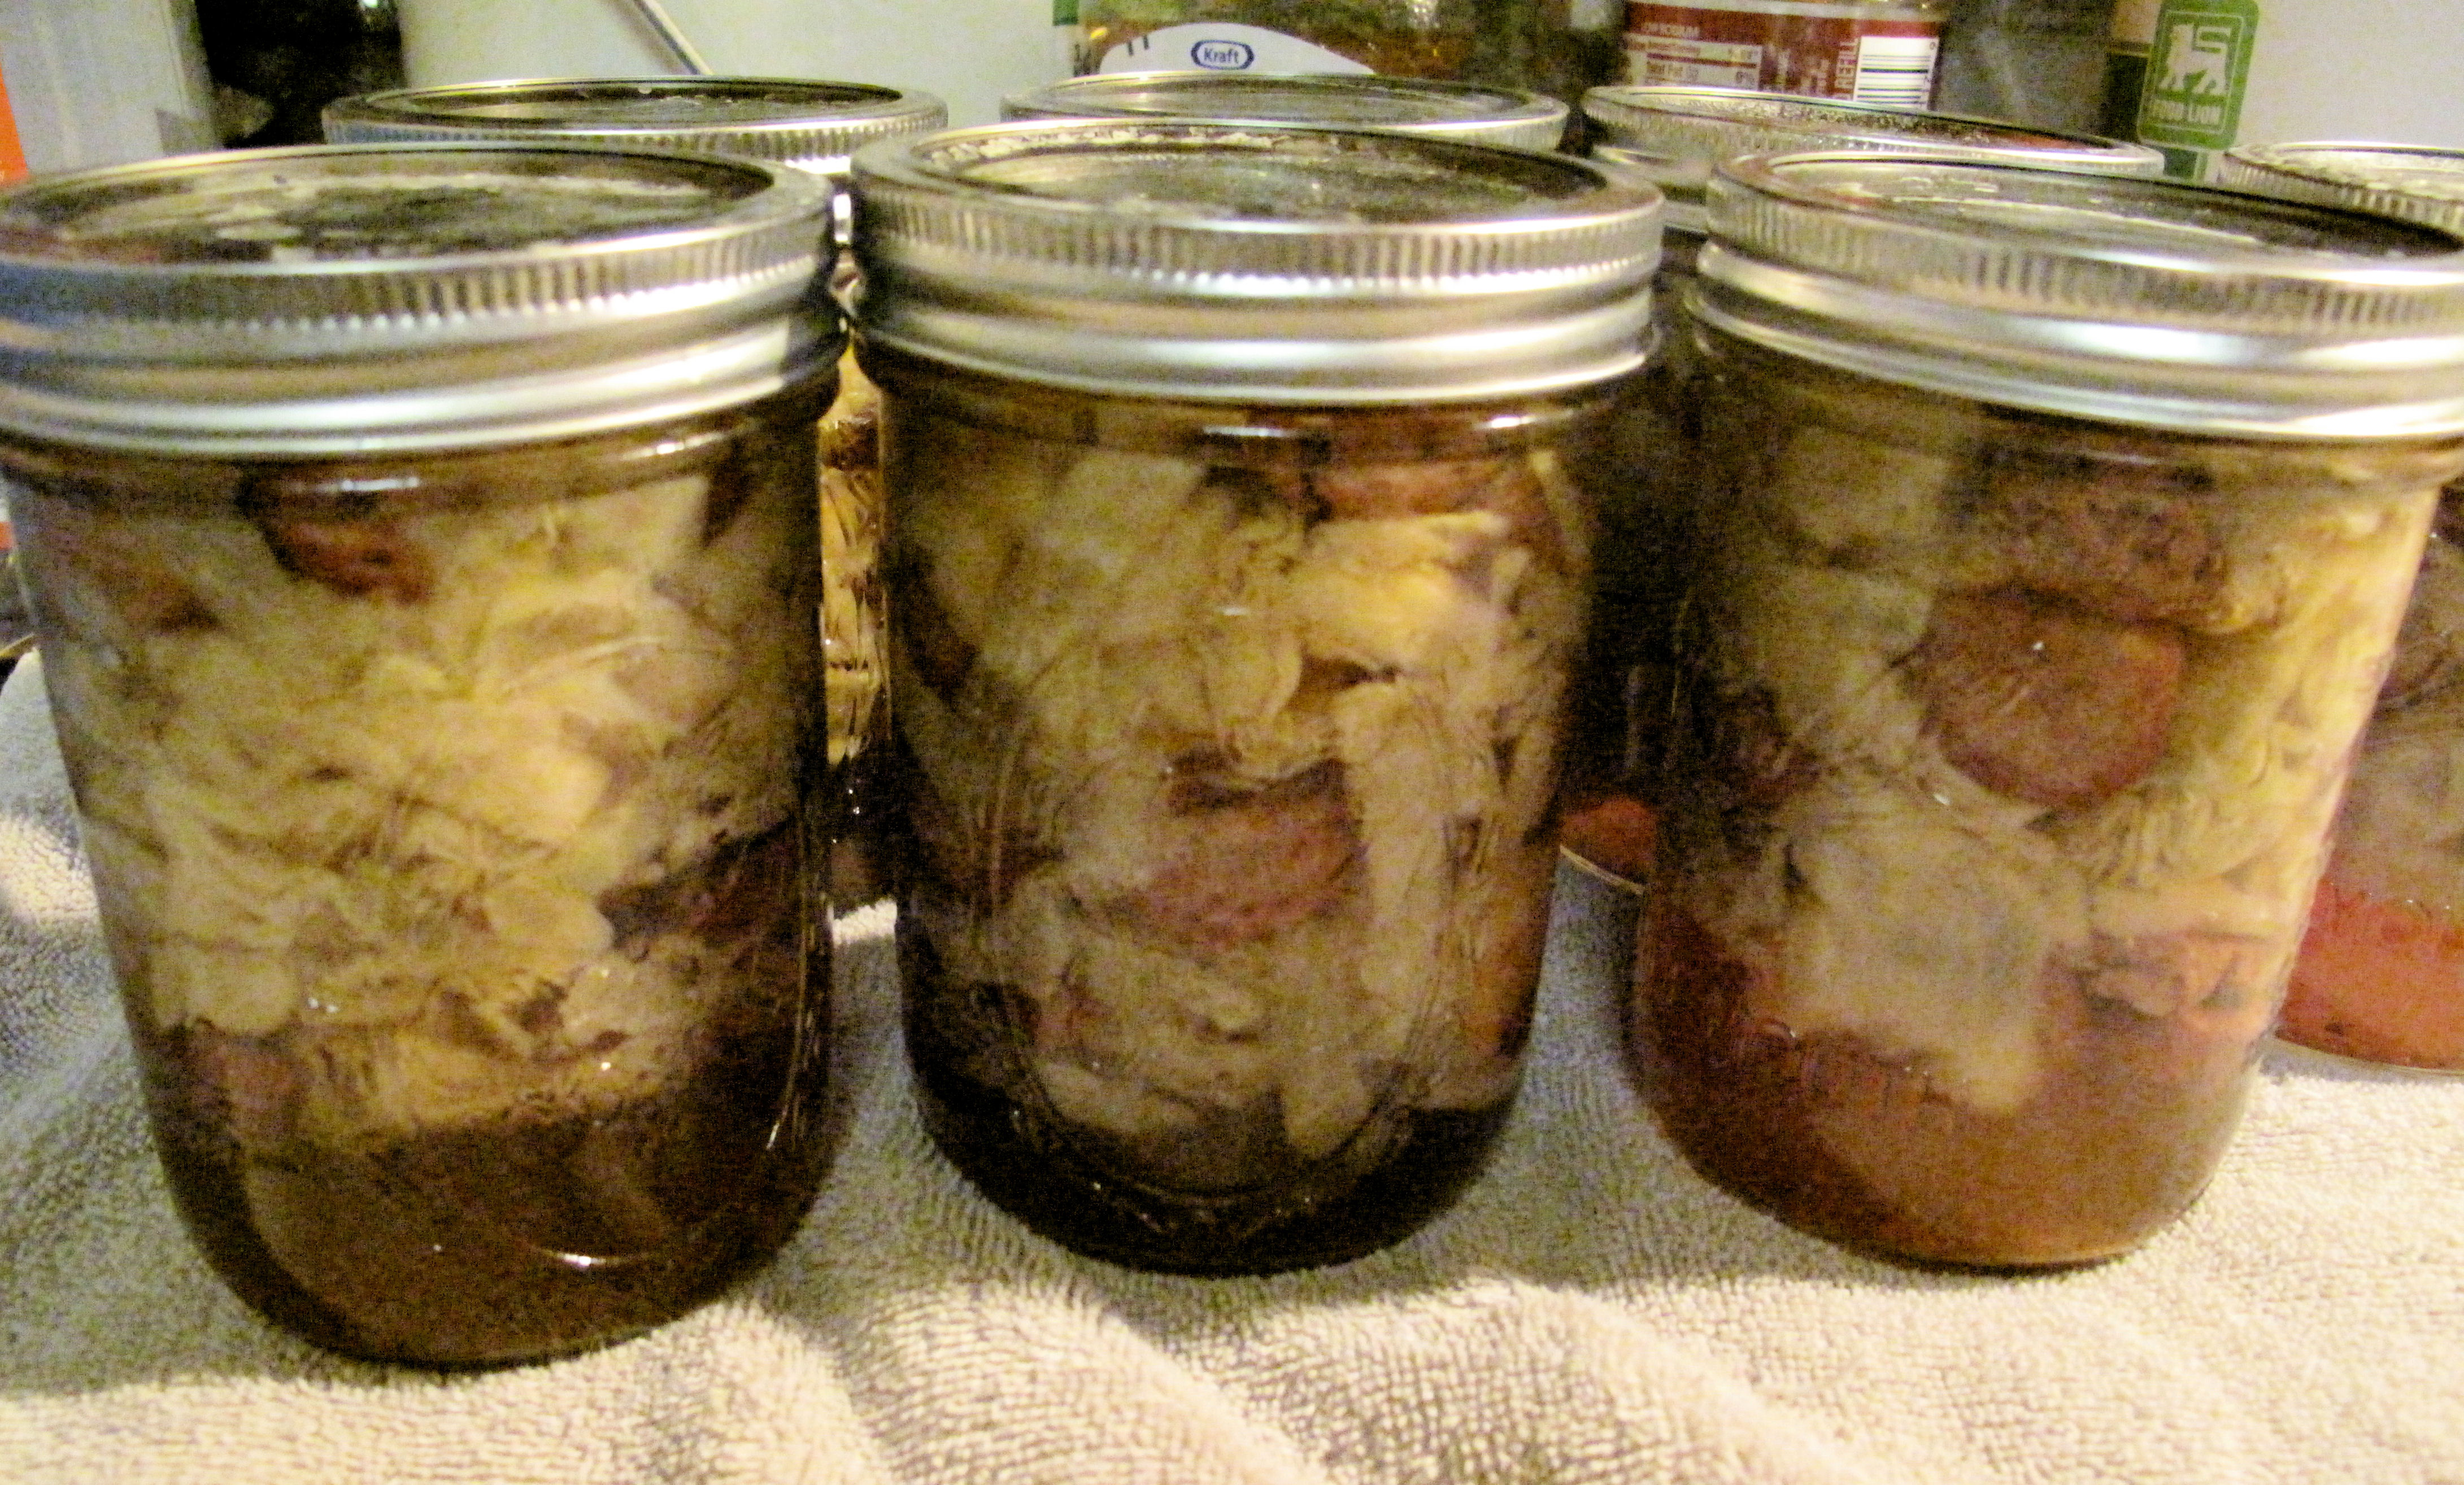
Once you have the jerky ‘made’ let it sit to cool off for several hours. This is important to avoid moisture being trapped into the bag that you will place your finished jerky in.
Now there are 2 schools of thought on how to store homemade jerky. If you are going to eat it quickly, say within a couple of months, simply putting the jerky into a zip lock baggie will work and you can keep in a coolish dark place. However, if you are planning on long term storage you will want to vacuum seal it. Personally I vacuum seal a personal sized serving of the jerky and then place into 5 gallon buckets (yes, I make that MUCH!!!). One note on both methods, be sure that no pin prick holes are made in the storage bag, this allows moisture and air to get into the bag. Whenever I vacuum seal I will generally allow the sealed bags to sit over night and then reseal (double bag) any bags that have air in them, not doing so will shorten the shelf life. Or, you can just use that unsealed bag first.
Have fun! It takes just a little bit of work to make your own jerky but it tastes awesome and people will beg you for it!
Stay safe and be prepared
survivingshtfmom