
 Got up way too early this morning to go deer hunting after spending quite a bit of time getting ready to hunt the night before…and well, rain, drizzle, nothing was moving not even a squirrel and then my new neighbor got in on the act around 11 am with his AR-15…enough said, maybe I will head back out towards dusk just to see what’s up, but YAWNNN…
So…what to do? What to do? No fun being damp, standing around waiting for the mythical deer to appear at this point, even they have enough sense to stay put on this dreary day. Back home looking at the laundry and wondering what to eat and lo and behold, there is the bag of Beautyberries that have been collected over the past couple of weeks. My person, had originally collected a bit while I was taking my hunter safety course couple weekends ago and my mother and I collected another 2 lbs when I went out to collect the trail cam.
When it comes down to it, if its FREE its for me 🙂
These purple beauty berries have been hanging out just waiting on me to get around to making jam with them and so, with little else that I really want to do (funny how rainy days make you feel that way!) I set out to make American Purple Beautyberry Jelly. Not difficult at all really unless of course your syrup pot full of sugar boils over (lesson learned…always use a pot twice the size you think you will need when making any jam!).

Purple Beautyberry Jelly
What you will need:
LOTS of Beautyberries!!
Sugar
Liquid Pectin (this is important, the dry pectin doesn’t produce a good finished product)
Pint Mason Jars
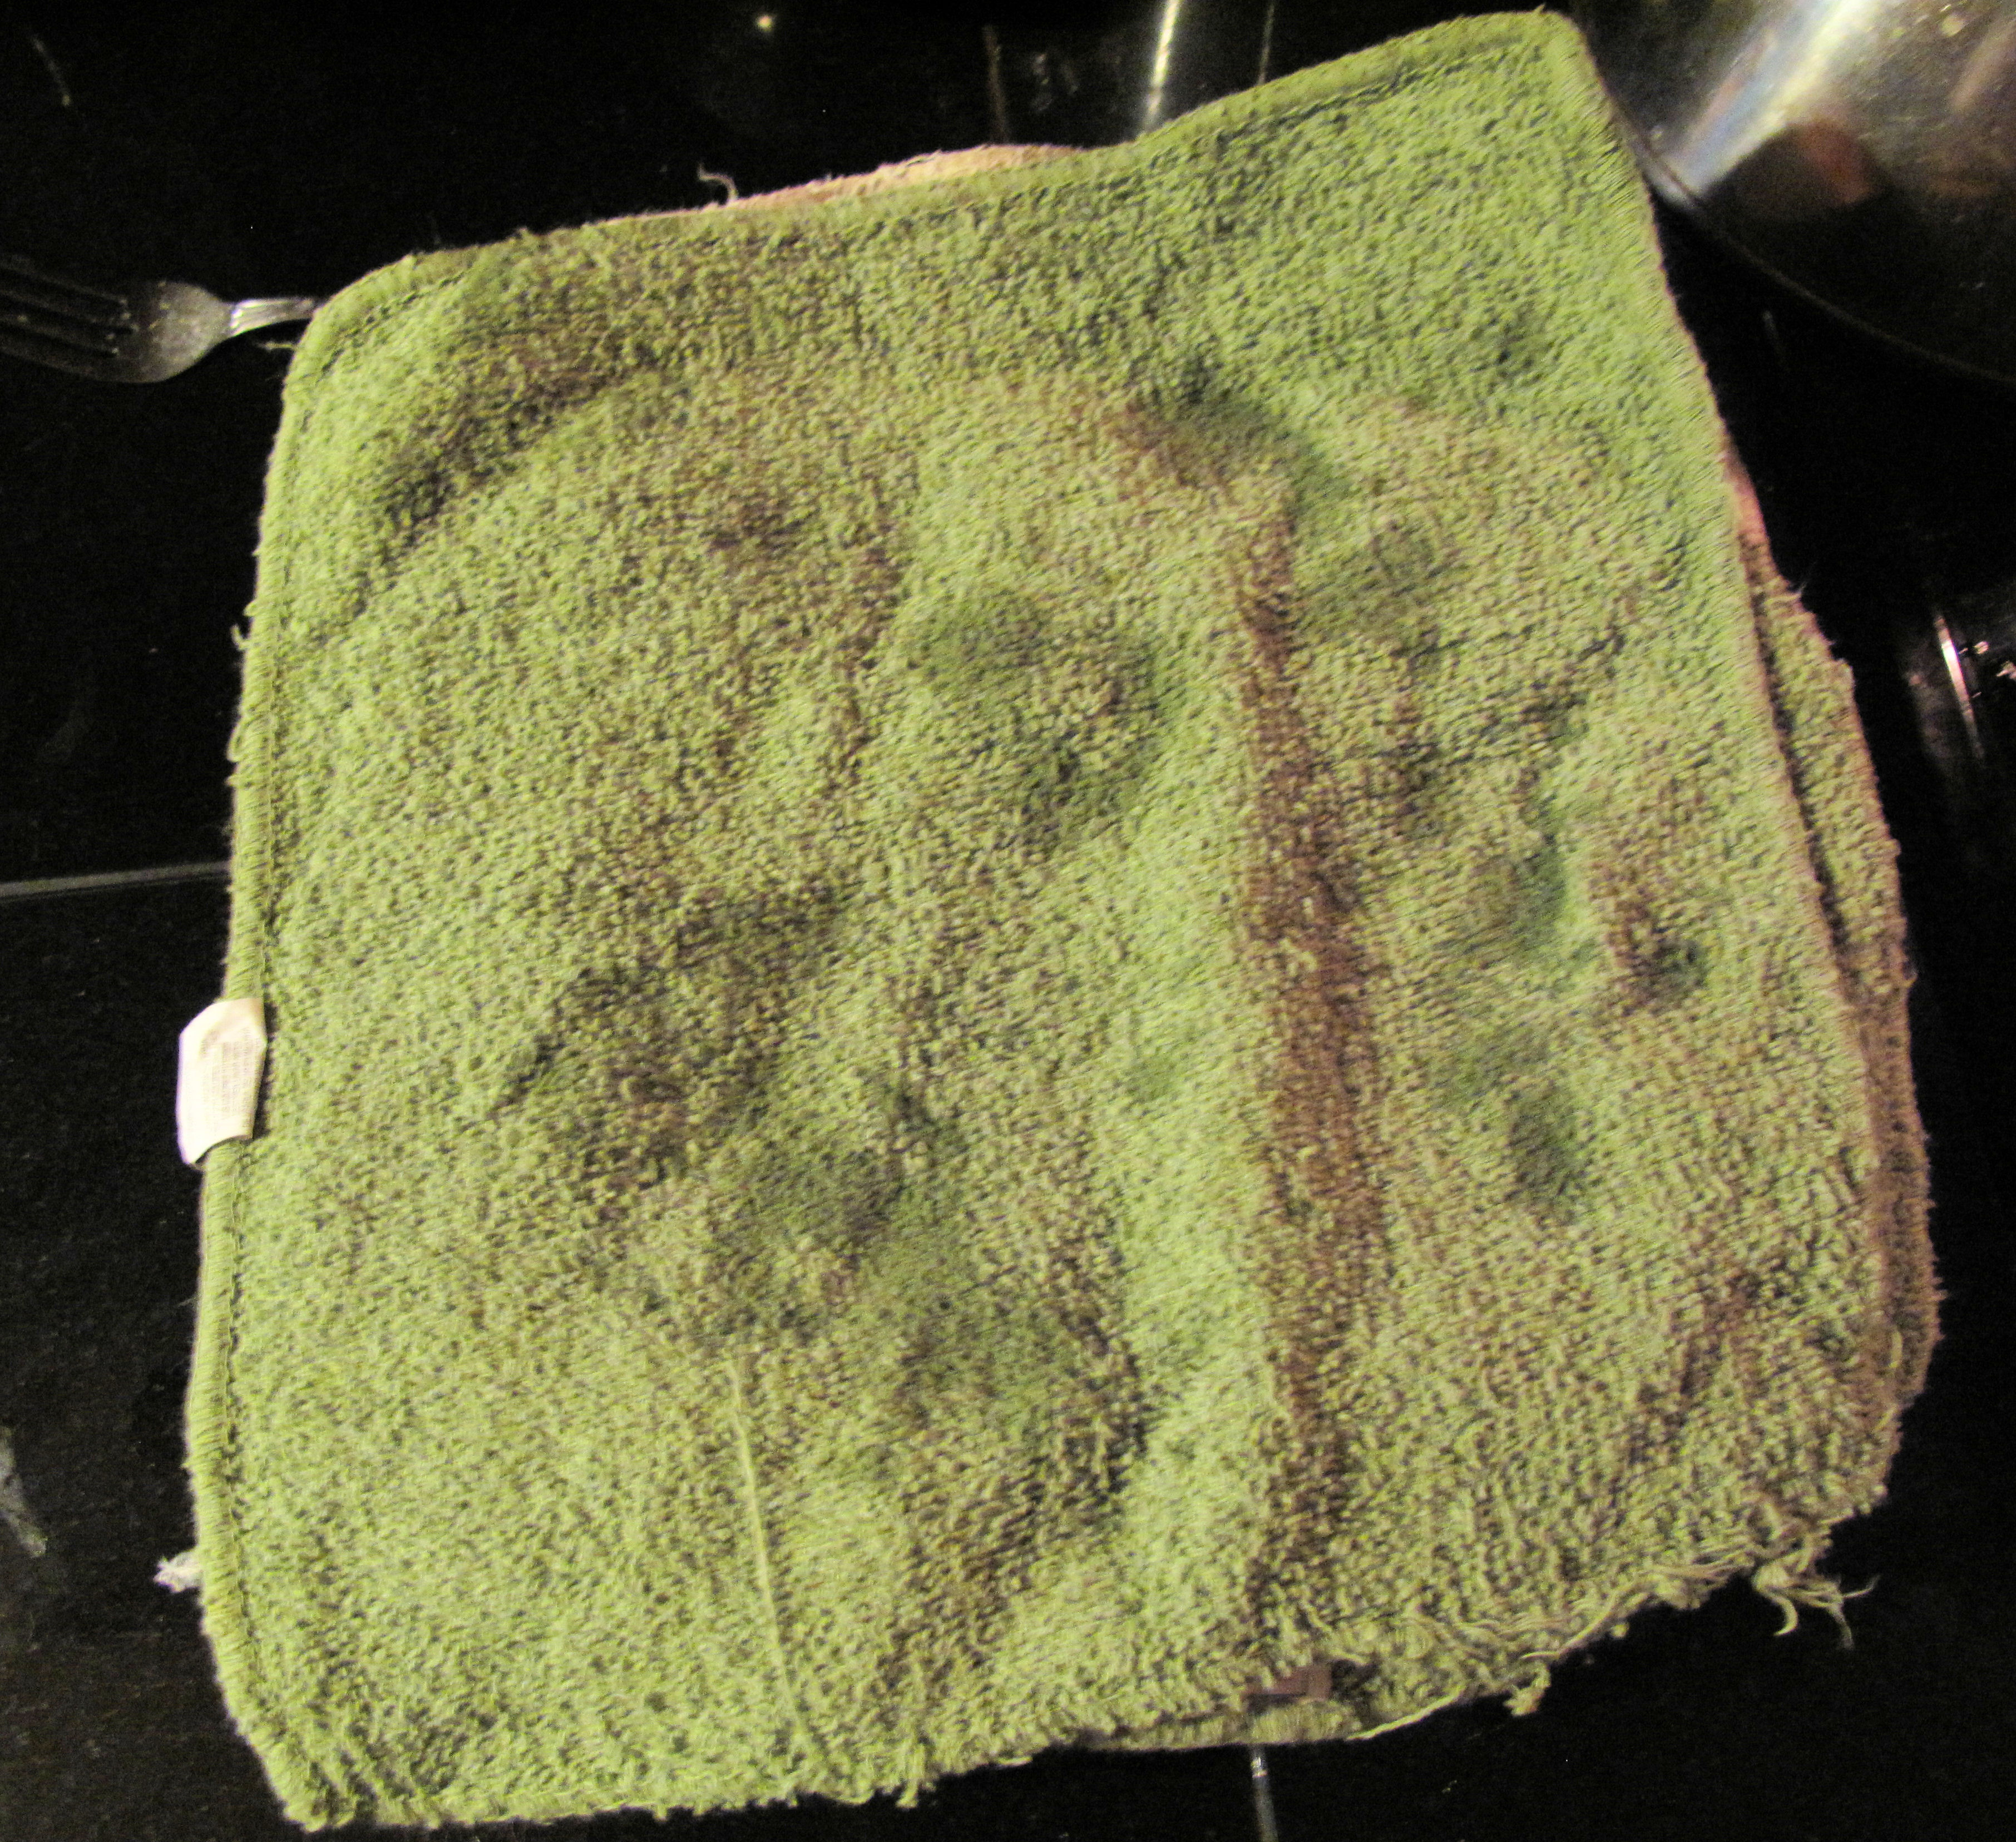
Towels
Pots, Water Bath Canner
Measuring cup
Wooden spoons
Strainer
To begin with, make sure you wash/sterilize your mason jars (I just use the dish water on a light wash, high heat/dry cycle, takes about 1 hr to complete). Also, at the same time get your Water Bath Canner full of water and get it boiling…this too will take about an hour. Then get your mason jar lids and rings into a separate pot and start them on a slow heat up process. You will need to do all of this at LEAST an hour before you start making your jelly…very important!
I borrowed and adapted this recipe from the Eat The Weeds website and it makes approximately 5 pints of Jelly. The website has a lot of good information on how to identify the correct Beautyberry and some other interesting information on this natural DEET plant (crushed up leaves rubbed on your skin is just as effective as DEET apparently for mosquitoes, ticks and fire ants).
American Beautyberry Jelly
1 ½ qts. of American Beautyberries (about 1 lb)
washed and free from stems, leaves and other debris.

2 qts water in large pan/pot
Combine and bring to a roiling boil for 20 minutes.
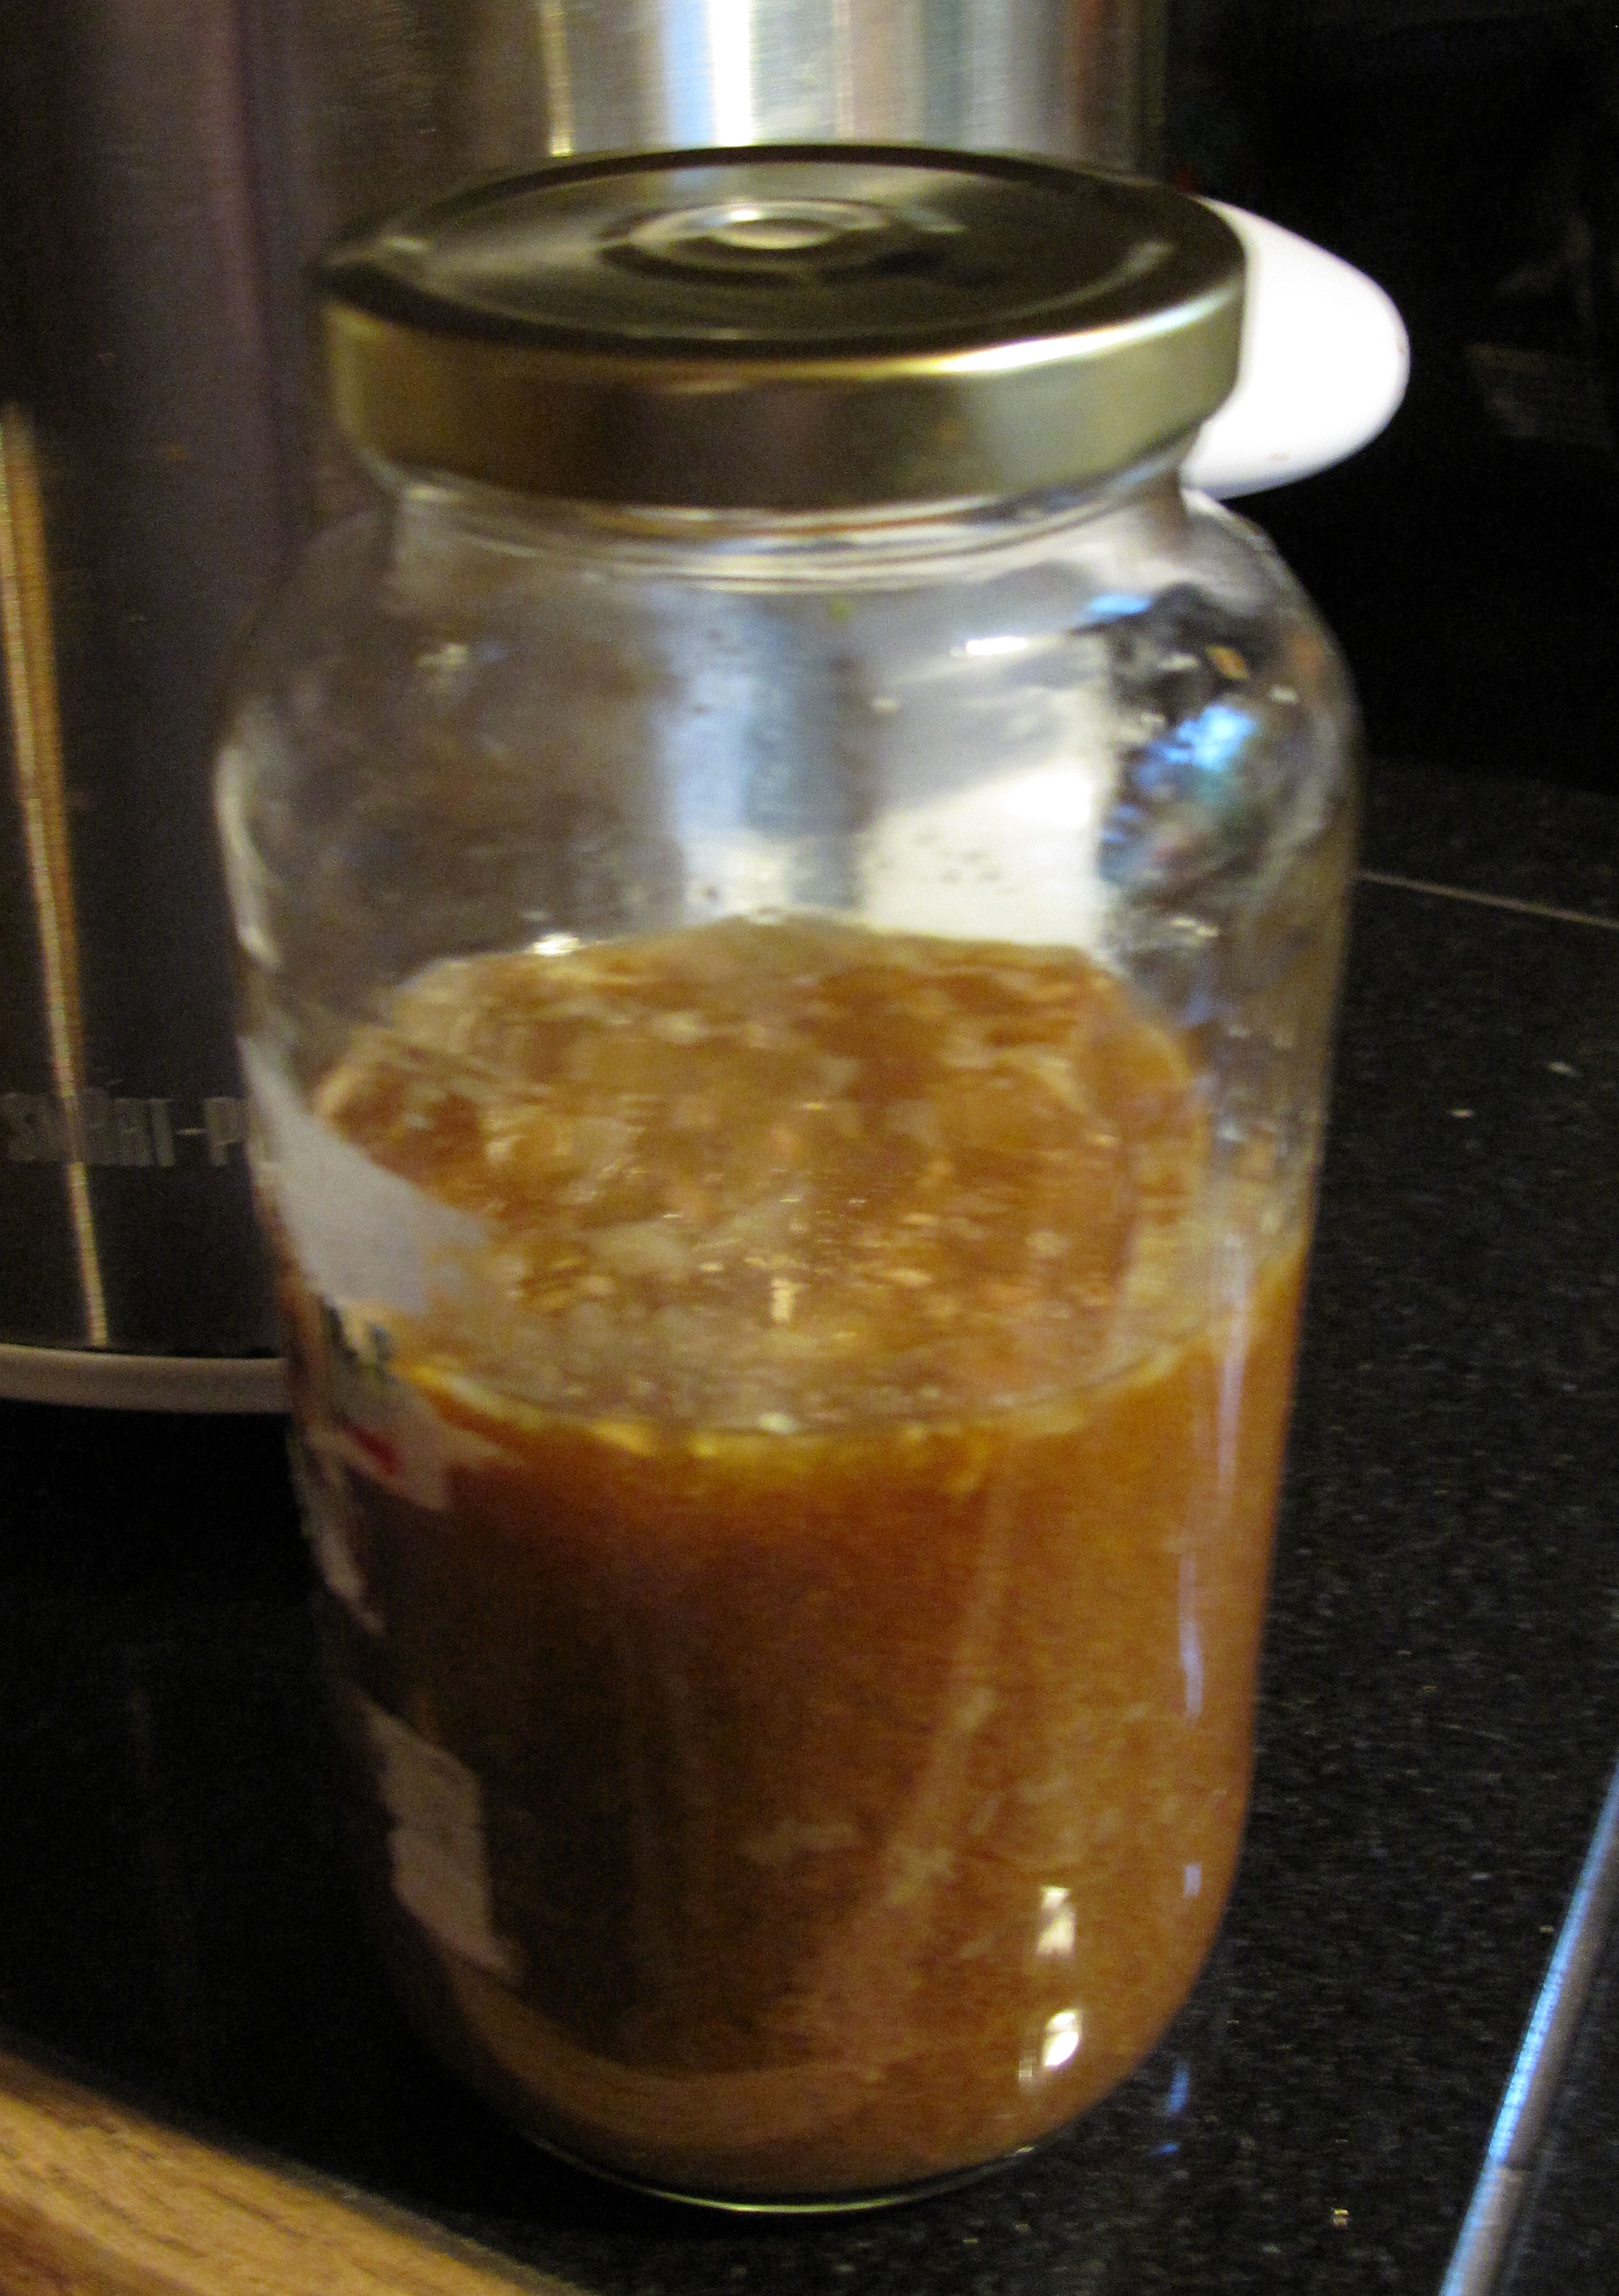
Strain to make an infusion…after boiling and straining it will look like this…

I just put the used berries into the compost pile.
Next, using 3 cups of the infusion (the purple looking liquid/juice), bring to a boil and add 1 envelope of liquid pectin, stir and then add 4 ½ cups of sugar stirring well to make sure all sugar is dissolved. At this time turn up the heat on your lids and rings to get them to a slow roiling boil.
Bring mixture to a second boil for 2 minutes only…this is where it gets fun…boiling sugar likes to really BOIL and I spent about ½ hour cleaning up a nice sugary mess on the stove and floor as I didn’t move fast enough to get it off the heat.
Best practice is as soon as it starts to boil remove from heat…that will give you 2 minutes of boiling without it boiling over. Allow this to cool until a thin foamy cover is formed (wonderful pinkish/purple foam that you will scrape off and best part, you can eat that right away).
While this is mixture is cooling set up your jars on a large towel, turn the heat up on your water bath to get it almost to a boil.
Next, after scraping off the foam (and eating it, after all the work you deserve the sugar!) pour your liquid jelly into your glass mason jars. I like to leave ¼ inch head space when making jams and jellys. (By the way, Ball now makes a WONDERFUL funnel that not only helps to the lip of the jar clean but has ‘head space’ markings…found it at Walmart).

I personally fill 2 or 3 jars, being careful to wipe the lip of the jar with a hot rag before placing the hot lid and then hand tightening the ring down. The new funnel REALLY made a huge difference in how much ‘clean’ up I had to do on the jars, almost NONE.
Having filled all jars and capping them, carefully place all jars into the canning bath basket (if you have one, if not, be sure you have placed something on the bottom of the large pot to keep the glass jar bottoms from touching the metal). Get back to a roiling boil, place lid on top and boil for 5 minutes. Take the water canner/pot off the heat and then take off the lid. Allow to sit for 10 minutes before carefully removing the mason jars. As you remove the mason jars, place on a doubled over towel in an out of the way place, being sure they are not touching and then cover with another towel to allow them to slowly cool for the next 24 hrs. You will hear pinging and such as they seal themselves, this is normal.
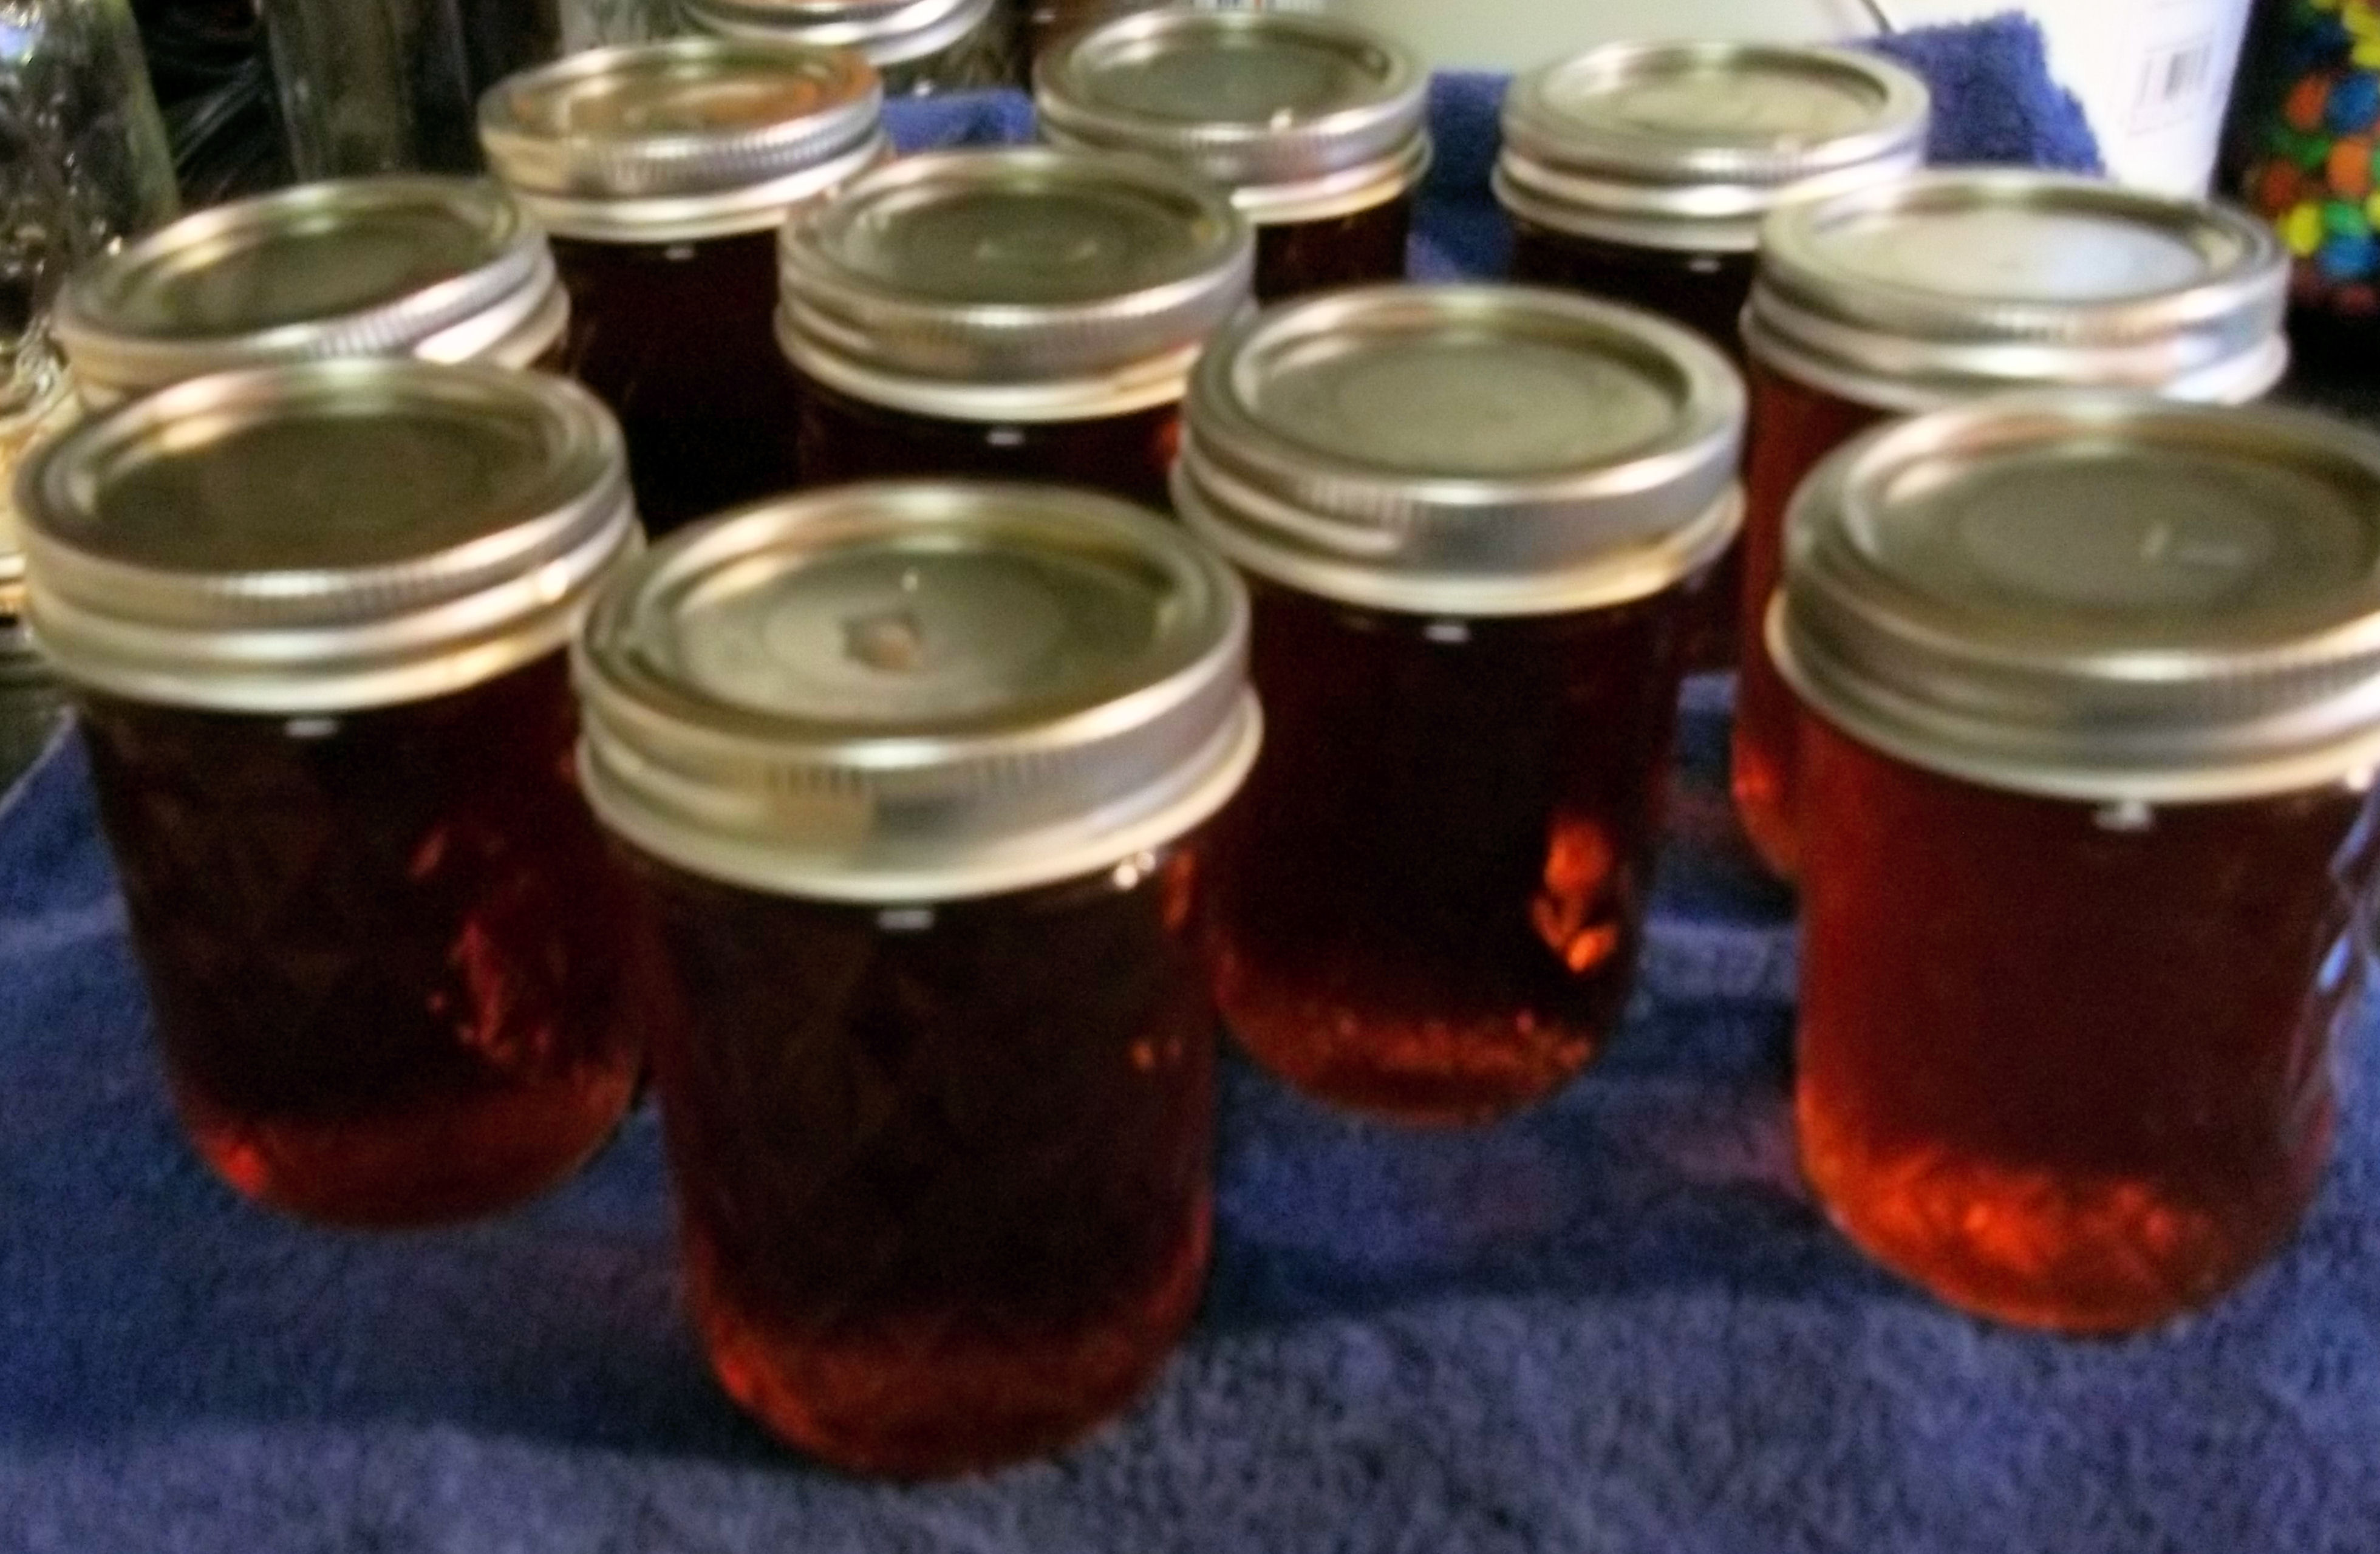
After 24 hrs come back and make sure they have sealed. You do this simply by pushing down on the lid and as long as you have no give, you now have a shelf stable jelly ready to eat whenever ever you want!
Good luck, happy hunting and good, sweet eating!
Green Deane’s “Itemized” Plant Profile
IDENTIFICATION: A small, deciduous shrubs 1 to 2 m in height, leaves opposite, elliptical to ovate, large, with saw-toothed edges. Flowers cluster around stem, funnel-shaped with four clefs. Fruit magenta 2 to 4 seeds, White fruited ones are an escaped cultivar and edibility is unknown.
TIME OF YEAR: Spring and fall in Florida, late summer to fall in northern climes
ENVIRONMENT: Dry,open woods, moist woods, thickets and hammocks, adapted to climates with hot, humid summers and moderate winters
METHOD OF PREPARATION: A few berries can be eaten raw, depending upon your agreeing with the flavor, otherwise makes a great jelly. The berries can be used to make a tea with antioxidants.
HERB BLURB
Native American Indians used the roots and leaves to make a tea to treat fever, dysentery, malaria and rheumatism
The above is also taken from Eattheweeds.com


Product Review A Tale of Two Pressure Cookers
I am all about saving money and getting the most bang for my buck, however, I do live by the rule ‘pay now, pay later, but pay you will’… in other words, you can buy the cheapest or mid-grade item right now, because its ‘cheap’, but you wind up having to replace it later on down road because it wears out faster, quits working or doesn’t work properly because its ‘cheap’.
The flip side to that saying is that sometimes you can find great items, expensive ones on ebay, craigslist or yardsales and be cheap but get the ‘expensive’ product. And that is what I usually like to do, find what I what I want at the cheapest price available.
But sometimes, like with pressure cookers, you really don’t want to buy used (too much of a risk and many time pieces are missing and yes, you can buy the replacements, but that just adds to the cost doesn’t it?) so last year, when I went looking to purchase a pressure cooker I turned to Amazon to get one at ‘cheaper’ price. There were two available by Presto and here is my tale of two pressure cookers:
Of course I wanted to save money so I went with the cheaper 6 quart Aluminum pressure cooker (about $25 at the time) by Presto. And this is a direct quote:
• Cooks three to ten times faster than ordinary cooking methods, saving time, energy, and money.
• Pressure regulator maintains the proper cooking pressure automatically.
• Strong, heavy-gauge aluminum for quick, even heating.
• Includes cooking rack and complete 64-page instruction/recipe book.
• 9-3/4 by 16-2/3 by 8-1/2 inches; 12 year limited warranty.
4 and half stars from over 300 people…heck yeah I thought! The other one available was the Presto 6 quart Stainless Steel pressure cooker and at the time was almost twice the cost…nope, I thought, why spend the extra money for something ‘fancier’ and honestly what I thought was just a ‘shinier’ version designed to make Presto extra money?
And of course, I had done my research on pressure cookers and found mixed comments on using them on induction and glass cook tops (I have a glass one). So…I went cheap, ignoring my ‘pay now, pay later, but pay you will’ rule….
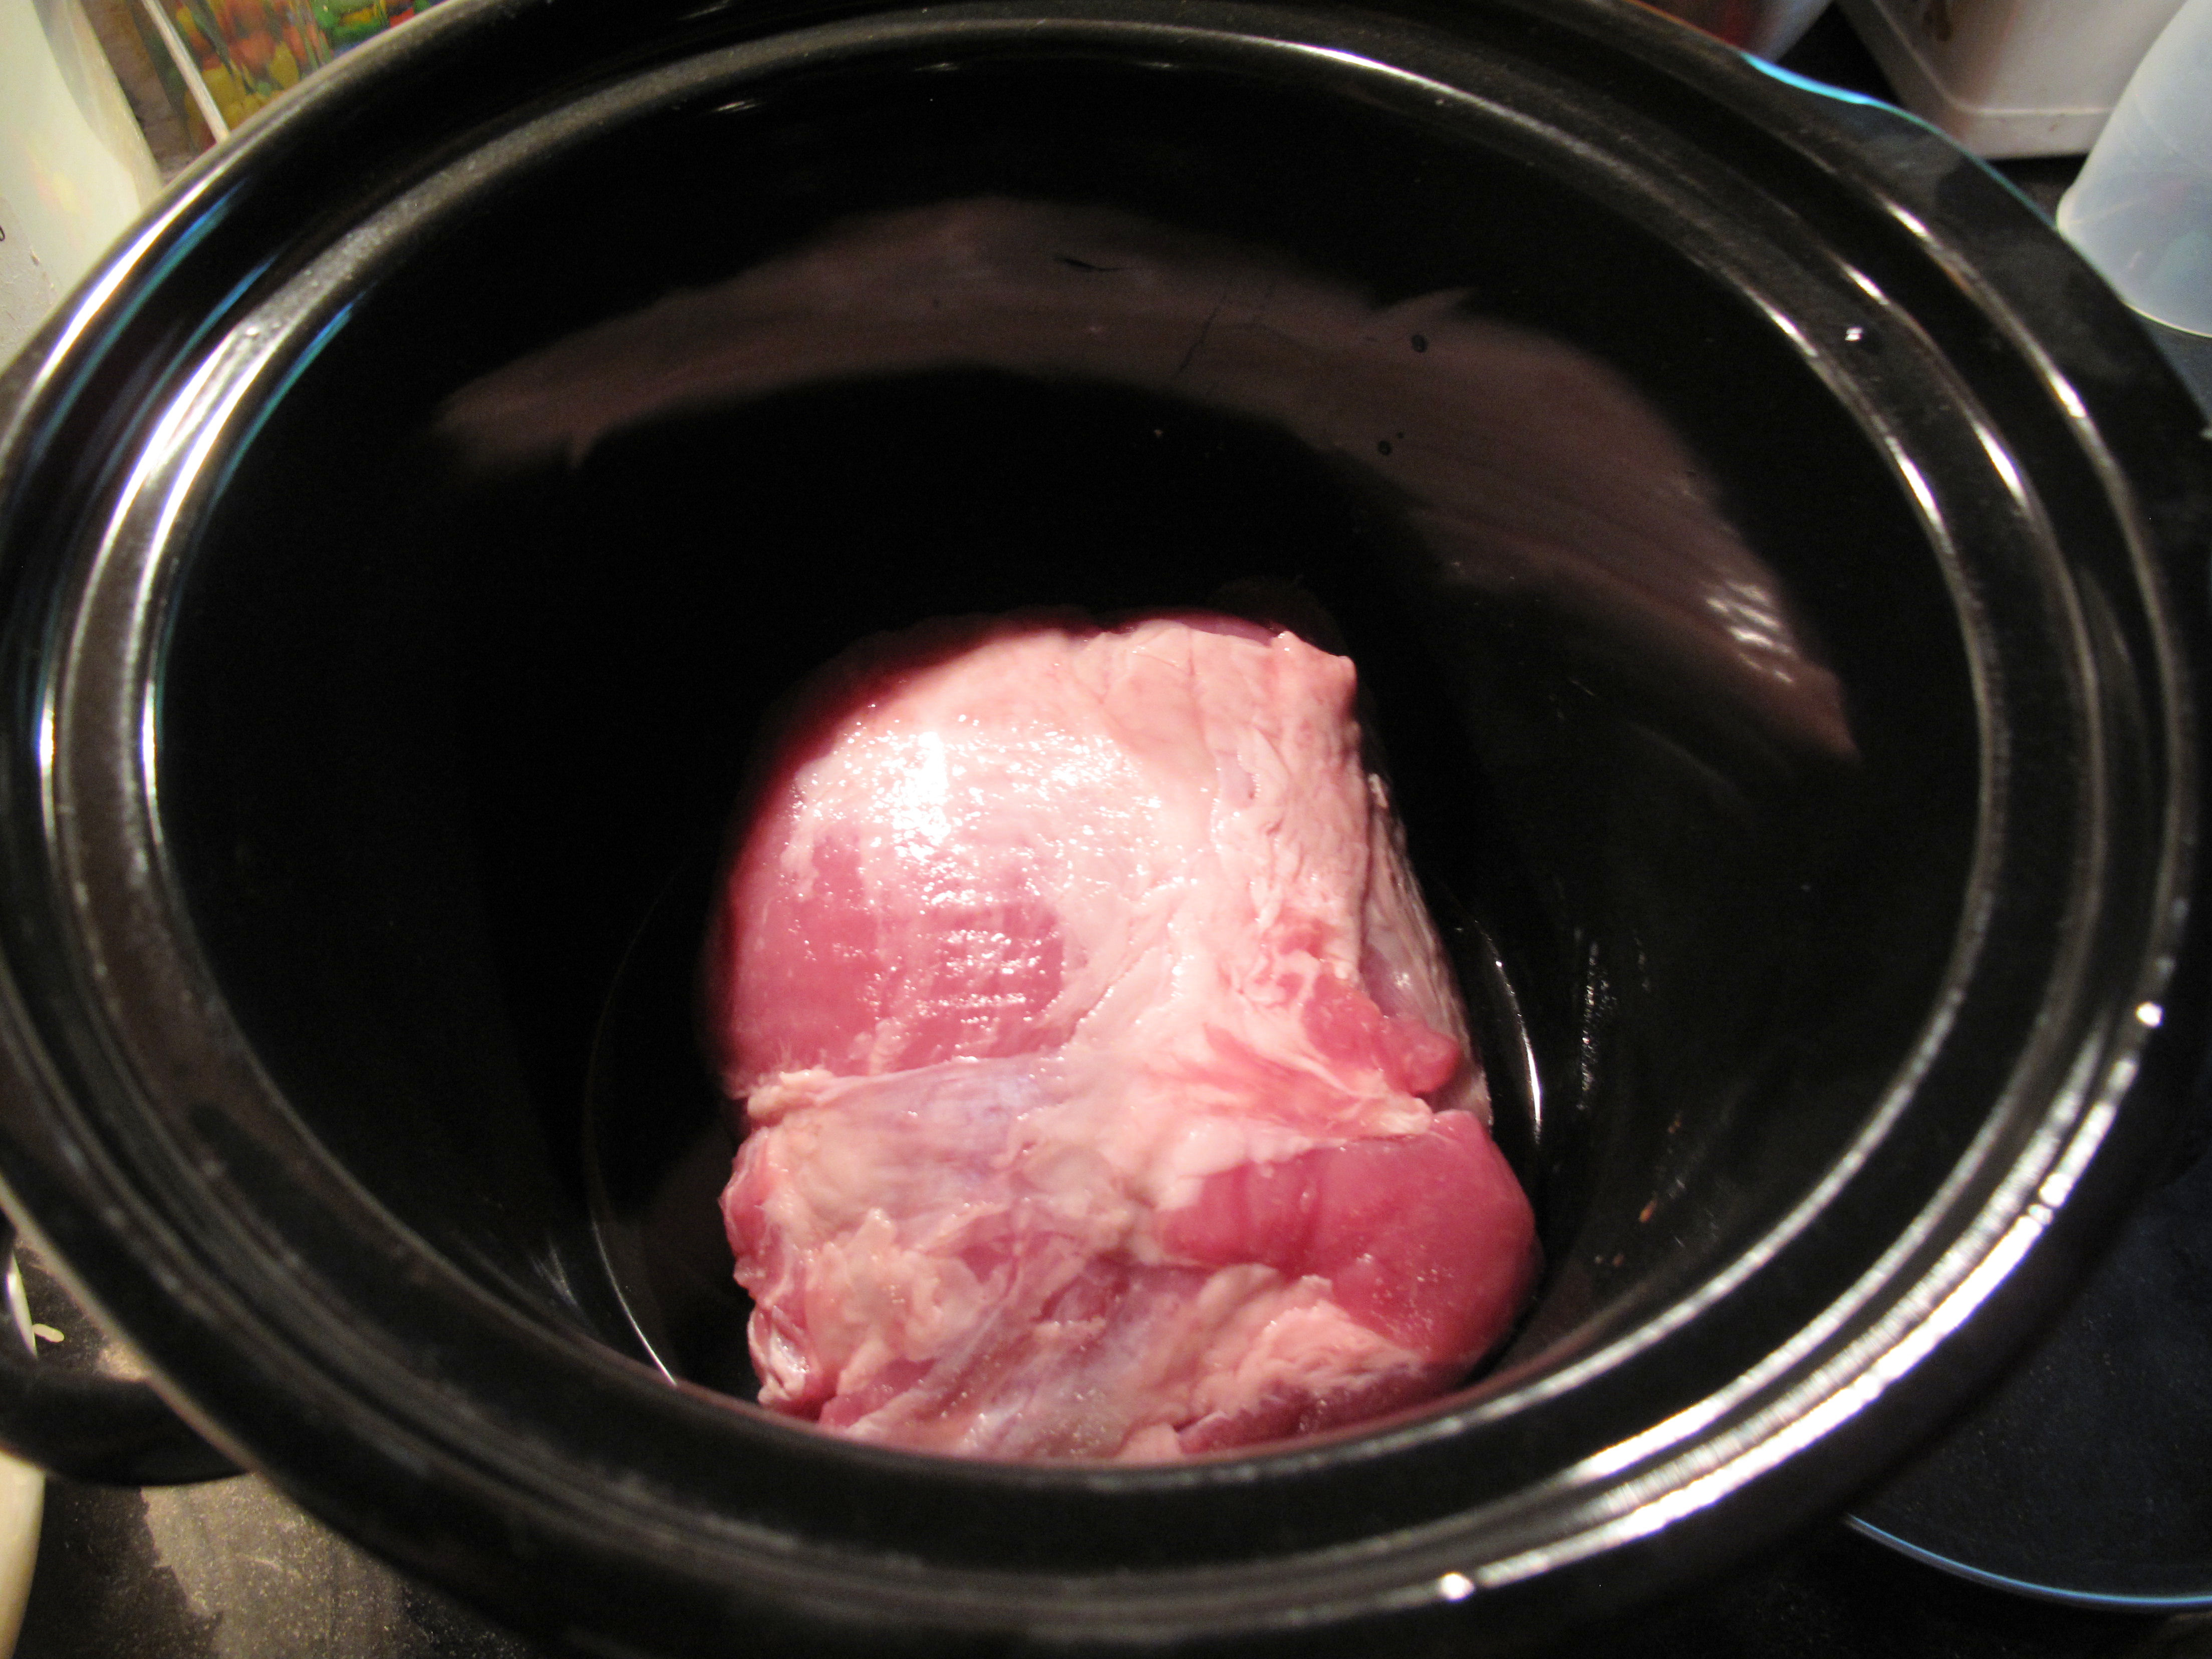
Fast forward over the past year…I used this aluminum pressure cooker weekly, not one problem…everything came out perfect, no problems, quick, easy meals…until one day last week…I put in my meat, proper water amount, etc. did everything I was supposed to do, got it wobbling properly and knew I had at least 20 minutes before it would be ready so I jumped in the shower (that one of the pleasures of using a pressure cooker by the way, get it going and move on to something else). When I got out of the shower I smelled the food, which is not usual, but this was really strong…something was a foot. Got dressed quickly and went to check on the cooker and the closer I got the more burn smell I got and then I noticed the whole POT was wobbling along…NOT A GOOD SIGN!!!
Alright, even though the timer said I had at least another 10 minutes to finish cooking I took it off the burner and did my quick cool down, the pot itself definitely no longer sat flatly on the stove, in fact it very rounded at the bottom. Got it open and the meat was burned beyond recognition, 1 inch think burned crap on the bottom of the cooker…lets just say, something went horribly wrong this go around. Warped and burned beyond saving it was…sigh…trash…complete failure on many levels…so much for trying to save money…
So, I bit the bullet and purchased the stainless steel version, a bit more money, but having used stainless steel pots and pans for YEARS I know this one will last forever….it even clearly states:
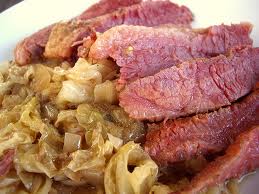
• Chicken, fish, meat, and vegetables cook to perfection fast; Helps tenderize economical cuts of meat
• Pressure regulator maintains the proper cooking pressure automatically; Complete 64-page instruction/recipe book included
• Ideal for use on regular, smooth-top and induction ranges; Dishwasher safe for easy cleaning
• Cover lock indicator shows when there is pressure inside the cooker and prevents the cover from being opened until pressure is safely reduced
• Helper handle for ease of handling; Extended 12-year limited warranty
You can check the stainless steel one out here:
<a href="Presto 01362 6-Quart Stainless Steel Pressure Cooker
Good news is that now that the old one has died I now have another base plate, weight regulator…threw away the seal as I suspect that the seal also failed since the pot warped on the base…at least I was able to salvage something from ‘trying to save money’…sometimes its just not worth it and in a SHTF situation, or another situation where you might not be able to replace something easily, just keep this little story in mind… cheaper is not necessarily ‘better’.
I have used my stainless steel pressure cooker and to be honest, wow! What difference I notice in the texture and taste of the food and the clean up was so easy (the aluminum was a bit of scrub to clean well)…all over the type of metal used…who woulda thunk it? So ladies and gents, do yourself a favor and spend the extra money if you are wanting to get into pressure cooking…it’s a great way to save time, money (energy bills) and get the slow cook taste in no time…get stainless!!
And be sure to browse the books for pressure cooking for great recipes and a few other favorite things I have found: