Tag Archive: pressure canner


20150103_19

I like to play around with my canning. I often find great deals on meat at the grocery store and given how expensive meat has become I will pick up every reduced priced piece of meat they have. But what I have run into is a complete lack of canning recipes for ‘meals’. Yes, there are soups out there and your traditional ‘how to can meat’ but a meal? Not much so I have turned to traditional meals and other types of recipes from old cook books and have found that I can can most of it so that all I have to do is add rice or pasta or something else for a fast and delicious meal.

We like Chinese food, especially sweet and sour chicken but it can be time consuming to make it for dinner and I thought: ‘why not pressure can it?’ so we can heat and eat. It is super easy to do and tastes delicious over rice.
The following recipe is enough for 7 quarts which is about 2-3 people over rice.

Get all your supplies ready. 7 quart jars, lids, pressure canner, etc. PLEASE! Remember that the new Ball Canning Lids do NOT get boiled any more. Simply wash and get them ‘warm’. I like to put them in a pan and turn my stove on the ‘melt’ setting. If you boil the new lids you might just find out down the road that they won’t stay sealed.

What you will need for the recipe:
5 lbs of raw chicken thigh meat (or breast if that is what you have)
2 lbs of shredded carrots
1 large can of crushed pineapple
3 small cans of water chestnuts
2 medium onions
2 Cans of corn
Sweet and Sour Sauce (make your own or if you want you can buy a jar of it)

Remember, a recipe is but a suggestion! Add or subtract to your taste.

First, cut up your raw chicken into bite sized chunks. Place into large container (I tend to use my water bath canner for mixing up large batches of food).
Chop up to your taste the onions and add to the chicken.
Add your shredded carrots

Next, get your sweet and sour broth going. I use a 4 quart sauce pan and typically will put 3 quarts of water into it and then add whatever flavoring I will use. I got lucky and found a bunch of pre-made sauces and marinades for 99 cents each. A few were sweet and sour marinades. So I added 2 12 ounce bottles to the 3 quarts of water and stirred well and brought to a boil and then turned down to a simmer while I finished up the food part.

Drain your crushed pineapple into the simmering sweet and sour water.
Drain your water chestnuts into the simmering sweet and sour water.
Drain your corn into the simmering sweet and sour water.

Next, dump your crushed pineapple and water chestnuts in with the carrots, chicken and onions. Mix well.

Now you are ready to can.

Evenly distribute your chicken mix into the 7 jars.
Pour your sweet and sour broth to about ½ inch head space.
Stir using a knife to get out air pockets and bubbles. Add more broth if necessary.
Clean the lip of jar with vinegar.
Place lids and rings on.
Put jars into canner as usual and you know what to do next.

Processing time is 70 minutes at 10 lbs pressure. And YES that is more than adequate to get the chicken thoroughly cooked!
Allow to cool as usual.

To use:
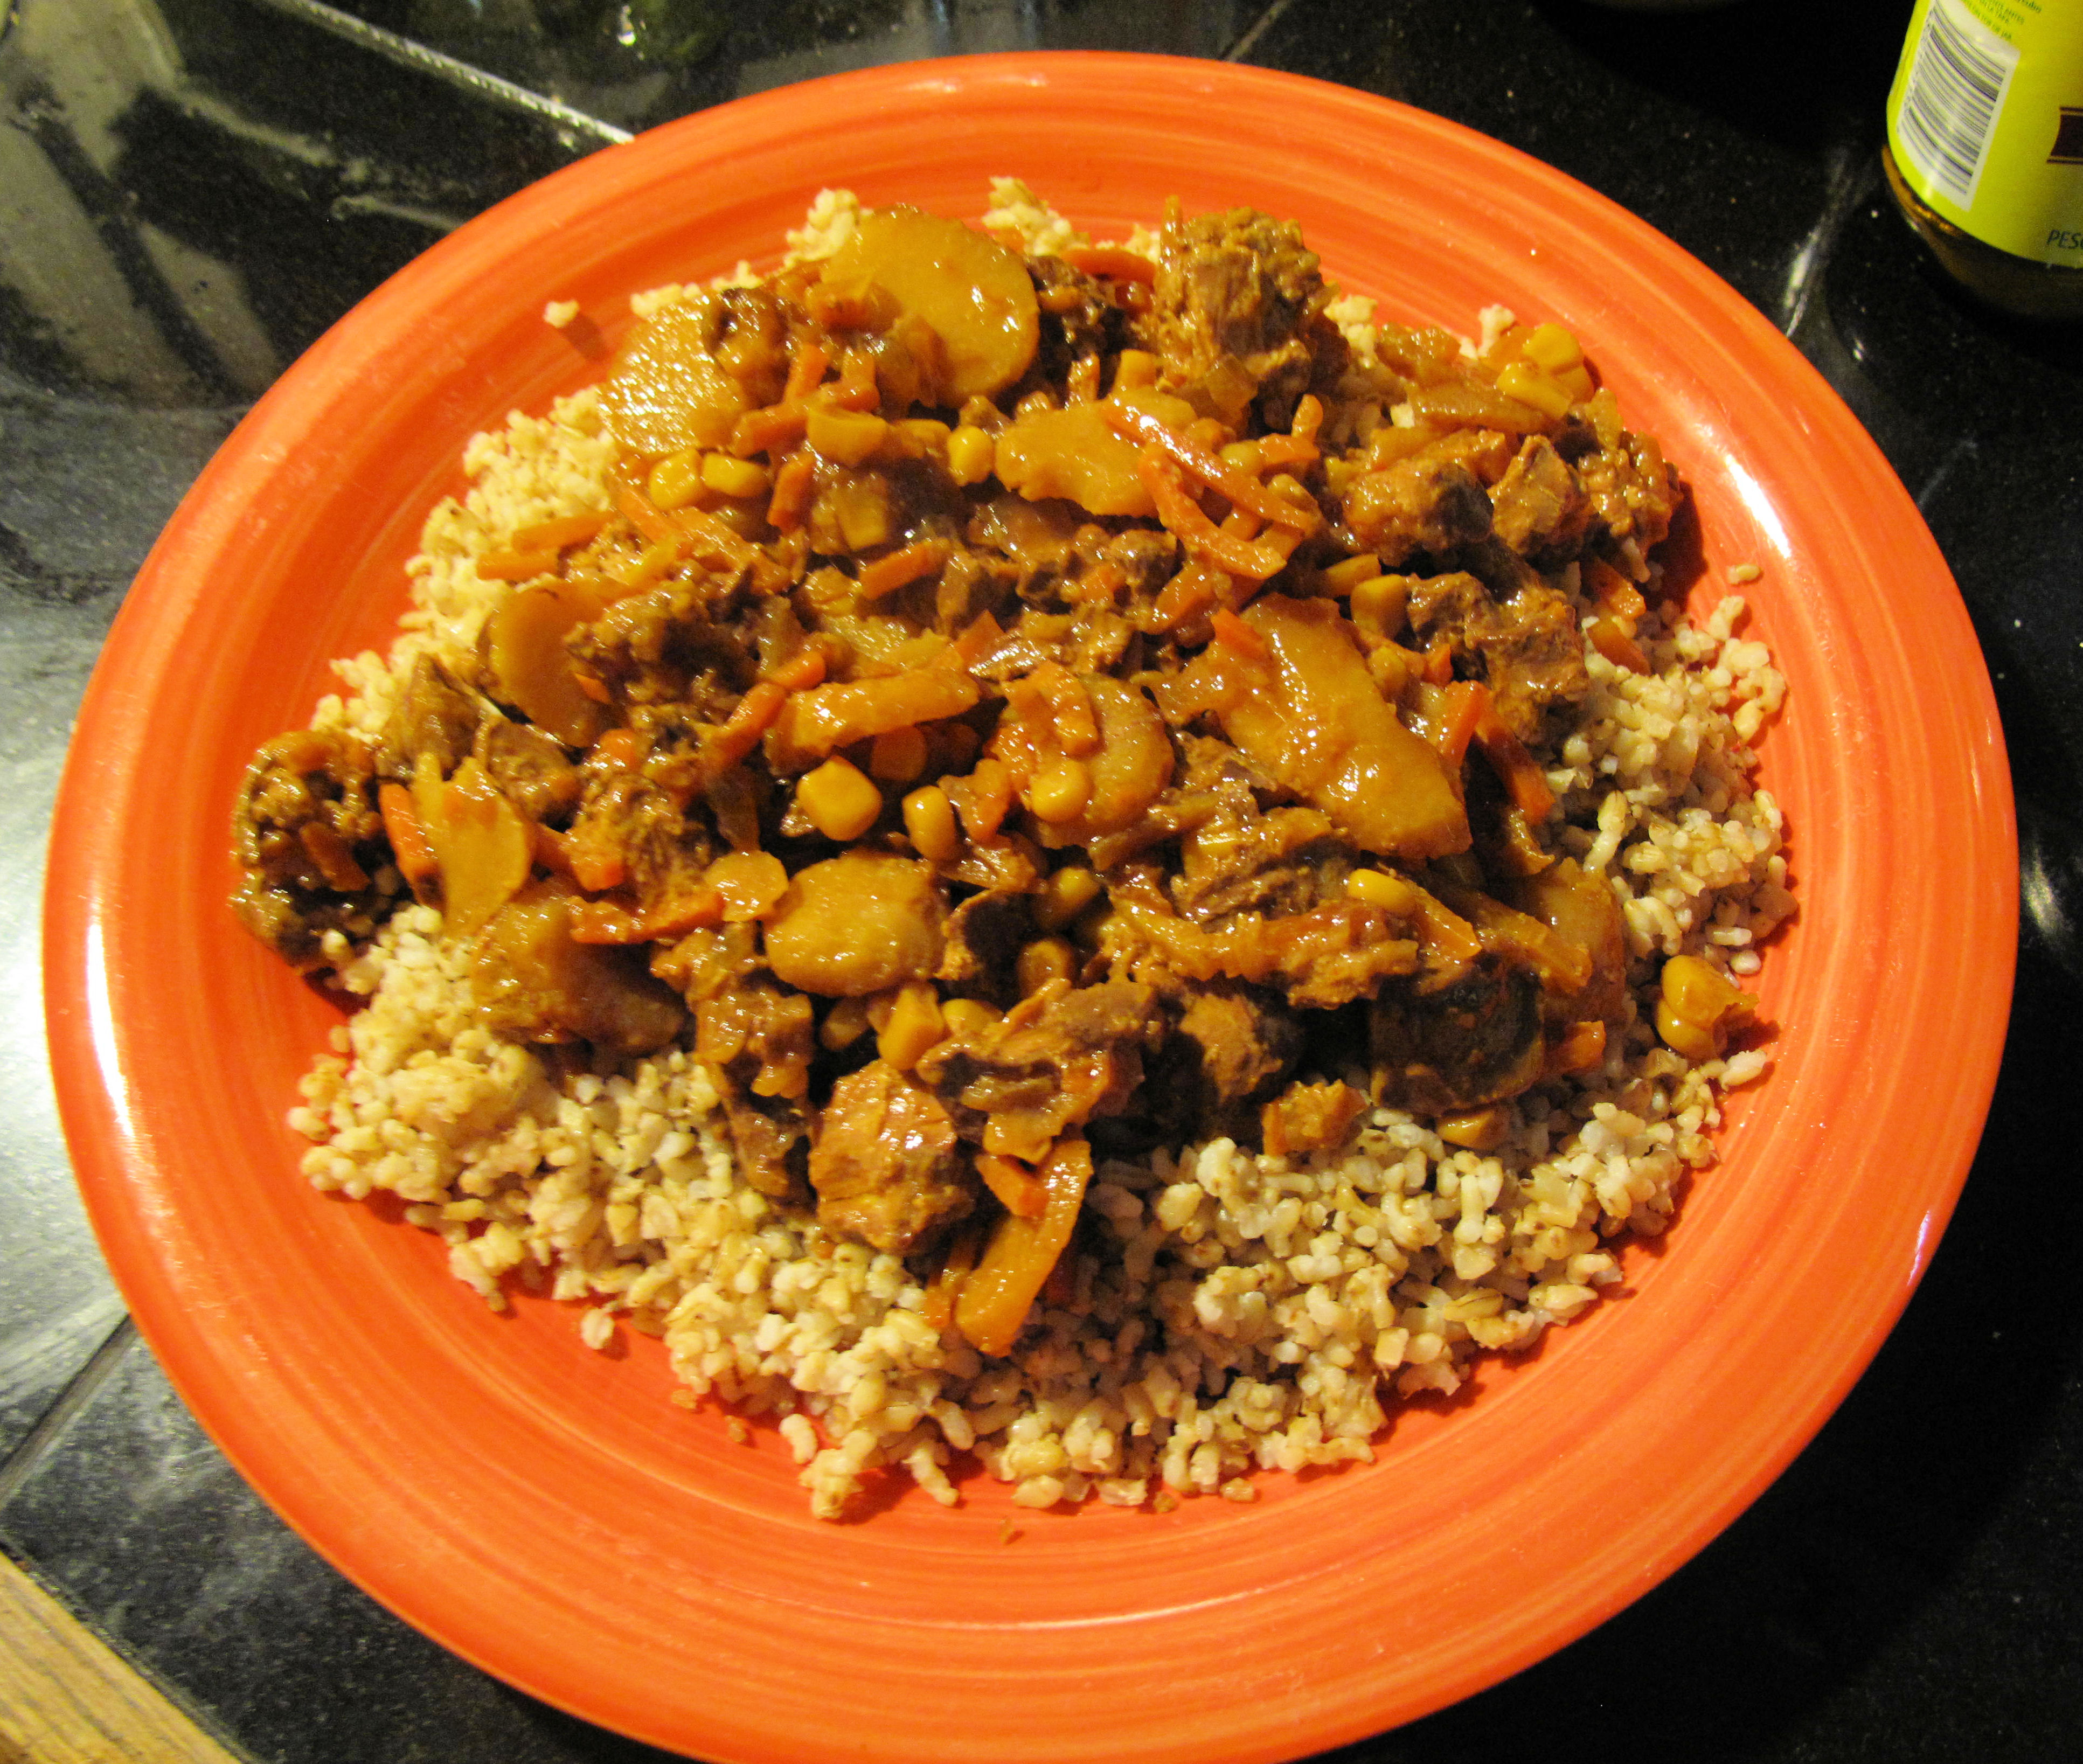
Simply open jar and heat up while you are cooking your rice! Put over rice and enjoy!

Have fun canning!
Survivingshtfmom

PS I will add a picture of the product shortly!

20141007_6Green beans…these are so easy to grow and are often prolific producers. So how can you preserve them? Canning and freezing are our favorite ways.

Canning fresh green beans is easy…but VaCreepinOutdoors and myself, we love to can them like our grandmothers did. With BACON! Yes, you can safely can green beans with bacon. My grandmother died when I was 8 years old. One legacy she left was a TON of canned fruits and veggies. My family got some of them and some were pressure canned green beans with bacon. Sadly, I opened and ate the last remaining jar of these about 8 years ago. I am now 42 🙂 and they were still delicious!!! VaCreepin remembers his mom’s and grandmothers canned beans too..so this article is in their memory and we hope you will give this a try and make it a tradition in your family too!

What you will need:

1 quart mason jar (or 2 pints) per pound of green beans.
Green Beans
Diced Onions (I like to add raw onions for flavor, 1 medium sized one per 3 lbs)
Minced Garlic (again, for flavor, add to taste)
Bacon (I use 1lb per 3 lbs of green beans, use as little or as much as you wish)
Pressure Cooker
Colander and Large Pot or Bowl.
A little bit of vinegar and a small rag.

Getting your canning supplies ready to go as usual. With the new lids available now, all you need to do is wash them. No boiling necessary to get the gummy going (in fact, keeping them simmering will degrade the gummy part causing lid failure). Often I will just put the lids and rings into a pot of water, bring to a boil for just a minute or two and then turn down to barely warm just to keep the water warm enough that I can put a finger into the water without hurting myself.
A trick I learned with the jars…heat the oven to 250 degrees to keep them ‘hot/warm’. Put the jars onto a cookie sheet and put into the oven while prepping the beans and bacon mixture.
Get the pressure cooker water going too. I put 3 inches in and bring to a boil while prepping the beans and bacon mix.

Next, we prep the beans and bacon/onions/garlic.

Typically VaCreepinOutdoors will cut the beans up as I fry up the bacon/onion/garlic mixture. The beans should be cut into about 1 inch lengths. Then rinse.
We DO NOT parboil them because that causes the beans to become mushy after canning. Raw packing is the best method for green beans so they don’t overcook. Remember, you are cooking them when you pressure cook them and then cooking again after opening. No mushy beans here!
20141007_1

Place the beans into a large bowl or stock pot.

For the bacon, I cut the strips into 1 inch or so pieces, put into a frying pan, add diced onions and the garlic and fry the bacon until its just done/cooked. Drain the fat and then add to the beans that are already in the pot.
20141007_2

Mix the beans and bacon mixture WELL.
20141007_3

Get your preheated jars out and STUFF THOSE JARS FULL of the bean/bacon mix. If you don’t pack them in tightly you will wind up with more water than beans. I use a pestle or something else to pack the beans/bacon down into the jars. Pack leaving ½ inch head space.
20141007_4

Now for the best part: no hot water needed…I just take the packed jar over to the sink and fill with water up to the ½ inch mark.

Because we have used bacon in this canning recipe, you will need to put a small amount of vinegar onto the rag. Wipe the rim and where the ring screws down onto. Vinegar cuts the potential grease and cleans the rim very well.

Place the lids and rings on the jars as usual. Finger tight!
20141007_5

Place into your pressure canner and follow the manufactures instructions from there.

You will can quartz at 10 lbs for 25 mintues and pints at 10 lbs for 15.

Yum! These are huge hit and a blast from the past that everyone loves!

Of course you could use ham or something else if you wish, add your own seasonings, whatever…I have canned green beans just using the regular seasonings I would use in cooking too.

Have fun and enjoy!
Survivingshtfmom and VaCreepinOutdoors