Tag Archive: pressure can


20141029_6

Homemade Sweet Saurkraut and Sausage Canned

Who doesn’t like sauerkraut? Okay, I know a few who don’t but its usually because of, well, what I shall call the ‘pucker’ factor. Its is ‘sour’ after all and most store bought kraut is very salty too. But in my quest for the ultimate, who wouldn’t like it sauerkraut I found a way to make ‘sweet’ sauerkraut and you can add whatever meat you want to it too! PLUS you can pressure can it to put up for a delicious meal or snack anytime. And as a bonus, there is no ‘waiting’ around for it to mature. Most canned sauerkraut recipes you either ferment the cabbage before canning it or are told to wait 10 days or more after canning fresh cabbage to get the ‘kraut’. But this, is instant and yummy.

What you will need:
Canning Jars (7 quart or 14 pint)
Canning salt
Sugar
Apple Cider Vinegar
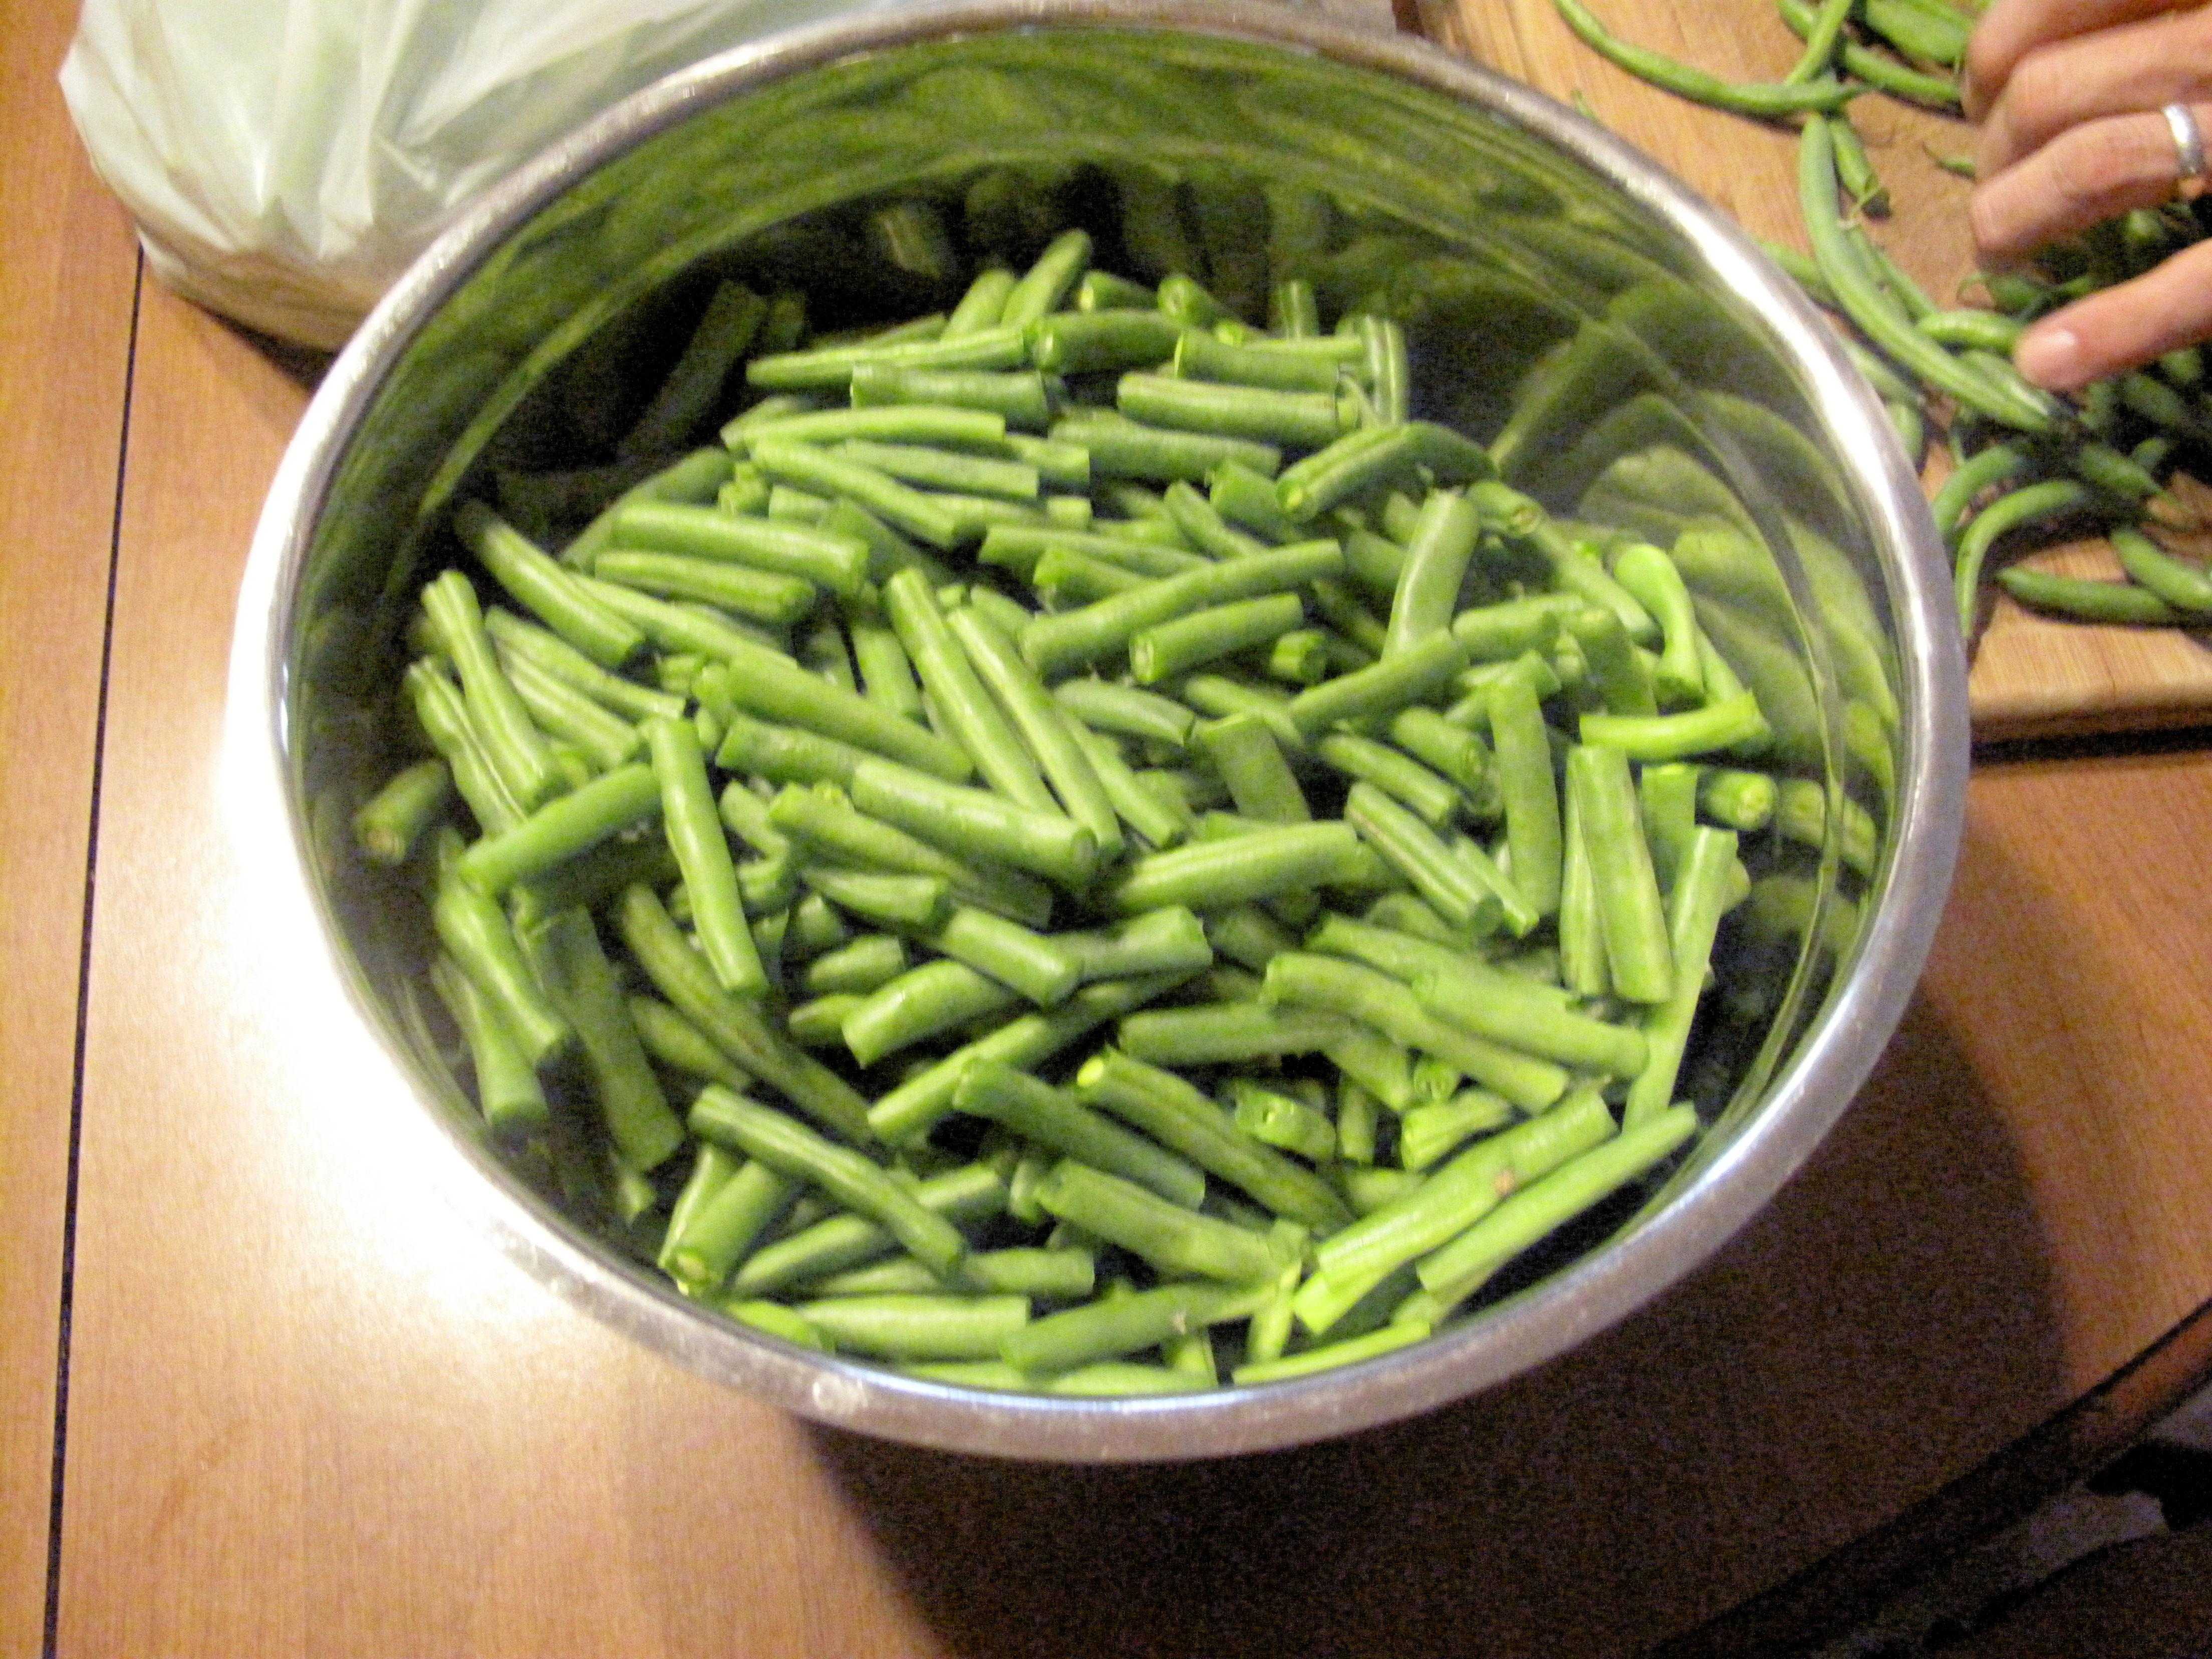
6 lbs Cabbage (or there abouts)
Meat of your choice (sausage, polish sausage, hamburger, etc.)
Boiling water.

The first matter at hand will be to get your canning supplies ready. Following the ‘new’ manufacturer’s directions. Simply run the jars and lids and seals through the dishwasher. Put the jars on cookie pan and place into 250 degree oven.
Lids/seals/rings go into a pot of water and are brought right up to a boil and then taken off and put aside. Get your pressure canner water going at this time too.

Next you will want to process your fresh cabbage. Peel off the 2 outer most leaves and then wash the outside of the cabbage. Next cut up the cabbage into bite size pieces (however you like, shredded, pieces). Place in a bowl to the side.
20141029_2

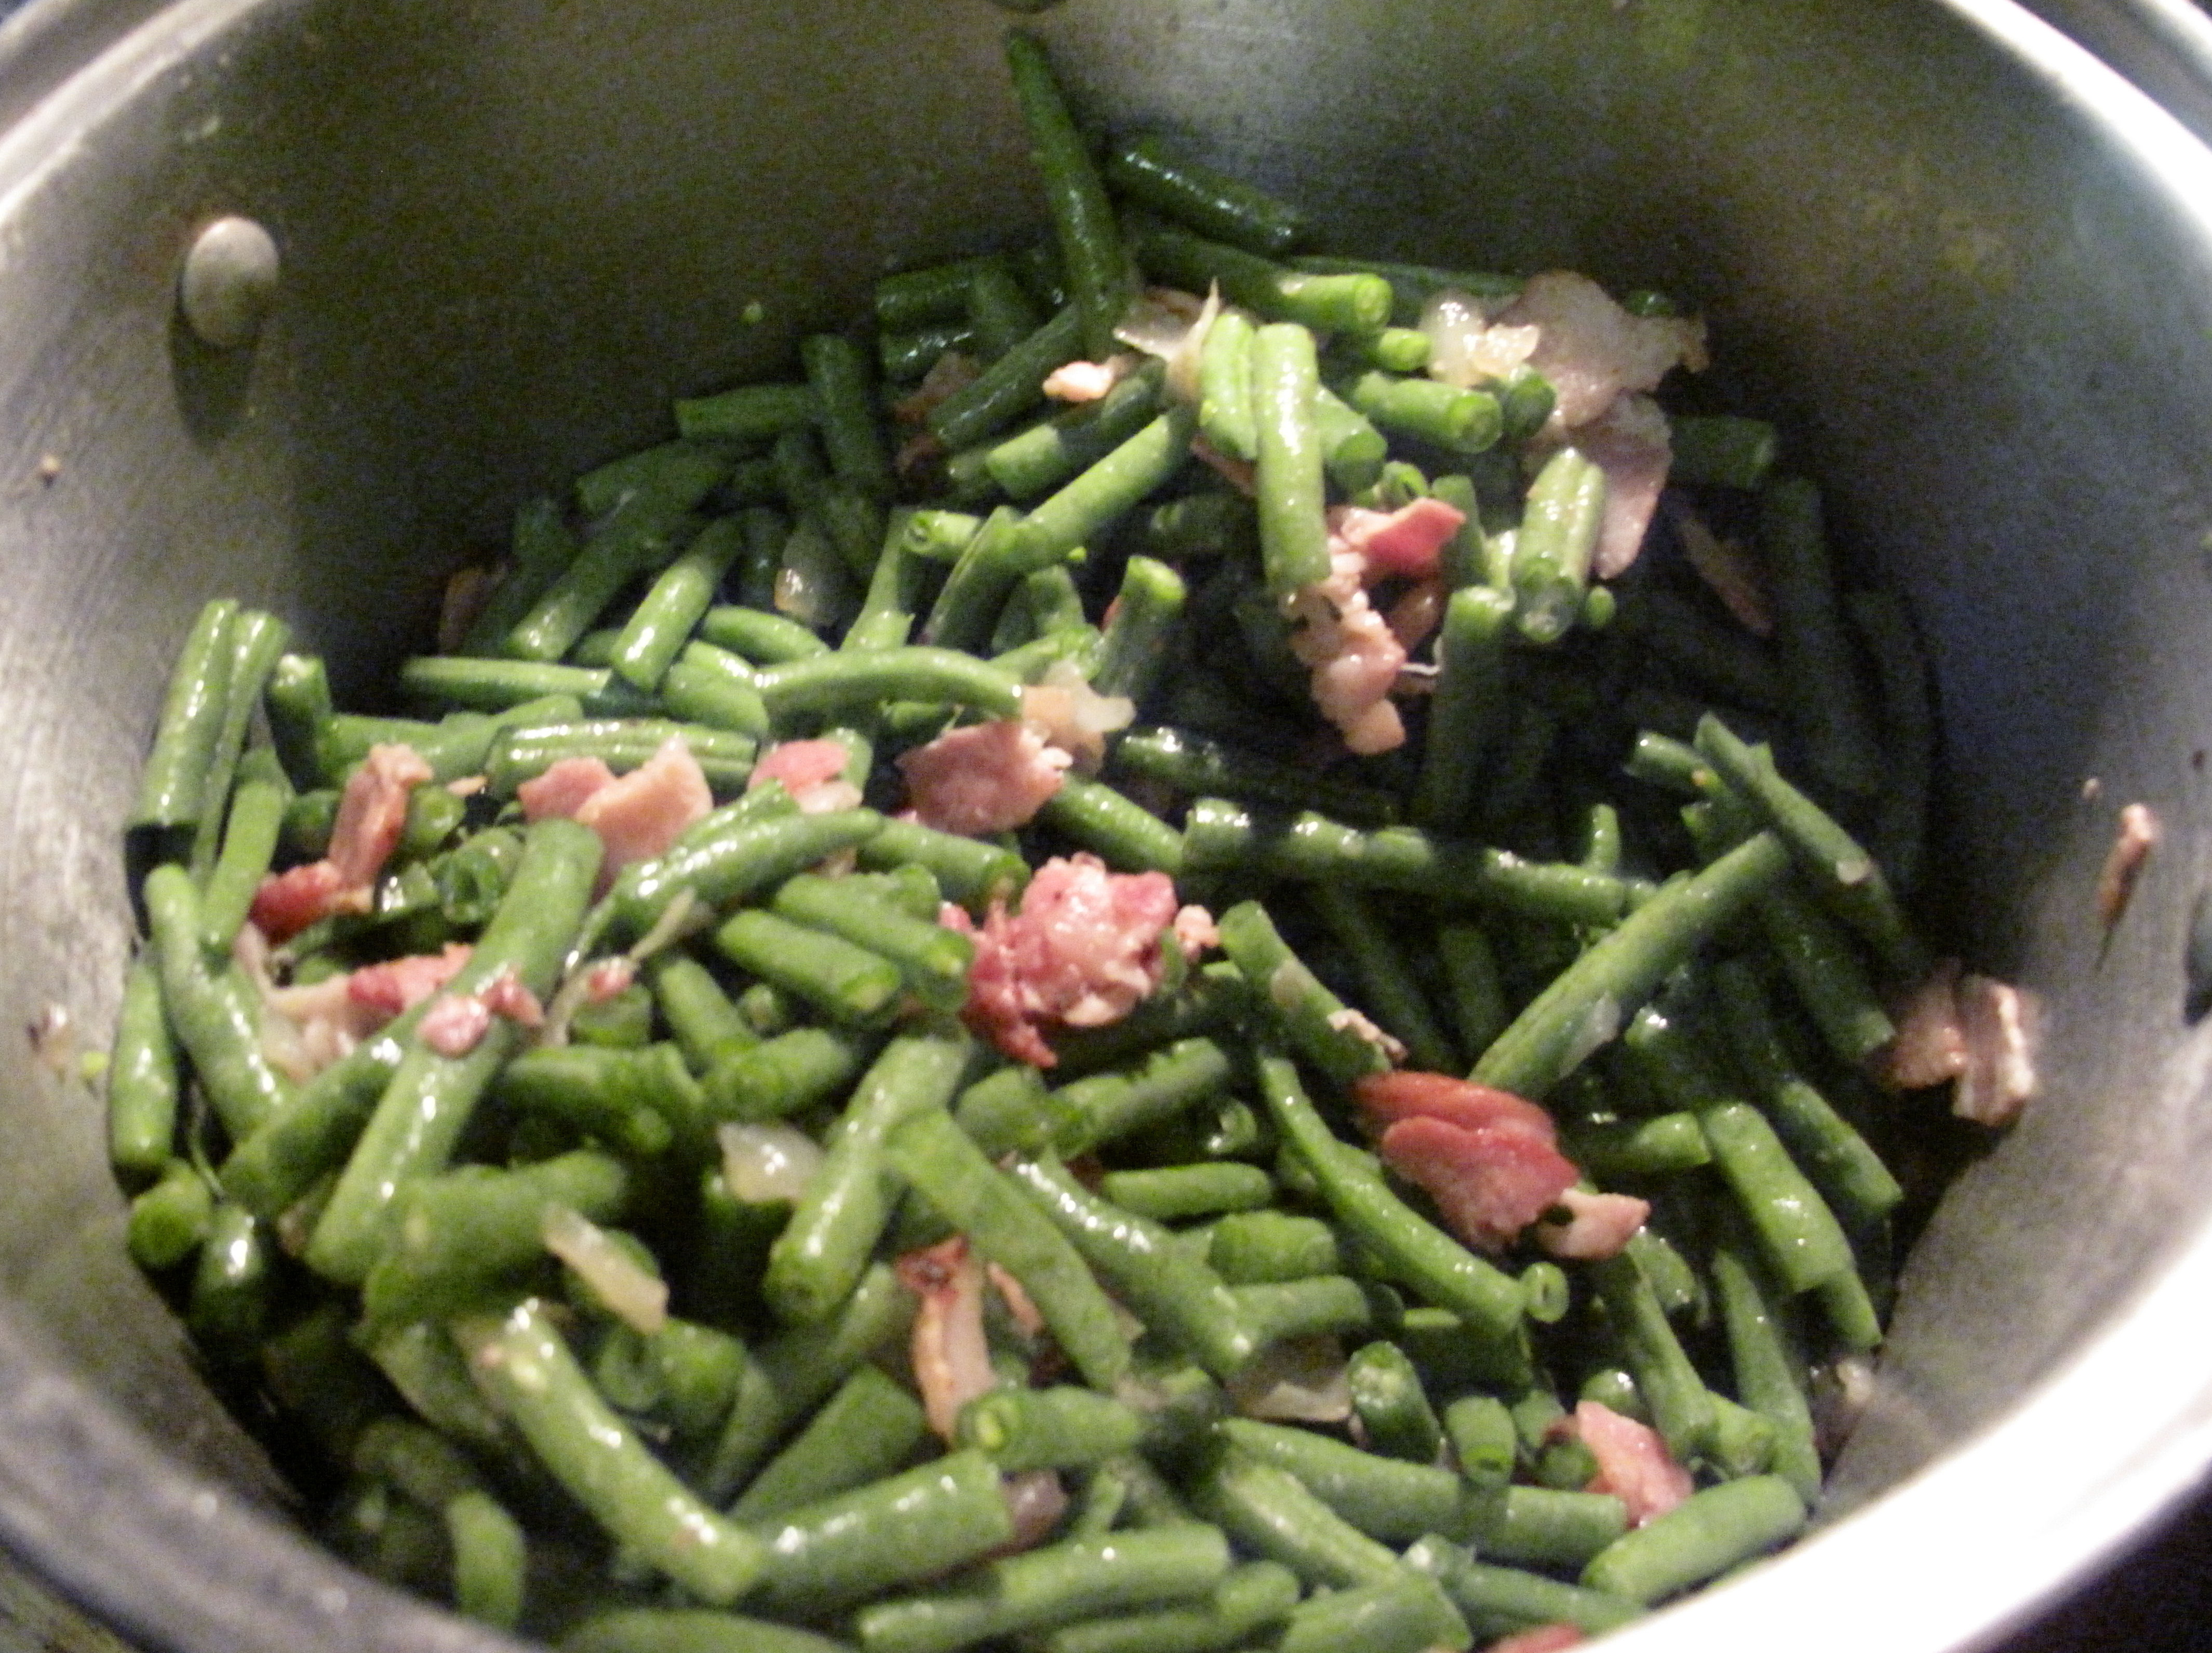
Cook your meat. In my case I just browned the sausage in a pan. But how you cook your meat will depend upon what type of meat you use.
20141029_1

Once you have both the cabbage and meat ready you will then combine into a large bowl and mix well.
20141029_3

At this point, bring a kettle of water to boil, you will add this to the packed jars of cabbage/meat.

Pack your cabbage/meat mixture into your jars leaving about1 inch head space.
20141029_4

Then add to each jar:
½ tsp canning salt

If you are using PINTS then add:
1 tablespoon apple cider vinegar
1 tablespoon of sugar

If you are using QUARTZ then double the amount of vinegar and sugar.

You will then fill each jar with the boil water leaving at least ½ inch of head space.
Clean the rim using vinegar and then proceed as you usually would placing lids and rings on each jar.

20141029_5
Place the jars into the canner. Allow to come back up to a boil and then process as you would with any normal canning.
Pints: 55 minutes at 10 lbs.
Quarts: 75 minutes at 10 lbs.

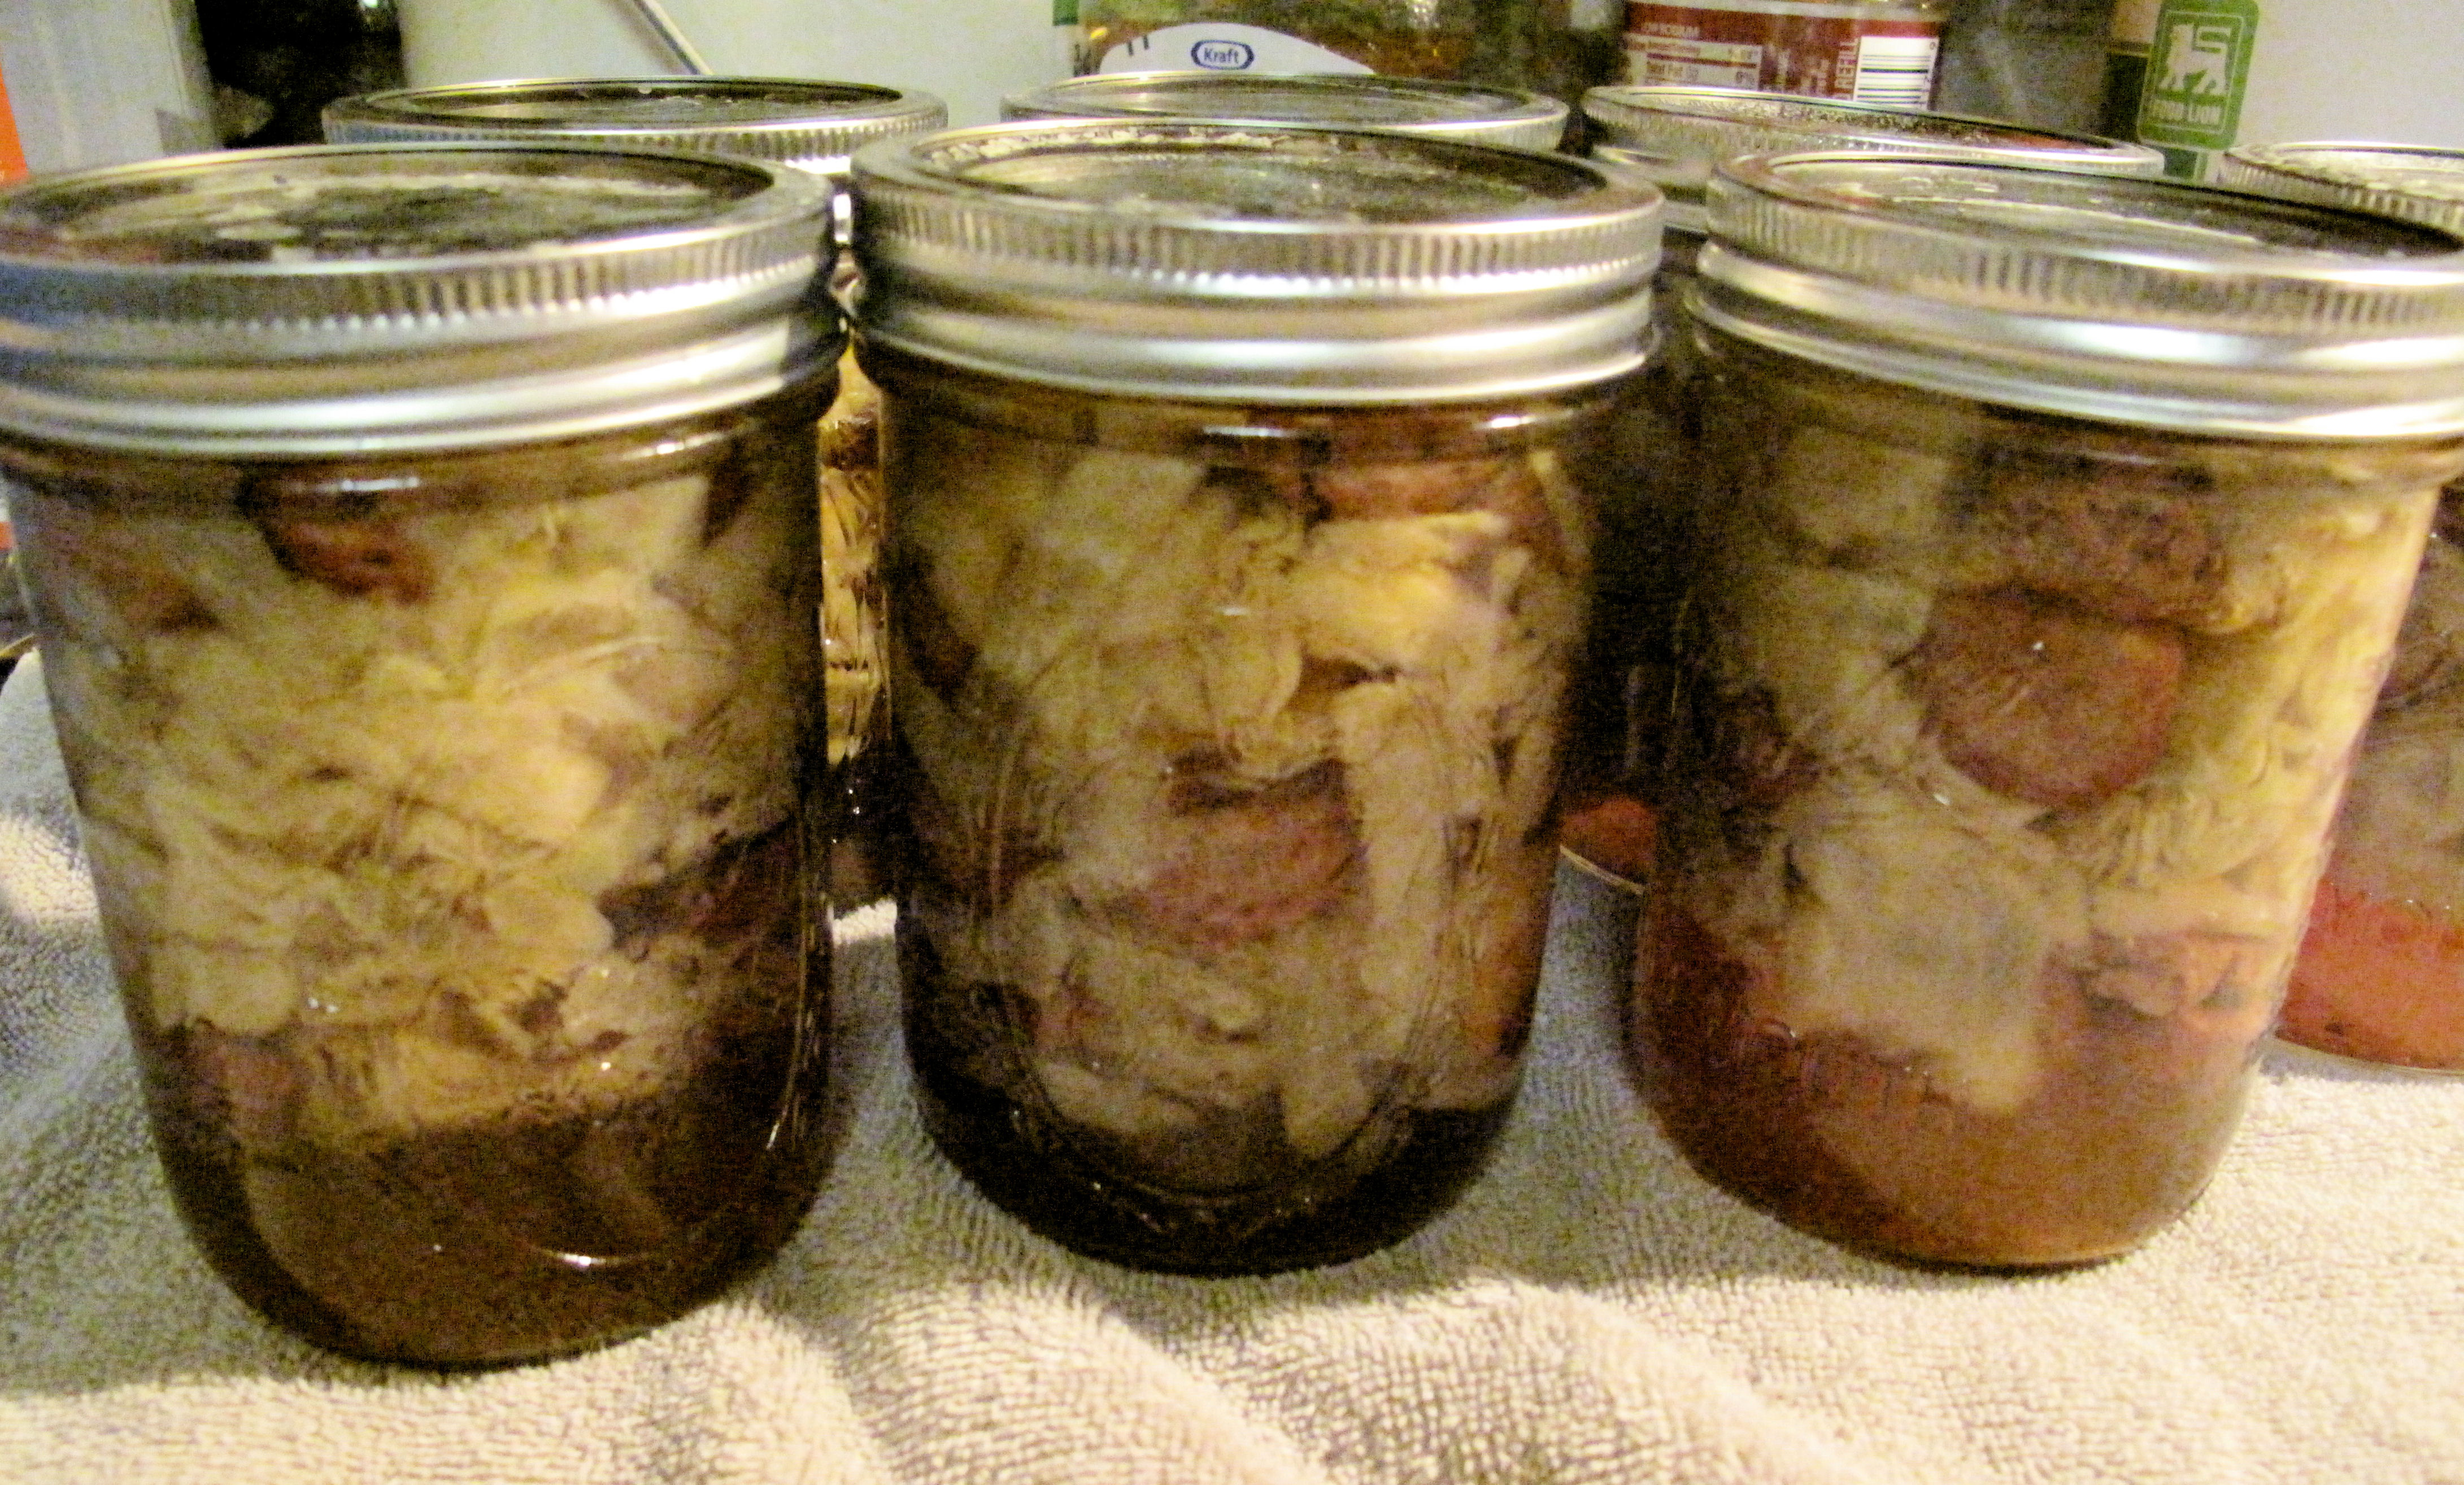
After processing you once again follow normal canning procedures. Allow the pressure to come down before removing the top. Place on a towel and cover allowing to cool overnight. Wash the jars before putting up.

You can eat at will and its yummy!

Give it a try and share…
survivingshtfmom

20141029_6

20141007_6Green beans…these are so easy to grow and are often prolific producers. So how can you preserve them? Canning and freezing are our favorite ways.

Canning fresh green beans is easy…but VaCreepinOutdoors and myself, we love to can them like our grandmothers did. With BACON! Yes, you can safely can green beans with bacon. My grandmother died when I was 8 years old. One legacy she left was a TON of canned fruits and veggies. My family got some of them and some were pressure canned green beans with bacon. Sadly, I opened and ate the last remaining jar of these about 8 years ago. I am now 42 🙂 and they were still delicious!!! VaCreepin remembers his mom’s and grandmothers canned beans too..so this article is in their memory and we hope you will give this a try and make it a tradition in your family too!

What you will need:

1 quart mason jar (or 2 pints) per pound of green beans.
Green Beans
Diced Onions (I like to add raw onions for flavor, 1 medium sized one per 3 lbs)
Minced Garlic (again, for flavor, add to taste)
Bacon (I use 1lb per 3 lbs of green beans, use as little or as much as you wish)
Pressure Cooker
Colander and Large Pot or Bowl.
A little bit of vinegar and a small rag.

Getting your canning supplies ready to go as usual. With the new lids available now, all you need to do is wash them. No boiling necessary to get the gummy going (in fact, keeping them simmering will degrade the gummy part causing lid failure). Often I will just put the lids and rings into a pot of water, bring to a boil for just a minute or two and then turn down to barely warm just to keep the water warm enough that I can put a finger into the water without hurting myself.
A trick I learned with the jars…heat the oven to 250 degrees to keep them ‘hot/warm’. Put the jars onto a cookie sheet and put into the oven while prepping the beans and bacon mixture.
Get the pressure cooker water going too. I put 3 inches in and bring to a boil while prepping the beans and bacon mix.

Next, we prep the beans and bacon/onions/garlic.

Typically VaCreepinOutdoors will cut the beans up as I fry up the bacon/onion/garlic mixture. The beans should be cut into about 1 inch lengths. Then rinse.
We DO NOT parboil them because that causes the beans to become mushy after canning. Raw packing is the best method for green beans so they don’t overcook. Remember, you are cooking them when you pressure cook them and then cooking again after opening. No mushy beans here!
20141007_1

Place the beans into a large bowl or stock pot.

For the bacon, I cut the strips into 1 inch or so pieces, put into a frying pan, add diced onions and the garlic and fry the bacon until its just done/cooked. Drain the fat and then add to the beans that are already in the pot.
20141007_2

Mix the beans and bacon mixture WELL.
20141007_3

Get your preheated jars out and STUFF THOSE JARS FULL of the bean/bacon mix. If you don’t pack them in tightly you will wind up with more water than beans. I use a pestle or something else to pack the beans/bacon down into the jars. Pack leaving ½ inch head space.
20141007_4

Now for the best part: no hot water needed…I just take the packed jar over to the sink and fill with water up to the ½ inch mark.

Because we have used bacon in this canning recipe, you will need to put a small amount of vinegar onto the rag. Wipe the rim and where the ring screws down onto. Vinegar cuts the potential grease and cleans the rim very well.

Place the lids and rings on the jars as usual. Finger tight!
20141007_5

Place into your pressure canner and follow the manufactures instructions from there.

You will can quartz at 10 lbs for 25 mintues and pints at 10 lbs for 15.

Yum! These are huge hit and a blast from the past that everyone loves!

Of course you could use ham or something else if you wish, add your own seasonings, whatever…I have canned green beans just using the regular seasonings I would use in cooking too.

Have fun and enjoy!
Survivingshtfmom and VaCreepinOutdoors