Category: Food Storage


20150611_217Soungs crazy right? They SAY you can’t do it ‘safely’. But I am hear to say that YES YOU CAN can hard boiled eggs and pickled eggs….Let me dispell the epic myth about canning eggs. The USDA has only this to say: it has not been proven safe to do so. All that really means is that they haven’t taken the time to test it!!! But in FACT people have been doing this for generations and I have yet to find a single case of samonella or botulism related to home canned hard boiled eggs!!!

Anyway, on with the good news:

Hmmm…yes YOU CAN can hard boiled eggs! It is rather simple too as long as you have water bath canning supplies!
Note: this method is best used only for quarts and use the regular mouth size (this aids in keeping the eggs in the brine solution.

As always, be sure to follow proper canning instructions to get your jars and lids ready. Remember! The Ball canning lids only need to be washed now. DONOT and I repeat, DONOT bring to a simmer anymore, otherwise you might experience lids seal failure.

Now for the fun part.

Hard Boiled Eggs:

Get you jars going along with your water bath canner.

Get your eggs together and bring to a ‘soft’ hard boiled status.
Personally I like to use FRESH eggs that I pick up at the local Farmers Market
Peel them, rinse well, set aside.
You will only want to use eggs that are intact, no cracked eggs! Tiny nicks are okay.

20150611_21020150611_211
I get about 10 regular eggs into one quart jar.

20150611_213

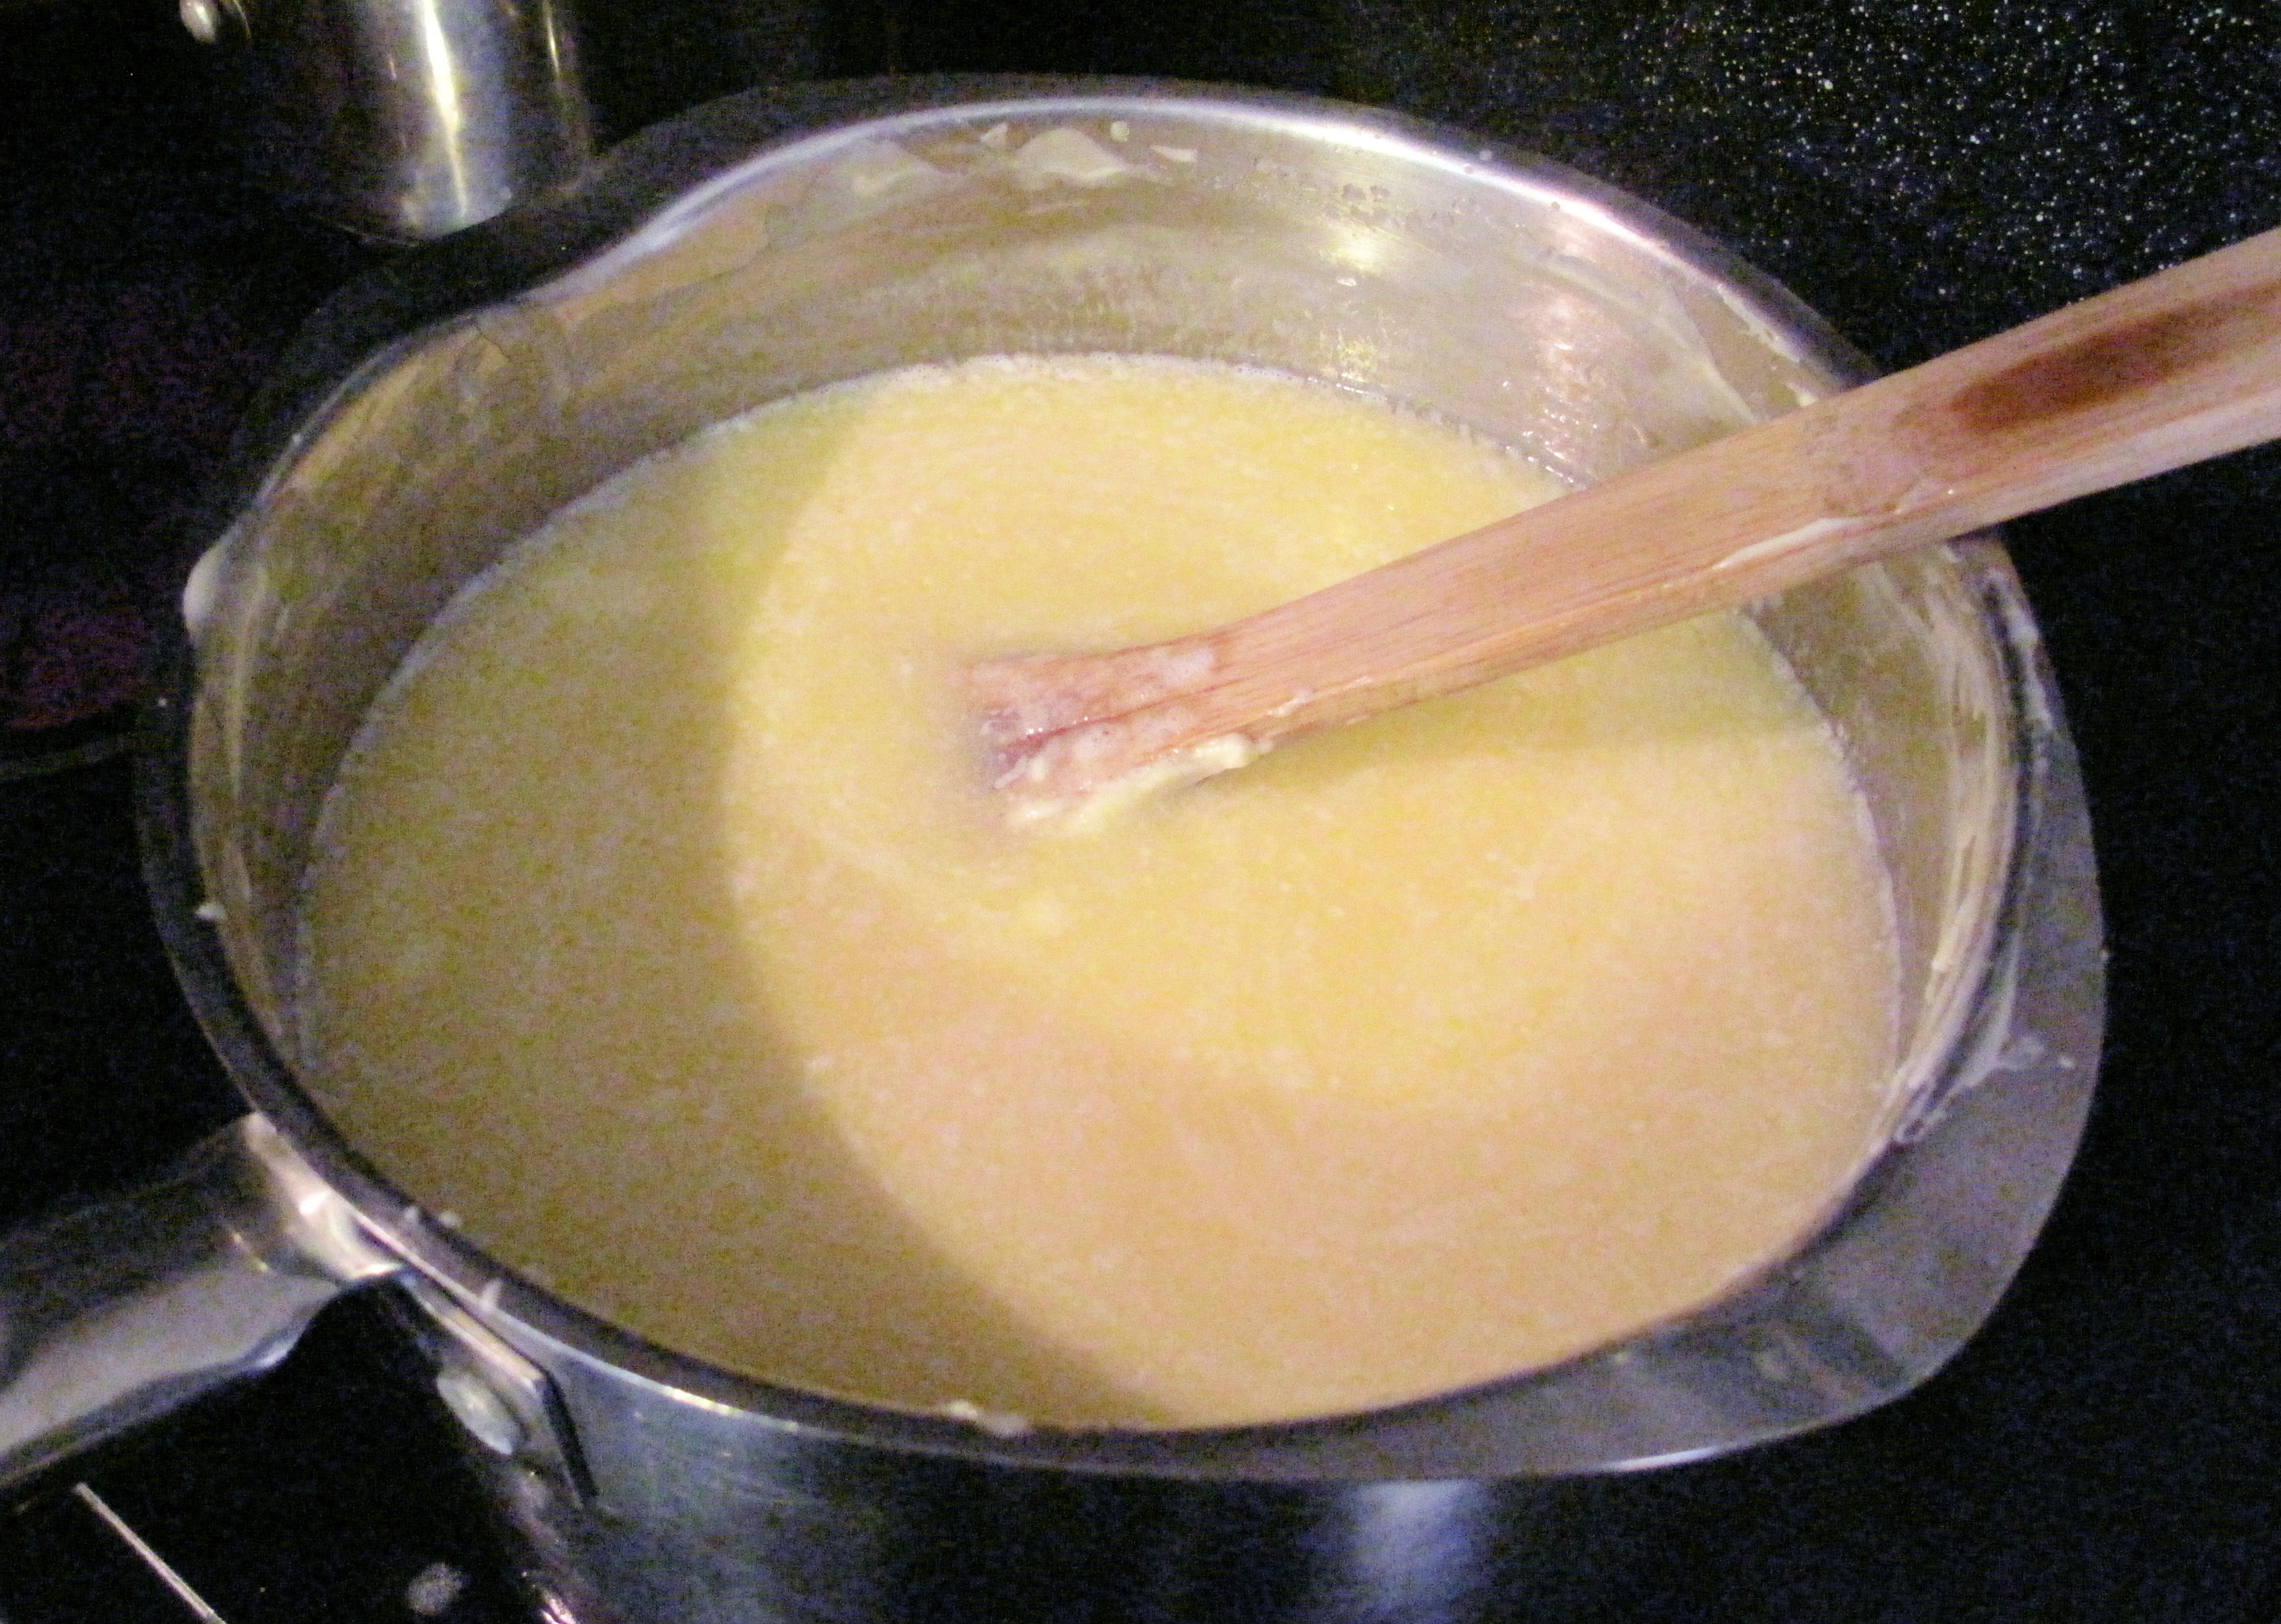
Your liquid will be a simple brine solution:

I use a 25% salt (either canning or non-iodized salt) solution with about 50% sugar. So your ratio will be 1 cup salt, 2 cups sugar to 4 cups water. This amount will be enough to do about 3 quarts. Bring to a boil enough to dissolve the salt and sugar. You will want to keep an eye on this so you don’t burn the solution. Stir as needed.

Once the liquid brine solution is ready get your hot jars out of the oven (this is how I keep my jars hot, 250 degree oven on a cookie sheet) and place about 10 soft boiled eggs in each jar. You do not want to have the eggs go above the first ring on the neck.

After getting all eggs into the jars ladle your brine solution into each jar. You will want to leave about a ½ inch head space.

20150611_216

Wipe the rim with a rag to remove any salt/sugar solution.
Place lids on and then the rings tightening to finger tight.
Place your jars into the water bath canner and bring back to a boil.
Place lid of water bath canner on.

Now WAIT!

Processing time is as follows:
For those living under 1,000 feet in elevation process for 25 minutes.
For those living between 1,000 and 2,000 feet in elevation process for 30 minutes
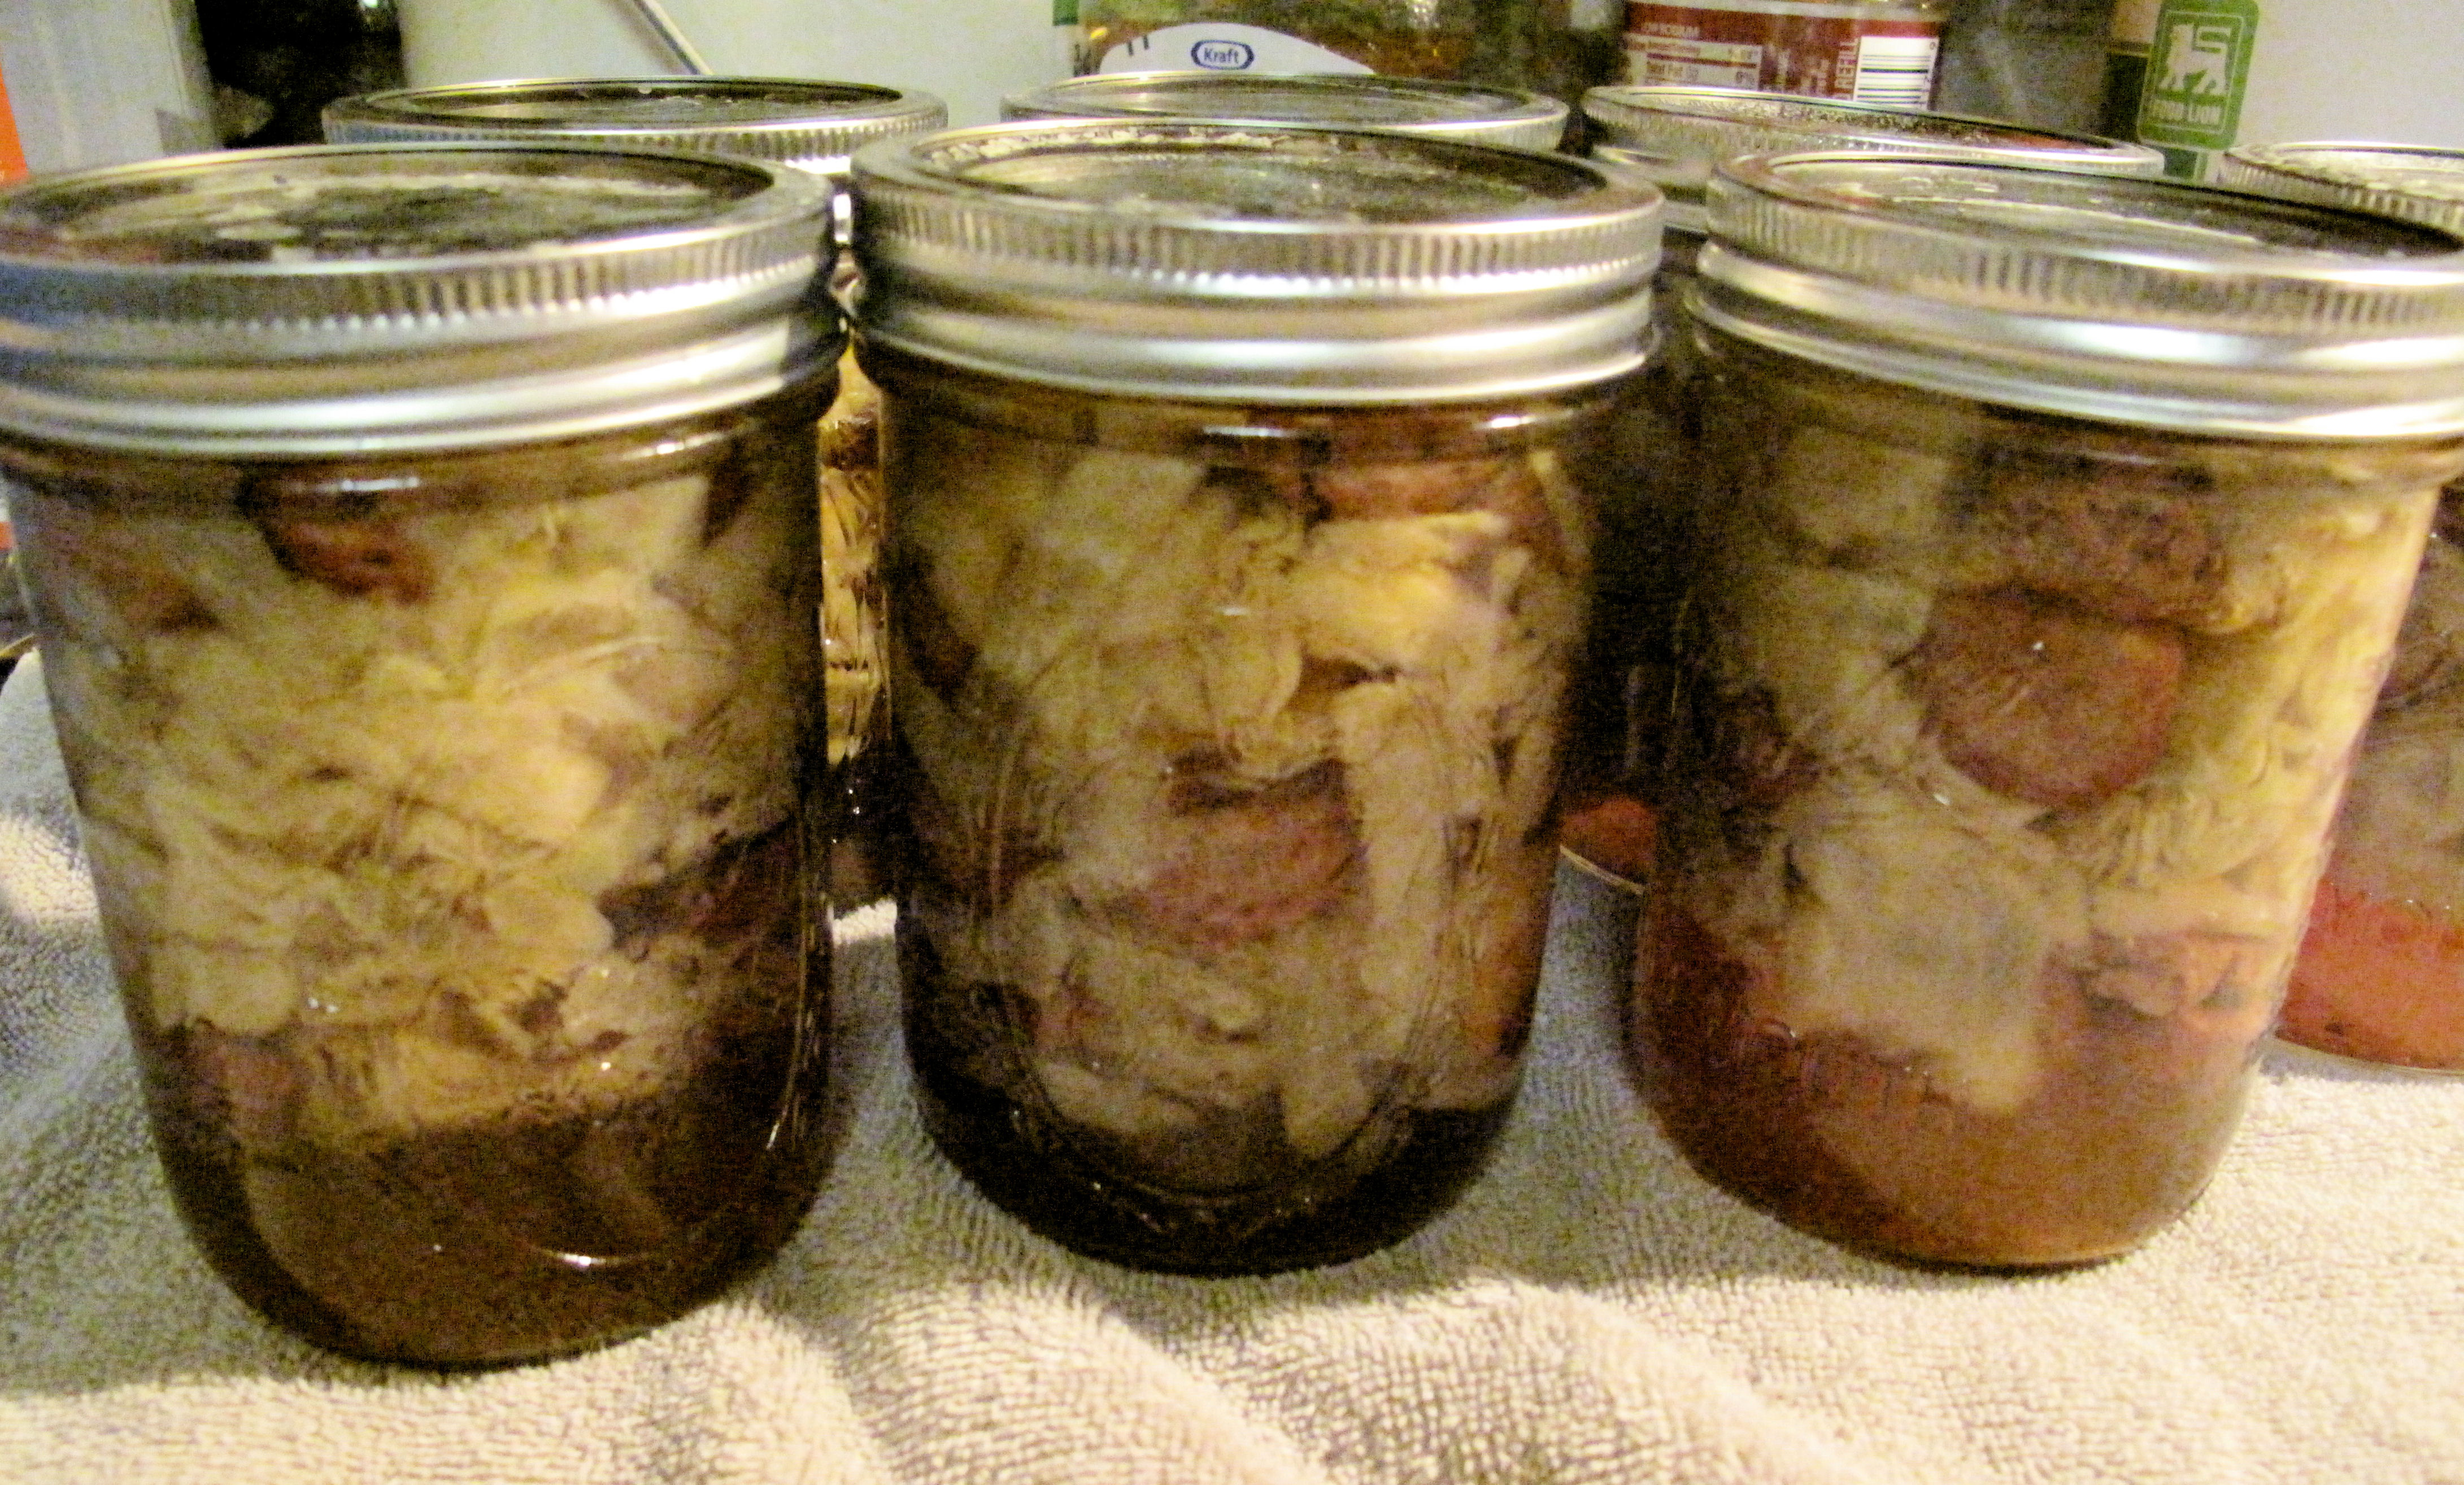
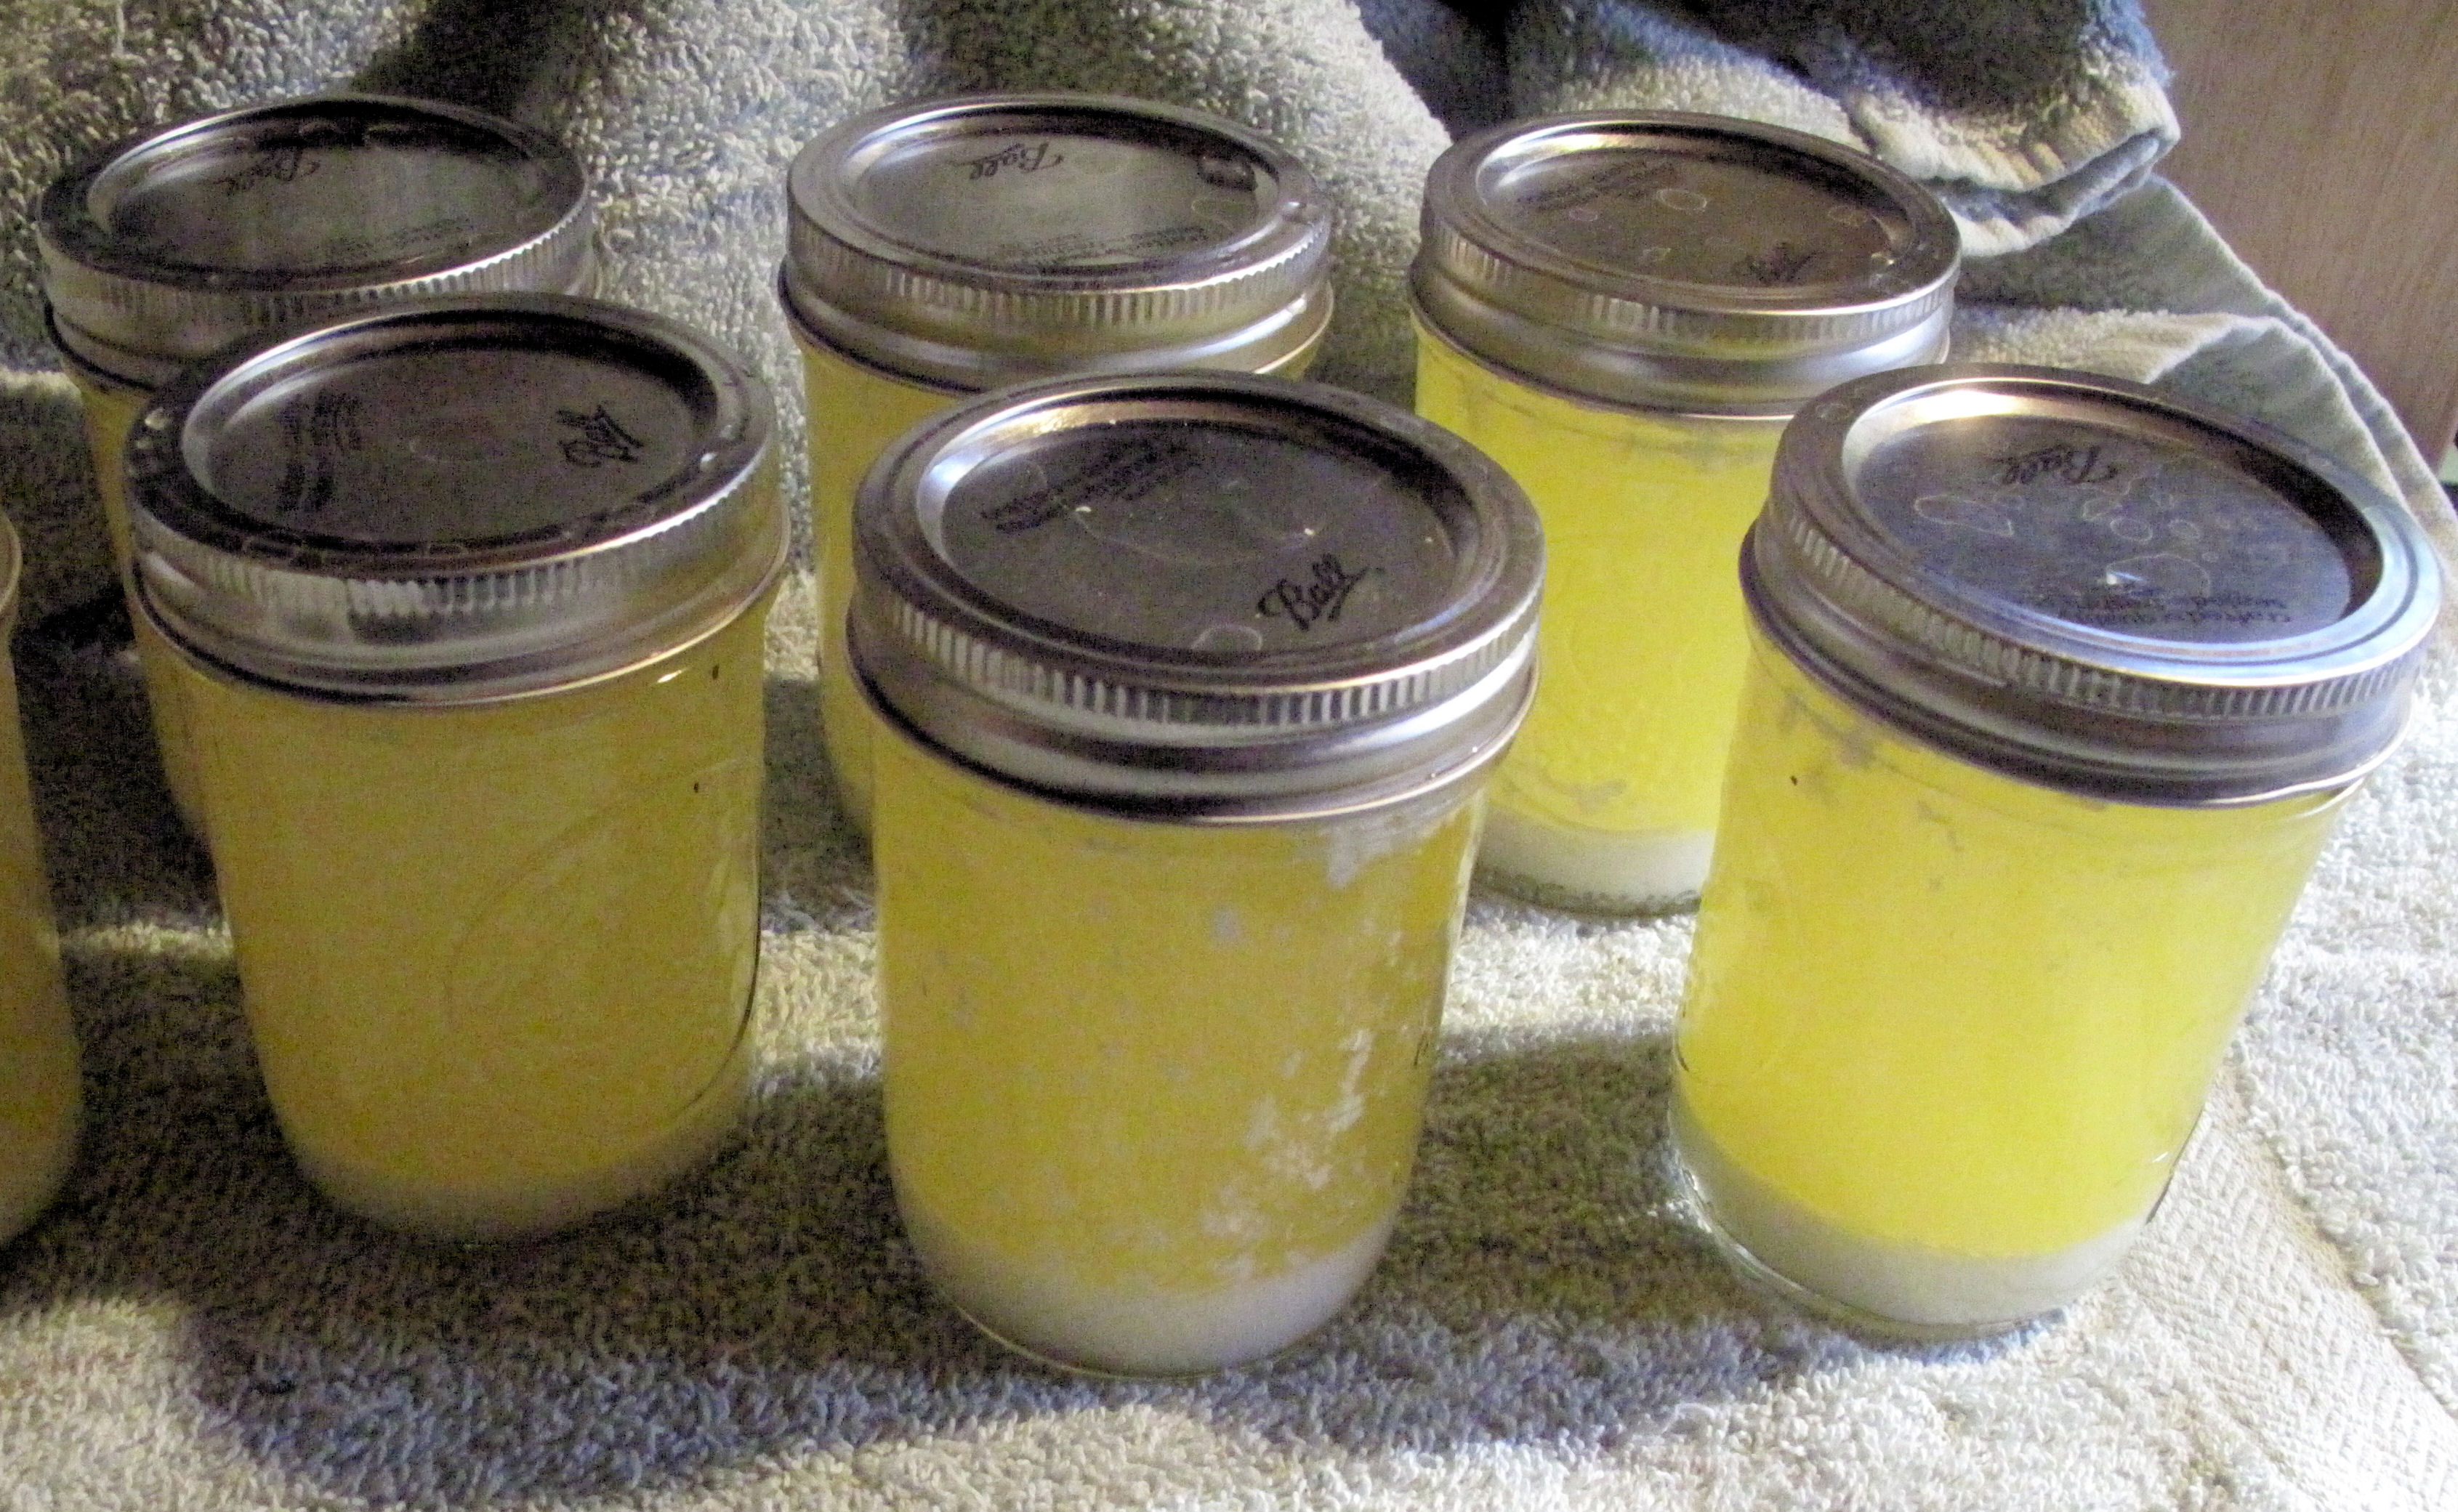
Once you have processed them then take them out and cover as you would normally any other home canned fare.

These eggs will turn a slight tan color but that is OKAY!

The night before using I recommend taking them out of the jar and soaking in cold water to dry the salt out. But its not really necessary. Just remember that anything you add these eggs to (they can be used in any dish requiring cooked eggs or eaten just like they are if you are brave!) you won’t need to add SALT to!
Pickled eggs you will do the same steps, but instead of salt you will/can use your favorite pickled egg solution!

Enjoy!

20150103_19

I like to play around with my canning. I often find great deals on meat at the grocery store and given how expensive meat has become I will pick up every reduced priced piece of meat they have. But what I have run into is a complete lack of canning recipes for ‘meals’. Yes, there are soups out there and your traditional ‘how to can meat’ but a meal? Not much so I have turned to traditional meals and other types of recipes from old cook books and have found that I can can most of it so that all I have to do is add rice or pasta or something else for a fast and delicious meal.

We like Chinese food, especially sweet and sour chicken but it can be time consuming to make it for dinner and I thought: ‘why not pressure can it?’ so we can heat and eat. It is super easy to do and tastes delicious over rice.
The following recipe is enough for 7 quarts which is about 2-3 people over rice.

Get all your supplies ready. 7 quart jars, lids, pressure canner, etc. PLEASE! Remember that the new Ball Canning Lids do NOT get boiled any more. Simply wash and get them ‘warm’. I like to put them in a pan and turn my stove on the ‘melt’ setting. If you boil the new lids you might just find out down the road that they won’t stay sealed.

What you will need for the recipe:
5 lbs of raw chicken thigh meat (or breast if that is what you have)
2 lbs of shredded carrots
1 large can of crushed pineapple
3 small cans of water chestnuts
2 medium onions
2 Cans of corn
Sweet and Sour Sauce (make your own or if you want you can buy a jar of it)

Remember, a recipe is but a suggestion! Add or subtract to your taste.

First, cut up your raw chicken into bite sized chunks. Place into large container (I tend to use my water bath canner for mixing up large batches of food).
Chop up to your taste the onions and add to the chicken.
Add your shredded carrots

Next, get your sweet and sour broth going. I use a 4 quart sauce pan and typically will put 3 quarts of water into it and then add whatever flavoring I will use. I got lucky and found a bunch of pre-made sauces and marinades for 99 cents each. A few were sweet and sour marinades. So I added 2 12 ounce bottles to the 3 quarts of water and stirred well and brought to a boil and then turned down to a simmer while I finished up the food part.

Drain your crushed pineapple into the simmering sweet and sour water.
Drain your water chestnuts into the simmering sweet and sour water.
Drain your corn into the simmering sweet and sour water.

Next, dump your crushed pineapple and water chestnuts in with the carrots, chicken and onions. Mix well.

Now you are ready to can.

Evenly distribute your chicken mix into the 7 jars.
Pour your sweet and sour broth to about ½ inch head space.
Stir using a knife to get out air pockets and bubbles. Add more broth if necessary.
Clean the lip of jar with vinegar.
Place lids and rings on.
Put jars into canner as usual and you know what to do next.

Processing time is 70 minutes at 10 lbs pressure. And YES that is more than adequate to get the chicken thoroughly cooked!
Allow to cool as usual.

To use:
Simply open jar and heat up while you are cooking your rice! Put over rice and enjoy!

Have fun canning!
Survivingshtfmom

PS I will add a picture of the product shortly!

20141102_1220141102_13
Jerky…a staple of those who hunt, camp, hike or just enjoy being able to eat a high protein snack without cooking. I have been making jerky for about 20 some odd years now and want to share a few ‘secrets’ to making it. You can make jerky out of ANY type of meat, including fish, deer, beef and chicken.

I personally got started making jerky when I was blessed with A LOT of venison/deer meat and had no idea how to cook it. After several not so good attempts at making normal meals out of the venison my hunter friend mentioned how much he liked jerky and asked if I could make that for him. And that is how I got into the jerky making business. It’s fun, easy and tasty and it doesn’t matter much what you are trying to use. For purposes of this article I will be speaking about making chicken and beef jerky.

First things first, people almost always ‘question’ homemade jerky and freak out about the safety of eating it (after all its NOT cooked) and how long you can keep it safely. If you do it right neither of these two things will matter. I have eaten my own personal jerky that was over 3 years old…no problems!!! But it usually doesn’t last that long. So, without further ado let’s get making jerky!

What you will need:
Your protein source (meat..fish, beef, chicken, deer, whatever!)
Salt (or high sodium content marinating sauce)
Seasonings of choice (if making your own)
Dehydrator

For simplicity’s sake I typically use BBQ sauce, or salad dressing or Worchester sauce…almost ANYTHING that you could use for marinating your protein.
The REAL trick is to have a high sodium content in your marinating sauce. This ‘cures’ the meat so that no nasty critters/germmies can grow. You want at least 40% of your ‘daily’ sodium allowance to be in your marinating sauce. Not hard to do really especially if you use soy sauce (which I did for this particular batch).

I used a honey mustard salad dressing (one bottle) and then ½ of one bottle of soy sauce. Just stirred together…use your imagination here. I have been known to just add table salt to increase the sodium content. Typically 1 tablespoon to 1 cup marinating sauce. I have been known to make my own ‘salad dressing’ and just add the extra salt. Don’t be afraid to have fun here to make new and interesting tastes! As a note: if you happen to decide to use venison I typically soak the slices in butter milk and salt to get the ‘game/blood’ out of the meat for about 2 days in the refrigerator. Doing it this way means needing to use less salt for the ‘marinating’ part.
20141102_1

Next, slice your protein into strips no more than ½ inch thick. If you have a lot of fat, trim it off. The thicker the slice, the longer it will take to dry and the longer you will have to marinate. If using chicken, the chicken breast is best for making jerky.
20141102_220141102_5

After slicing into thin strip simply put your meat into a ziplock baggie and put in your marinating sauce. Allow to sit for 20 minutes at a minimum in the refrigerator (or counter top). Some of my best jerky has been allowed to sit in its marinating sauce for 2 or 3 days in the refrigerator, especially if I am making large amounts.
20141102_6

Next lay the strips out on your dehydrator trays.
20141102_920141102_10

Set the heat level (if you have one) to 155 and leave alone for the next 5 hours.
After 5 hours come back and check for doneness. It should be ‘dry’ but flexible but ‘hard’ too. I have found that chicken and fish dry much faster than denser types of meat such as beef. If not done yet, check back about once an hour until it passes the flexible, dry and hard test.
20141102_1320141102_12

Once you have the jerky ‘made’ let it sit to cool off for several hours. This is important to avoid moisture being trapped into the bag that you will place your finished jerky in.

Now there are 2 schools of thought on how to store homemade jerky. If you are going to eat it quickly, say within a couple of months, simply putting the jerky into a zip lock baggie will work and you can keep in a coolish dark place. However, if you are planning on long term storage you will want to vacuum seal it. Personally I vacuum seal a personal sized serving of the jerky and then place into 5 gallon buckets (yes, I make that MUCH!!!). One note on both methods, be sure that no pin prick holes are made in the storage bag, this allows moisture and air to get into the bag. Whenever I vacuum seal I will generally allow the sealed bags to sit over night and then reseal (double bag) any bags that have air in them, not doing so will shorten the shelf life. Or, you can just use that unsealed bag first.

Have fun! It takes just a little bit of work to make your own jerky but it tastes awesome and people will beg you for it!

Stay safe and be prepared
survivingshtfmom

20141029_6

Homemade Sweet Saurkraut and Sausage Canned

Who doesn’t like sauerkraut? Okay, I know a few who don’t but its usually because of, well, what I shall call the ‘pucker’ factor. Its is ‘sour’ after all and most store bought kraut is very salty too. But in my quest for the ultimate, who wouldn’t like it sauerkraut I found a way to make ‘sweet’ sauerkraut and you can add whatever meat you want to it too! PLUS you can pressure can it to put up for a delicious meal or snack anytime. And as a bonus, there is no ‘waiting’ around for it to mature. Most canned sauerkraut recipes you either ferment the cabbage before canning it or are told to wait 10 days or more after canning fresh cabbage to get the ‘kraut’. But this, is instant and yummy.

What you will need:
Canning Jars (7 quart or 14 pint)
Canning salt
Sugar
Apple Cider Vinegar
6 lbs Cabbage (or there abouts)
Meat of your choice (sausage, polish sausage, hamburger, etc.)
Boiling water.

The first matter at hand will be to get your canning supplies ready. Following the ‘new’ manufacturer’s directions. Simply run the jars and lids and seals through the dishwasher. Put the jars on cookie pan and place into 250 degree oven.
Lids/seals/rings go into a pot of water and are brought right up to a boil and then taken off and put aside. Get your pressure canner water going at this time too.

Next you will want to process your fresh cabbage. Peel off the 2 outer most leaves and then wash the outside of the cabbage. Next cut up the cabbage into bite size pieces (however you like, shredded, pieces). Place in a bowl to the side.
20141029_2

Cook your meat. In my case I just browned the sausage in a pan. But how you cook your meat will depend upon what type of meat you use.
20141029_1

Once you have both the cabbage and meat ready you will then combine into a large bowl and mix well.
20141029_3

At this point, bring a kettle of water to boil, you will add this to the packed jars of cabbage/meat.

Pack your cabbage/meat mixture into your jars leaving about1 inch head space.
20141029_4

Then add to each jar:
½ tsp canning salt

If you are using PINTS then add:
1 tablespoon apple cider vinegar
1 tablespoon of sugar

If you are using QUARTZ then double the amount of vinegar and sugar.

You will then fill each jar with the boil water leaving at least ½ inch of head space.
Clean the rim using vinegar and then proceed as you usually would placing lids and rings on each jar.

20141029_5
Place the jars into the canner. Allow to come back up to a boil and then process as you would with any normal canning.
Pints: 55 minutes at 10 lbs.
Quarts: 75 minutes at 10 lbs.

After processing you once again follow normal canning procedures. Allow the pressure to come down before removing the top. Place on a towel and cover allowing to cool overnight. Wash the jars before putting up.

You can eat at will and its yummy!

Give it a try and share…
survivingshtfmom

20141029_6

20141020_5Need a great way to keep real butter safe? Can IT! Yes, you can can butter, safely, effectively and it’s a great way to save freezer space and/or refrigerator space plus put some up just in case the hard times hit.

I will note, this works for REAL BUTTER ONLY. Do not use ‘butter’ that isn’t real, the result will be a mess.

What you will need:
REAL BUTTER
Water Bath Canner
Pint or ½ Pint Canning Jars
Pot to melt butter in.
Vinegar
Small Towel

Prior to beginning melting your butter, be sure your lids are clean. DO NOT simmer your lids continuously, the lids you find now on store shelves do NOT require this and in fact you face seal failure if you keep them simmering. I will place my lids into a pot of water being to a boil and the minute they ‘boil’ I take them off the heat and set aside. They stay warm, but this doesn’t harm the new ‘rubber’ on the lids.
Wash your jars and place onto a cookie tray the whole thing goes into a 250 degree oven (this keeps them ‘clean’ as the temperature kills any bacteria or gremmies). This will also help to keep water out of your jars and will help to ensure a good seal on the jar with the new lids.

I started out with 3 lbs of butter in sticks. Unwrapped each one and then sliced up into my pot.
20141020_1
Melt all the way down.
20141020_2
While doing this I brought my canning water (water bath canner) up to a boil (2 inches of water in it).
After melting the butter all the way down get the jars out of the oven. Then pour the melted butter into ½ pint jars (if I have no refrigeration I figured the smaller size would be best for keeping it once opened) leaving ½ inch head space.
Put a bit of vinegar onto your small towel to wipe the jar lip and screw on area clean. Be sure to do this step. I use vinegar as it works best on ‘fats’ to cut it/clean it.
20141020_3

Put your lids and rings on as usual.
Place all jars into the water bath canner.
Once it comes back to a boil, place the lid on it.

For ½ pint jars you will process for 20 minutes.
Pint jars require 30 minutes
Quartz will require 45 minutes.

After processing take out and cool as you normally would.
On a towel with the jars covered to make the cooling process slow.
20141020_4

And here is the TRICK for getting great results with canning your own butter:
After a couple of hours of sitting, come back and SHAKE each jar well about every 10 to 20 minutes until set solid.

And you are done!

Here is the finished project:
20141020_5

stay safe, enjoy and be prepared!
survivingshtfmom

20141007_6Green beans…these are so easy to grow and are often prolific producers. So how can you preserve them? Canning and freezing are our favorite ways.

Canning fresh green beans is easy…but VaCreepinOutdoors and myself, we love to can them like our grandmothers did. With BACON! Yes, you can safely can green beans with bacon. My grandmother died when I was 8 years old. One legacy she left was a TON of canned fruits and veggies. My family got some of them and some were pressure canned green beans with bacon. Sadly, I opened and ate the last remaining jar of these about 8 years ago. I am now 42 🙂 and they were still delicious!!! VaCreepin remembers his mom’s and grandmothers canned beans too..so this article is in their memory and we hope you will give this a try and make it a tradition in your family too!

What you will need:

1 quart mason jar (or 2 pints) per pound of green beans.
Green Beans
Diced Onions (I like to add raw onions for flavor, 1 medium sized one per 3 lbs)
Minced Garlic (again, for flavor, add to taste)
Bacon (I use 1lb per 3 lbs of green beans, use as little or as much as you wish)
Pressure Cooker
Colander and Large Pot or Bowl.
A little bit of vinegar and a small rag.

Getting your canning supplies ready to go as usual. With the new lids available now, all you need to do is wash them. No boiling necessary to get the gummy going (in fact, keeping them simmering will degrade the gummy part causing lid failure). Often I will just put the lids and rings into a pot of water, bring to a boil for just a minute or two and then turn down to barely warm just to keep the water warm enough that I can put a finger into the water without hurting myself.
A trick I learned with the jars…heat the oven to 250 degrees to keep them ‘hot/warm’. Put the jars onto a cookie sheet and put into the oven while prepping the beans and bacon mixture.
Get the pressure cooker water going too. I put 3 inches in and bring to a boil while prepping the beans and bacon mix.

Next, we prep the beans and bacon/onions/garlic.

Typically VaCreepinOutdoors will cut the beans up as I fry up the bacon/onion/garlic mixture. The beans should be cut into about 1 inch lengths. Then rinse.
We DO NOT parboil them because that causes the beans to become mushy after canning. Raw packing is the best method for green beans so they don’t overcook. Remember, you are cooking them when you pressure cook them and then cooking again after opening. No mushy beans here!
20141007_1

Place the beans into a large bowl or stock pot.

For the bacon, I cut the strips into 1 inch or so pieces, put into a frying pan, add diced onions and the garlic and fry the bacon until its just done/cooked. Drain the fat and then add to the beans that are already in the pot.
20141007_2

Mix the beans and bacon mixture WELL.
20141007_3

Get your preheated jars out and STUFF THOSE JARS FULL of the bean/bacon mix. If you don’t pack them in tightly you will wind up with more water than beans. I use a pestle or something else to pack the beans/bacon down into the jars. Pack leaving ½ inch head space.
20141007_4

Now for the best part: no hot water needed…I just take the packed jar over to the sink and fill with water up to the ½ inch mark.

Because we have used bacon in this canning recipe, you will need to put a small amount of vinegar onto the rag. Wipe the rim and where the ring screws down onto. Vinegar cuts the potential grease and cleans the rim very well.

Place the lids and rings on the jars as usual. Finger tight!
20141007_5

Place into your pressure canner and follow the manufactures instructions from there.

You will can quartz at 10 lbs for 25 mintues and pints at 10 lbs for 15.

Yum! These are huge hit and a blast from the past that everyone loves!

Of course you could use ham or something else if you wish, add your own seasonings, whatever…I have canned green beans just using the regular seasonings I would use in cooking too.

Have fun and enjoy!
Survivingshtfmom and VaCreepinOutdoors