Protein is an invaluable source of long term energy in a survival situation or in any situation in which we are called upon to exert more energy than usual (camping, running, etc.) and/or a time when you can’t really cook or want to keep it simple during and emergency…prepackaged dehydrated food is great if you can find it cheaply, but knowing how to properly dehydrate protein NOW, yourself, before something happens is something to learn how to do and after the initial expense of buying a good dehydrator you will wind up saving yourself tons of money, not mention YOU get to control what goes in your food.
Previously I had dehydrated chicken breasts using one of those smaller, cheaper food dehydrators and honestly, after rehydrating and trying to eat it on the go, I thought that perhaps there could be a better, more flavorful way of doing this.
I wound up buying last year an excellent Excalibur Food dehydrator at a good discount from ebay simply because I was becoming frustrated with the limited amount drying space I had with my old round one. It wasn’t very efficient at drying, the middle ring took forever to dry, with the bottom and top ones drying very quickly and uneven drying on all rings so I was constantly moving the food I was drying around and the large slots meant a lot of food fell through as it was drying…nope…I bit the bullet and bought a good, solid Excalibur and I highly recommend that if you are serious about drying foods for storage or use during camping that you get one…well worth the money!
So here we go again on how to dehydrate chicken, while the first article I wrote on dehydrating chicken is a great and simple start to doing so, I have tweaked my technique and have learned a few tips to add to dehydrating your chicken to make your chicken turn out so much more better.
What you will need:
Dehydrator
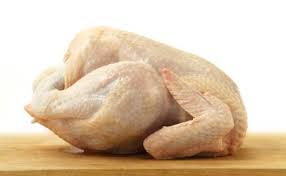
Chicken (whatever you can lay your hands on cheaply)
Large pot for boiling your chicken
Powdered Seasonings for infusing flavor into the chicken
One thing I have learned since last writing about dehydrating chicken is that DARK MEAT is the best when dehydrating chicken. When you go to rehydrate or eat it like jerky, it rehydrates much more readily which can be important if you are carrying it with you to eat on the run.
I also like to use thigh or leg meat verses the breast…again, just easier to rehydrate. But use what you have, white meat, thigh, breast, leg, whatever, the process drying is the same. My only note on chicken breast is that it rehydrates more slowly and is tougher after rehydrating (not to mention it COSTS more money unless you can get a real deal on it). And don’t forget you can use bone in or bone out.
So, I found on clearance boneless chicken thighs (mostly dark meat) at the local market…spent maybe $2 for the package. If you are using chicken with bones in it, you will just need to spend the time taking the meat off the bone before putting in the dehydrator.

In one large pot I put 12 cups of water, seasonings to taste (I like to use garlic and onion powder with a touch of salt) and put about 1/3 of cup of each into the water. Then in goes the chicken.
At this point I bring the water, seasonings and chicken to a roiling boil and allow it boil itself until done. You will have to gauge for yourself when it is done cooking as boiling/cooking time will depend upon what you are using. To speed up the process of cooking and if you are using chicken breasts, I have found that by cutting up the breast into chunks FIRST (raw) and then cooking saves time and you don’t over cook the thinner chicken.

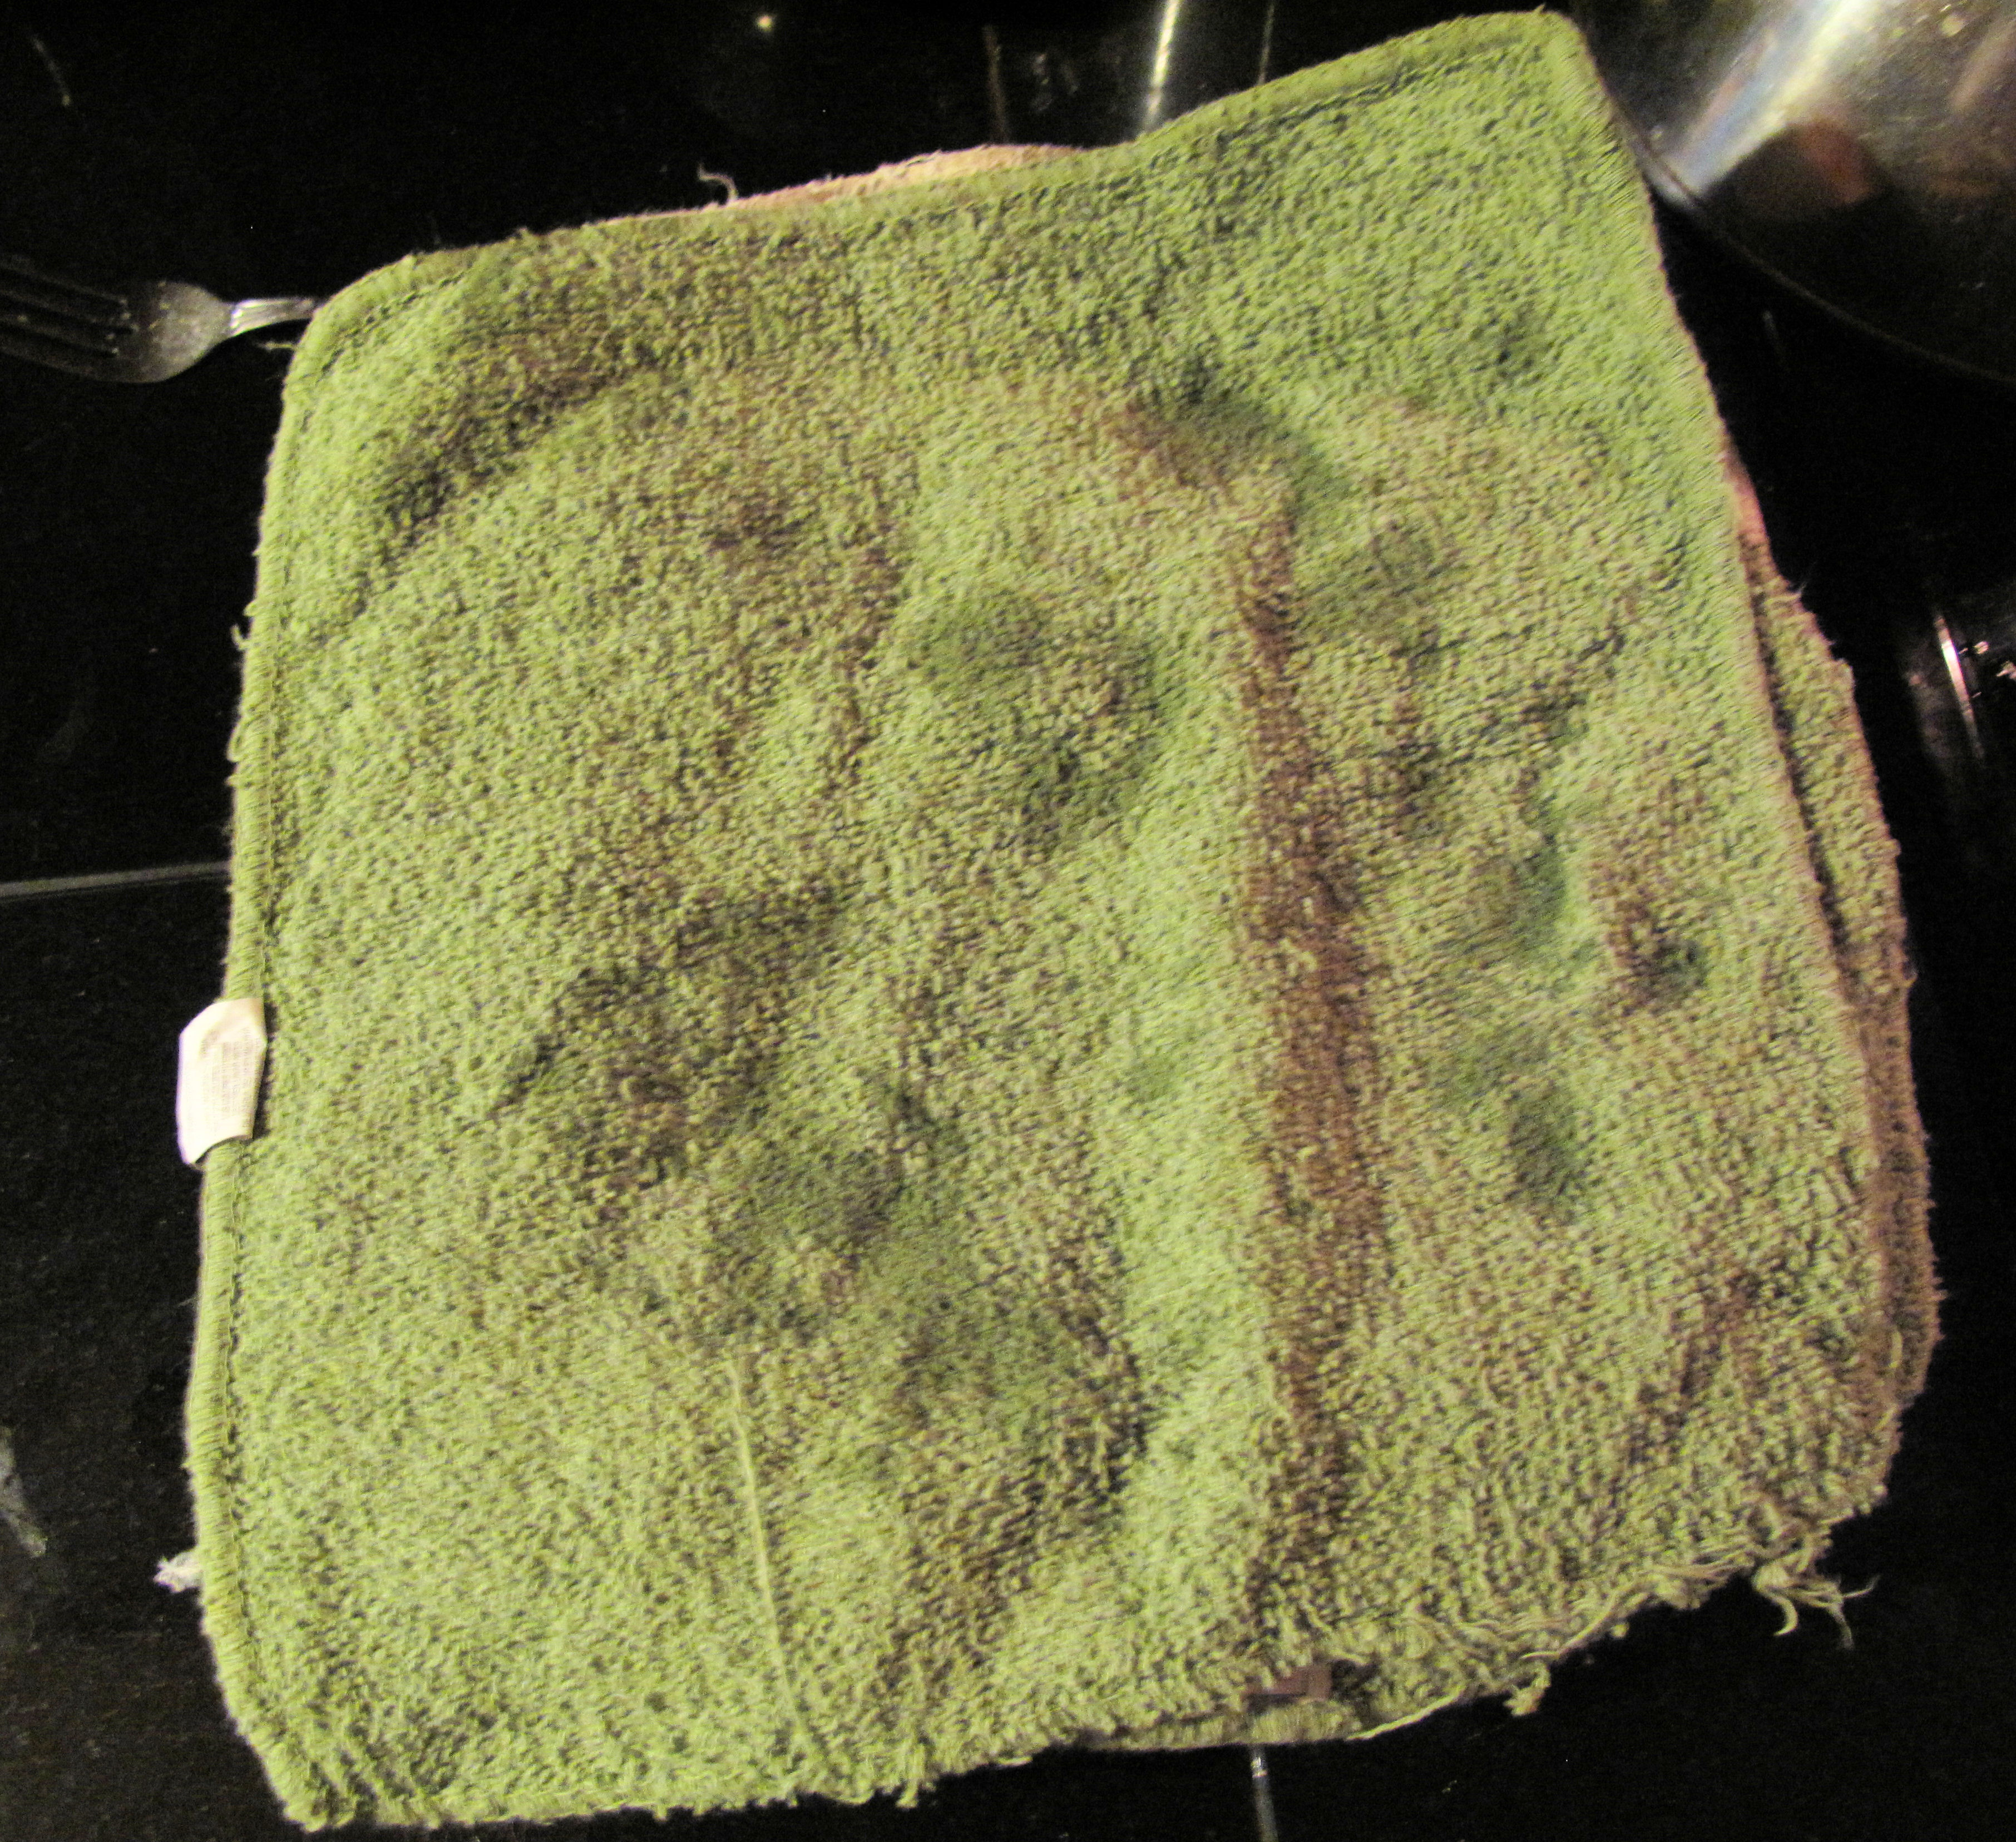
When the chicken is done cooking you will then need to do one of two things at this point…if you are using chicken that has a bone in it, you will need to get the meat of the bone place the meat on a plate covered with a couple layers of towels.
If you are using boneless meat you may just place the meat on a plate covered with a couple layers of towels.

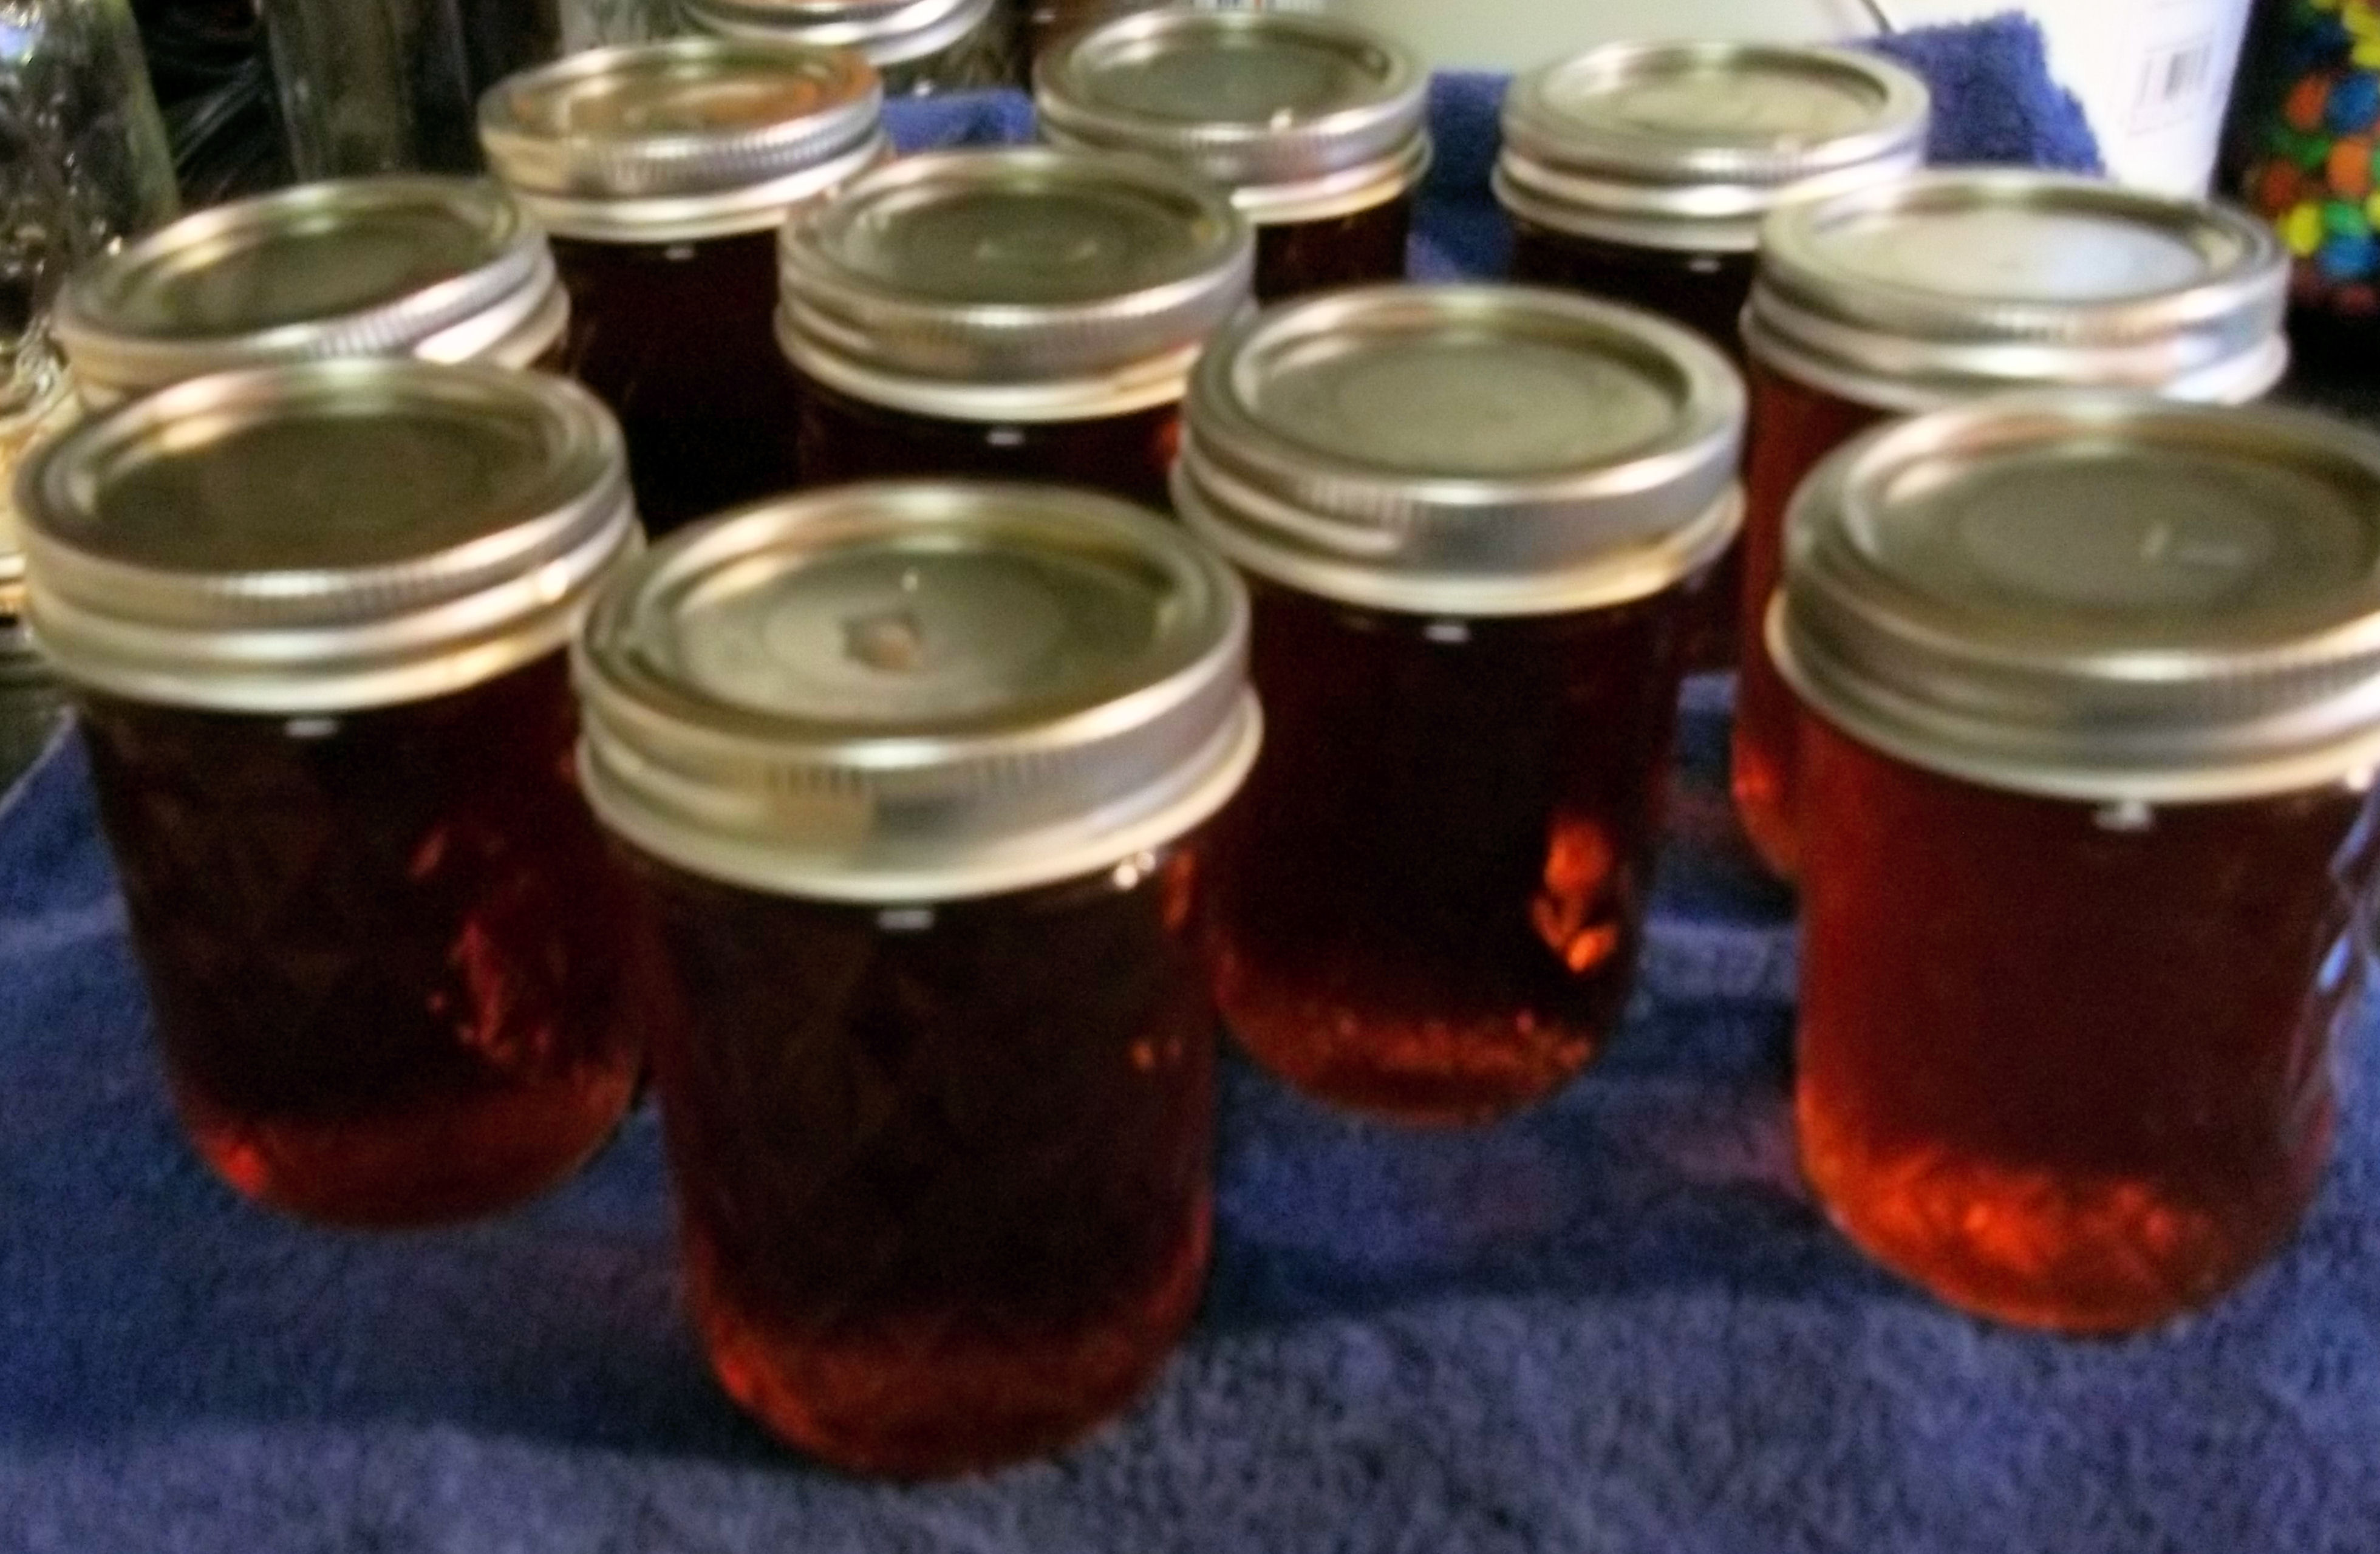
FYI: That water you just added spices to and boiled your chicken in? Excellent stock/soup base…don’t throw it away! Extend your money! Can it, freeze it, etc. IF you find yourself without power you have ‘instant’ soup base to rehydrate your chicken in!
Next, you will want to take two more towels, lay them over your meat and press the ‘juice’ out of the meat…this helps to speed up the drying time and keeps the meat from becoming too tough from ‘over dehydrating’ which can easily be done since everything you dehydrate is from the outside in and meat likes to retain its moisture! It wouldn’t to ‘burn’ (over cook so to speak) your meat!

Then allow to cool to room temperature, to speed this up you may place in the refrigerator. I am not sure WHY this helps, but by accident and then by design I have found that this really helps with retaining texture, taste and helps prevent the meat from being tough after rehydration (even with chicken breasts).
After your chicken meat cools off you will need to pull or cut into bite size pieces or whatever size you want. I just like bite size because its faster to dry and easier to rehydrate in your mouth if you want to eat it like that and if using in soups or casseroles you require less water/time to rehydrate (which is important especially if using with noodles or dehydrated veggies which rehydrate faster).
Very lightly spray your trays with an oil (not a lot, just a very, very light coat). This will prevent sticking which is very important if you are using one of the dehydrators that cheaper ones with the big slots. Not so important with an Excalibur as the screen is flexible, but I still spray, makes clean up easier!
Now you are ready to put your chicken pieces on the drying racks…

At this point, close up your dehydrator…if you have one that allows you to set a temperature on it, you will use 155 degrees temperature setting, if not, just turn it on.
Leave the dehydrator be for at least 3 hours before opening and checking on the chicken. After 3 hours I found mine almost done. You may or may not have the same experience. But if not almost done at this point (and there are many factors that control this) close back up and check again in a couple of hours.
For those with the smaller, cheap dehydrators you may find yourself having to move trays and chicken around to get more even drying. If I am dehydrating A LOT of meat in my Excalibur I wind up moving the racks around once, the top one and bottom one go into the middle and the middle racks go on the top/bottom. But with only 2 racks in I did not have to do this.
IF almost done, shut it down and allow to cool again. I left mine overnight.
The point being is that you will want to shut the dehydrator off when the meat is almost completely dry and allow to cool off.
After cooling off, restart your dehydrator to finish dehydrating. Be careful at this point to check about every half hour so you do not over dehydrate and potentially burn your chicken.
You will know its completely dehydrated when it is no ‘spongy’. I like to ‘sample’ a piece. It will be ‘dry’ and crunchy but easy to chew. Don’t worry if it’s ‘hard’ that happens, but the more you dehydrate meat the better you will get at gauging when its ‘perfect’.

Allow to cool again before packaging by the method you want to do so. If you will be using within the week, ziplock baggies are great…anything longer than a week and you will want to vacuum seal the chicken some how, in a jar or a food saver, though the old timers never did this! For long term storage you will want to remove all the oxygen for best results and longest shelf life. Will store this way for AT LEAST a year, depending upon storage conditions.
Dehydrated properly, chicken (or any meat) is a great way to save money on food storage, make ‘fast food’ meals with little to no mess (one pot! Ever tried cooking after a hurricane? The less ‘pots’ the better!) or it’s a cheap way to make your own camping/bug out food.
My end result:
About 4 cups of protein and weighs in at just over 2 ounces.

To use:
Pretty simple, you can either just munch on it using your own spit to rehydrate it or you can add to water, soups, and so much more! Put together with veggies and noodles in water for a fast meal. Takes about 15 minutes in boiling water to completely rehydrate and heat depending upon the size you make the ‘bites’.


Kids, Prepping and Management
Lately I have been taking stock of my ‘stock’ (read that preps). Admittedly, I have included my children in getting prepared, but I didn’t realize just how much THEY did not understand the importance of organization, labeling and rotating. Yes, two are under 12 but one is a teenager who is into prepping. We talk about how to store things, what and why we keep extra on hand, safety, the value of being able to be less reliant on the ‘just in time system’ and a whole lot of other things. And many times we work together getting things done or they see me doing it with some help from them. Prepping with children as a single mom has brought up some interesting things, but when I started making extra room in my house to include another person, whoa! I just wanted to bug out and not deal with it…but, here I am, learning and hope that in my learning you can learn something too, especially if you are a single parent with children.
First, I realized just how much ‘crap’ is in my house that has really no value to me, but that’s another subject. Next, I realized that things had just been put behind closed doors so to speak to, just get it out of the way, and instructions were just NOT followed. And before someone has something to say about ‘kids being kids’ I am going to tell you that I am old school and believe that when an adult gives specific instructions on what/how to do something YOU DO IT. Not that I am trying to turn my kids into sheeple and not that I am not open to their ideas of how to get things done, but when you are told to pour the salt into a particular container and then label it, I expect it to be done. Put it in and label it and then put it in the spot I have set aside for it.
HAHAHA…I started cleaning/reorganizing and I found things stashed away like a squirrel stashes his nuts for the winter. Some of what I found was big bags of RICE just tucked away in a storage closet (seriously, that is NOT a joke). That was my teenager. Instead repacking the rice safely, he disappeared the containers and then stashed the rice.
Haha factor aside, I did not find this amusing at all and then I began to wonder about other things and sure enough, Mr. I Play Video Games, had not labeled salt containers or sugar containers, had just thrown can goods haphazardly into the pantry…sigh…really? And yes, I stood over him and things got done but really? At almost 16 years old I have to do that to make sure it gets done properly? Lets just say a few things ‘disappeared’ on him and I told him point blank that if he couldn’t follow simple instructions and put things away properly then how was I supposed to trust him with a crossbow or driving a car. Anyway…My 9 year old at least knows how to put green beans with green beans and to put the oldest up front. Sigh…so the past two weeks has been spent back tracking. Oh, I also found empty boxes that were never thrown away (so I assumed we had that in stock). Really? My 3 year old know how to throw things away.
There were quite a few things I found ‘out’ about, mostly just annoying things but if the little things like putting labels on buckets (so you know what it is), or putting the rice into mouse/bug proof containers or just throwing away an empty box of something can’t even be done, ohhhh…man, my mind just goes nuts over that one.
So what’s my point?
Everyone has to be on the same page at all times and understand the reasons behind why certain things get done. And just talking about it isn’t going to work with some people. Written instructions, establishing routines and expectations and then, being ‘the leader’, following up every time until you are dead sure that everyone is doing what they are supposed to be doing. And unfortunately, having worked in the real world, I have seen this same behavior from ‘adults’. Time consuming? Yes. Pain in the rear? Yes. Should you as ‘leader’ have to micro-manage. No. It would be nice to be able to delegate, but most people are used to ‘getting by’ with little to no consequences to themselves. This go around it was just proper food storage. And we can all go to the what ifs, but it got caught in time. So micro-manage I will until I am sure that we are all on the same page on how things will get done.
Ideas for the micro-management/leader that does work well for both children and adults:
Get a whiteboard…the type you can list ‘to do’ items on daily. Save your breath.
Get another whiteboard…this one won’t be daily but will list chores/responsibilities for the week. Unfortunately, even adults need this (ever worked in a restaurant?).
Have a sit down/write down meeting. In this case, with my 3 children I was able to explain WHY it was important about storing food correctly. THEN a notebook came out and the steps were written down. They took turns writing out the steps and reasons why. In my case it was about food storage, but this will work in any type of situation that you see come up or MIGHT come up, including security tasks. And YES, children can help on that end too. At this sit down ask questions instead of lecturing. You’d be surprised at how well this works.
Don’t overlook abilities. Some people are better at something than others. SWAT analysis is a good thing. Unfortunately, you may find yourself (as in my case with my children) that you have to work with what you got. My case, kids which means I have to work with what I got, including the attitude.
Have a CLEAR system and keep it simple. Chaos is NOT good! For instance, one place I keep proteins, another certain types of canned goods, another place salt, sugar and another for rice. Its in the same place all the time (that is until someone decides to just do it their way). But I do have a system in place. This allows you to know instantly where certain things are (for instance I have ONE place for all batteries and ONE place for all types of lighting except for candles). By having a few things here and a few things there you wind up wasting time and energy ‘looking’ for things.
Speak up…don’t be afraid, as the ‘leader’ to say what you have to say when it needs to be said. I will admit it, when I found things not done correctly they, my kids, were in the middle of doing homework…guess what? They wound up redoing what they were supposed to do instead of the homework and opps! The homework got done when typically they do what they want to do. Seems to make the impression to just get it done right the first time.
Lastly, DO follow up to make sure things are being done correctly. Don’t make it obvious that you are doing so but just check. If done correctly…give praise (yep, that includes adults too), if not done or not done correctly stop right then and there and do what needs to be done. Food storage case I pulled the bags of rice out, put them on the counter top, called my son into the kitchen and stood there until I SAW him doing it. Then said thank you, walked away and then rechecked a bit later. Done right.
Anyway, that’s my rant for today (well, everyday it seems). Discipline and order and a system and being on the same page with everyone when things are ‘normal’ makes it easier when something comes up later on.
Now, back to clearing out the crap!