
Got a rip? Got a tear? Don’t throw it away! Chinook Klear K-Tape to the rescue! Seriously, this stuff has got to be a serious answer to saving money on all sorts of camping, clothing and other synthetic equipment that can be ripped up and torn.
Back story…dear heart over at Vacreepinoutdoors and I were getting ready to go into the woods one rainy day, he took out his water resistant camo pants (I still have yet to figure out why when you go into the woods outside of Turkey hunting season why it seems everything is CAMO, but that is another story) and lo and behold a NICE rip was on the right, er, posterior hip area (the technical term for buttocks). Typical DH fashion, it was a shrug and out the door we went. He’d just wear them and not worry about it. But me, the typical woman is thinking…okay buddy, just sit on something wet or in the snow and your rear end is wet and cold, both of which can be deadly (think hypothermia). I must admit it was rather attention getting following through the woods as I do (no feminist issues here!) but that is besides the point.

Since he is not the type to replace things unless it is 75% off or comes from a thrift shop, I was left wondering how the heck to fix it. These water resistant pants are lined with some sort of mesh so turning them inside out and sewing them wasn’t going to work, not to mention the fabric is a rather thick cotton/nylon who knows what material. Sewing from the outside would allow moisture in still, not to mention be UGLY. The only thing left in my mind was a patch, but how to match the fabric? I know they make iron on patches and after a bit of discussion about this with DH he left it up to me, after all, it was less than 2 inches long and the right color patch wouldn’t really matter. So off to my one of my favorite places to shop…Amazon…just google iron on patch and boom! Well, this Chinook Klear K-Tape came up along with iron on patches (which were rather expensive and from past experience not exactly easy to use and not that hardy sometimes).
The following is taken directly from their ad on amazon:


No need to match colors with this transparent, highly durable, UV stable, abrasion–resistant urethane tape. This tape is truly universal and can be used on all smooth synthetic fabrics, fleece fabric, plus vinyl. – 3″ x 18″
It is also washable!!!
And only $8 (free shipping with Prime)…the back of the package gives a ton of suggested uses from nylon type pants, tents, grill covers, down coats, bags…just about ANYTHING you can imagine.
Hands down, my new best friend! Forget the ‘sewing’, the ‘sewing glue’, hot iron patches….I mean how many times over the years have I (and you for that matter?) struggled to repair something nylon or nylon like only to have a mess on your hands, it looking ugly or just having it rip even more or throwing it away, thus having to replace it?
So I bought it, after all, $8 bucks nowadays is a meal at McDonalds which I can skip and the pants are rather pricey to replace.
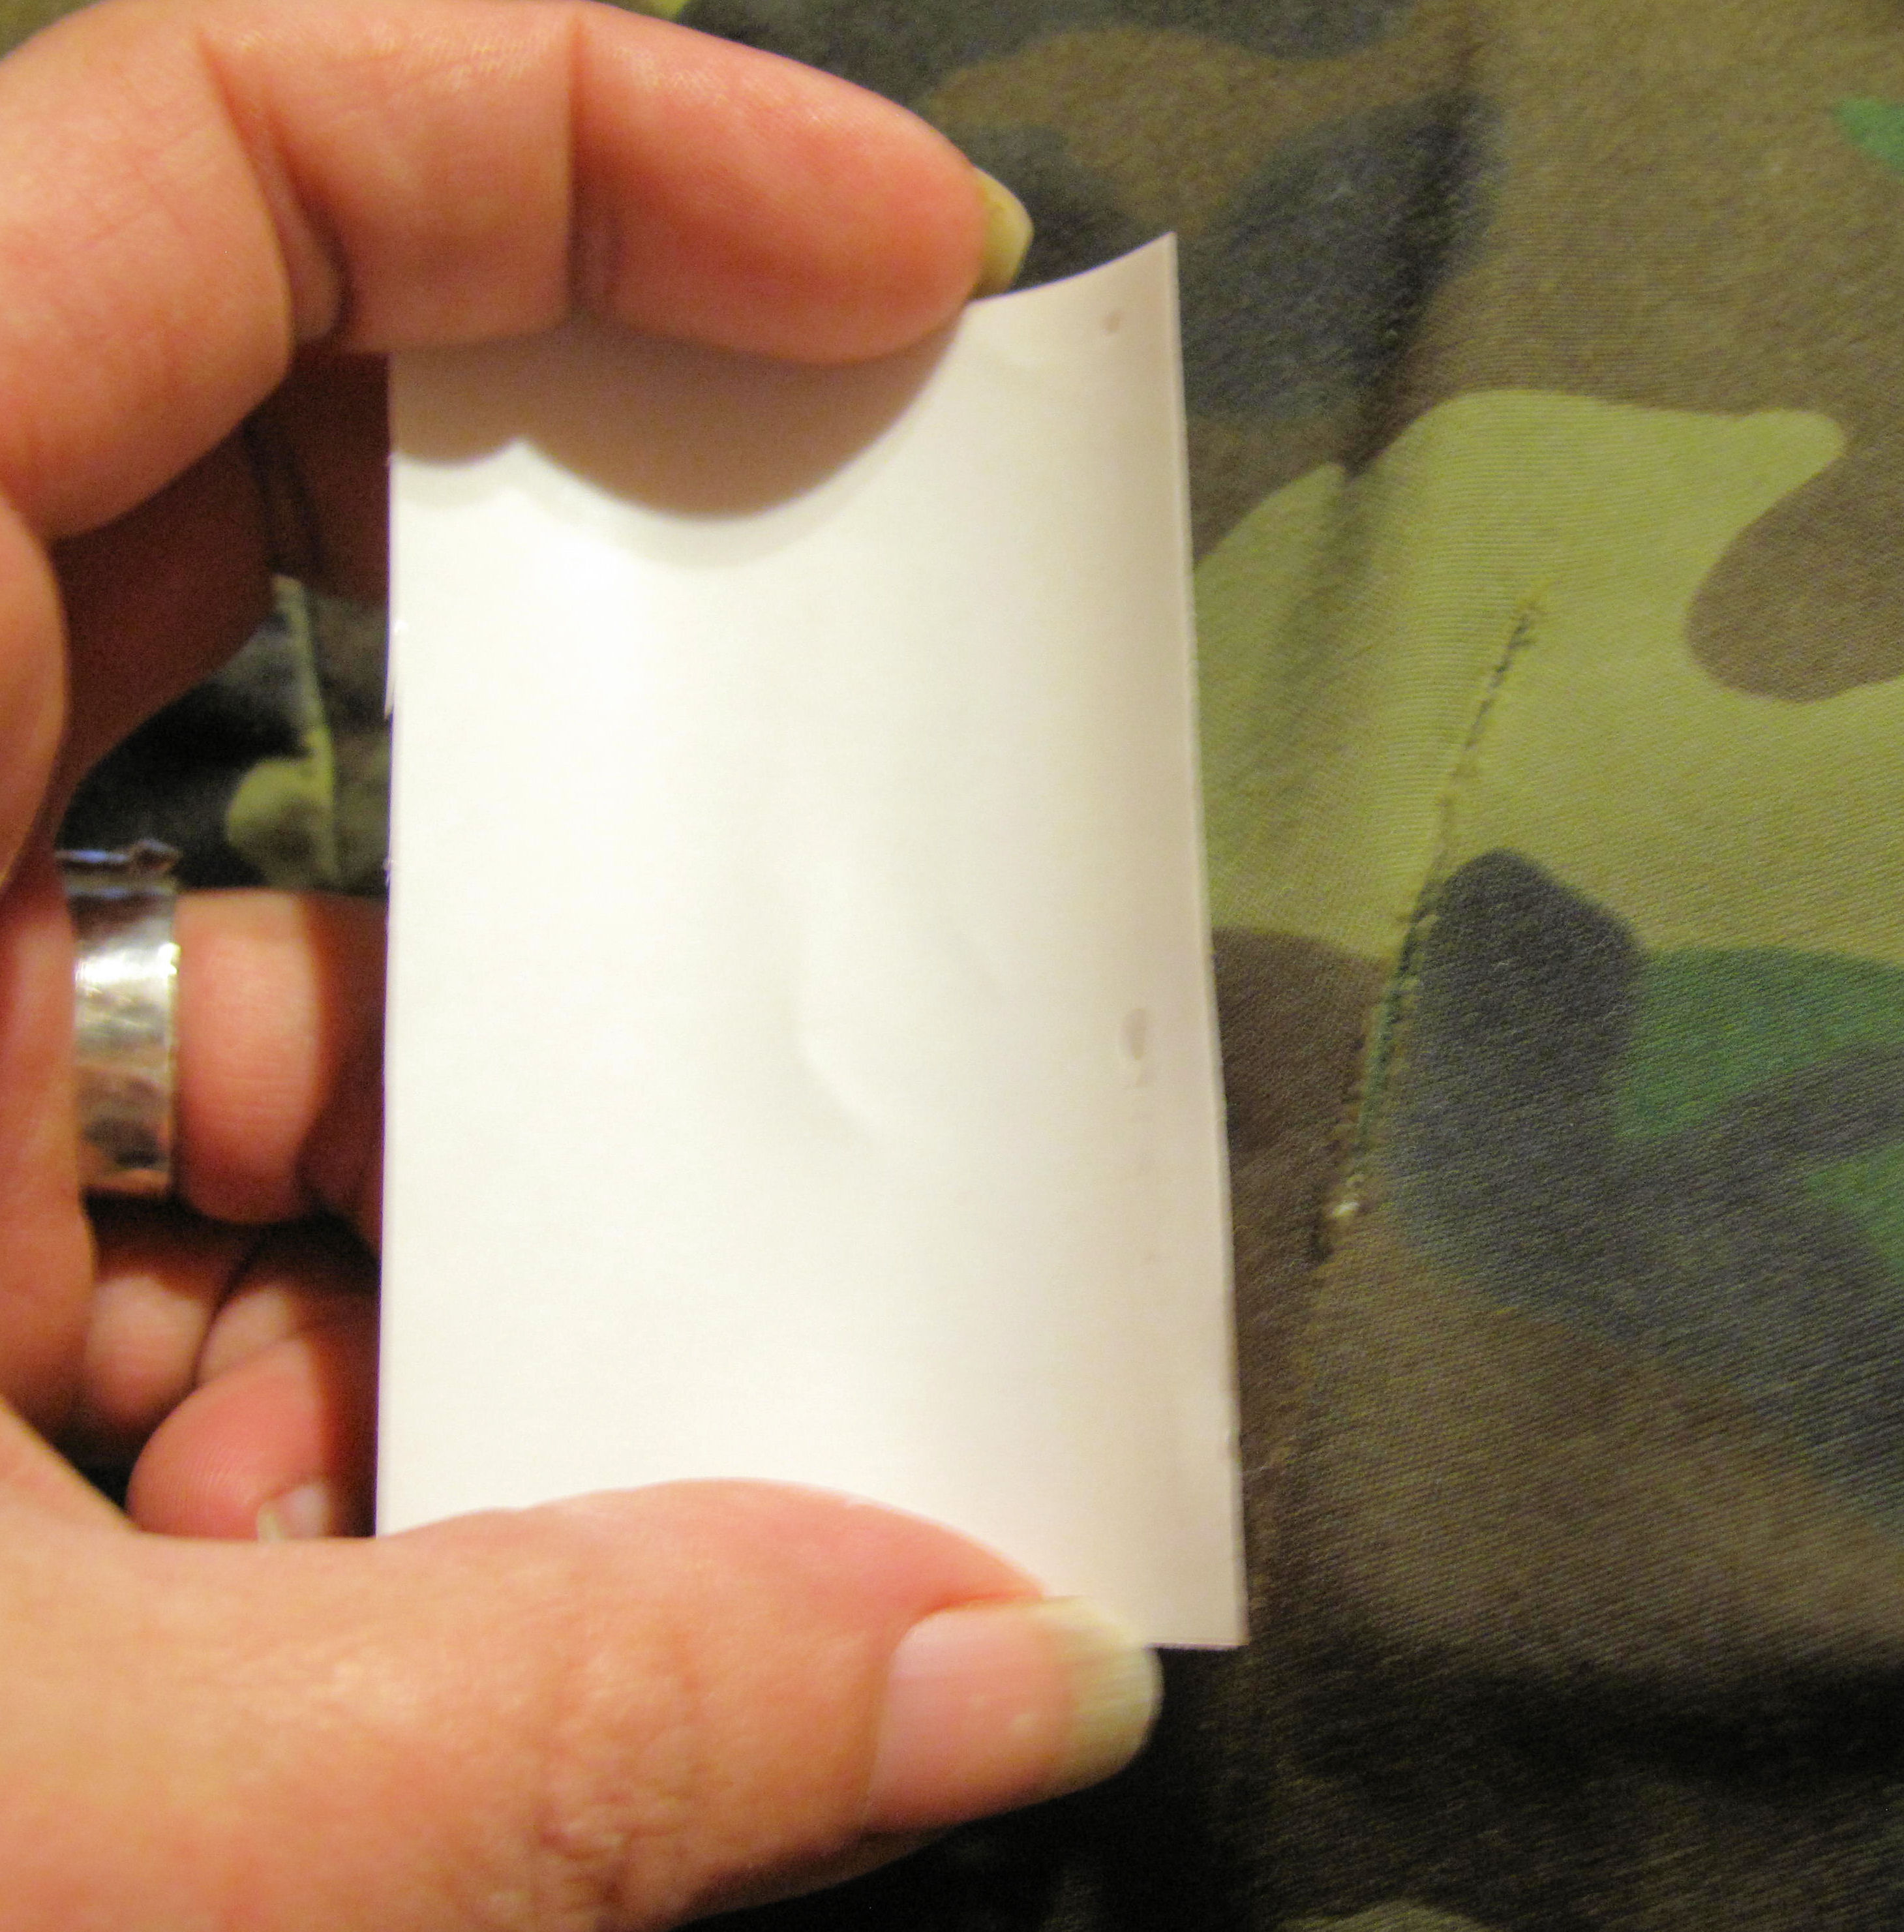
IMPORTANT NOTE: what you are repairing has to be DRY!!!
First you will want to cut off a piece that is at least ¼ inch longer on both ends of rip/tear. Next, to avoid corners that will peal you will want to trim this section of tape into an oval or at the very least round the corners (especially if it is a long rip/tear). Lay what you want on a hard flat surface, peel the tape away from its backing, bring the two pieces together and FIRMLY put that tape over the rip/tear and smooth down hard to make the bond. Personally I found a glass bottle with a rounded edge and went over it with that to make it smooth and to give a harder ‘pressing’ than my fingers could.
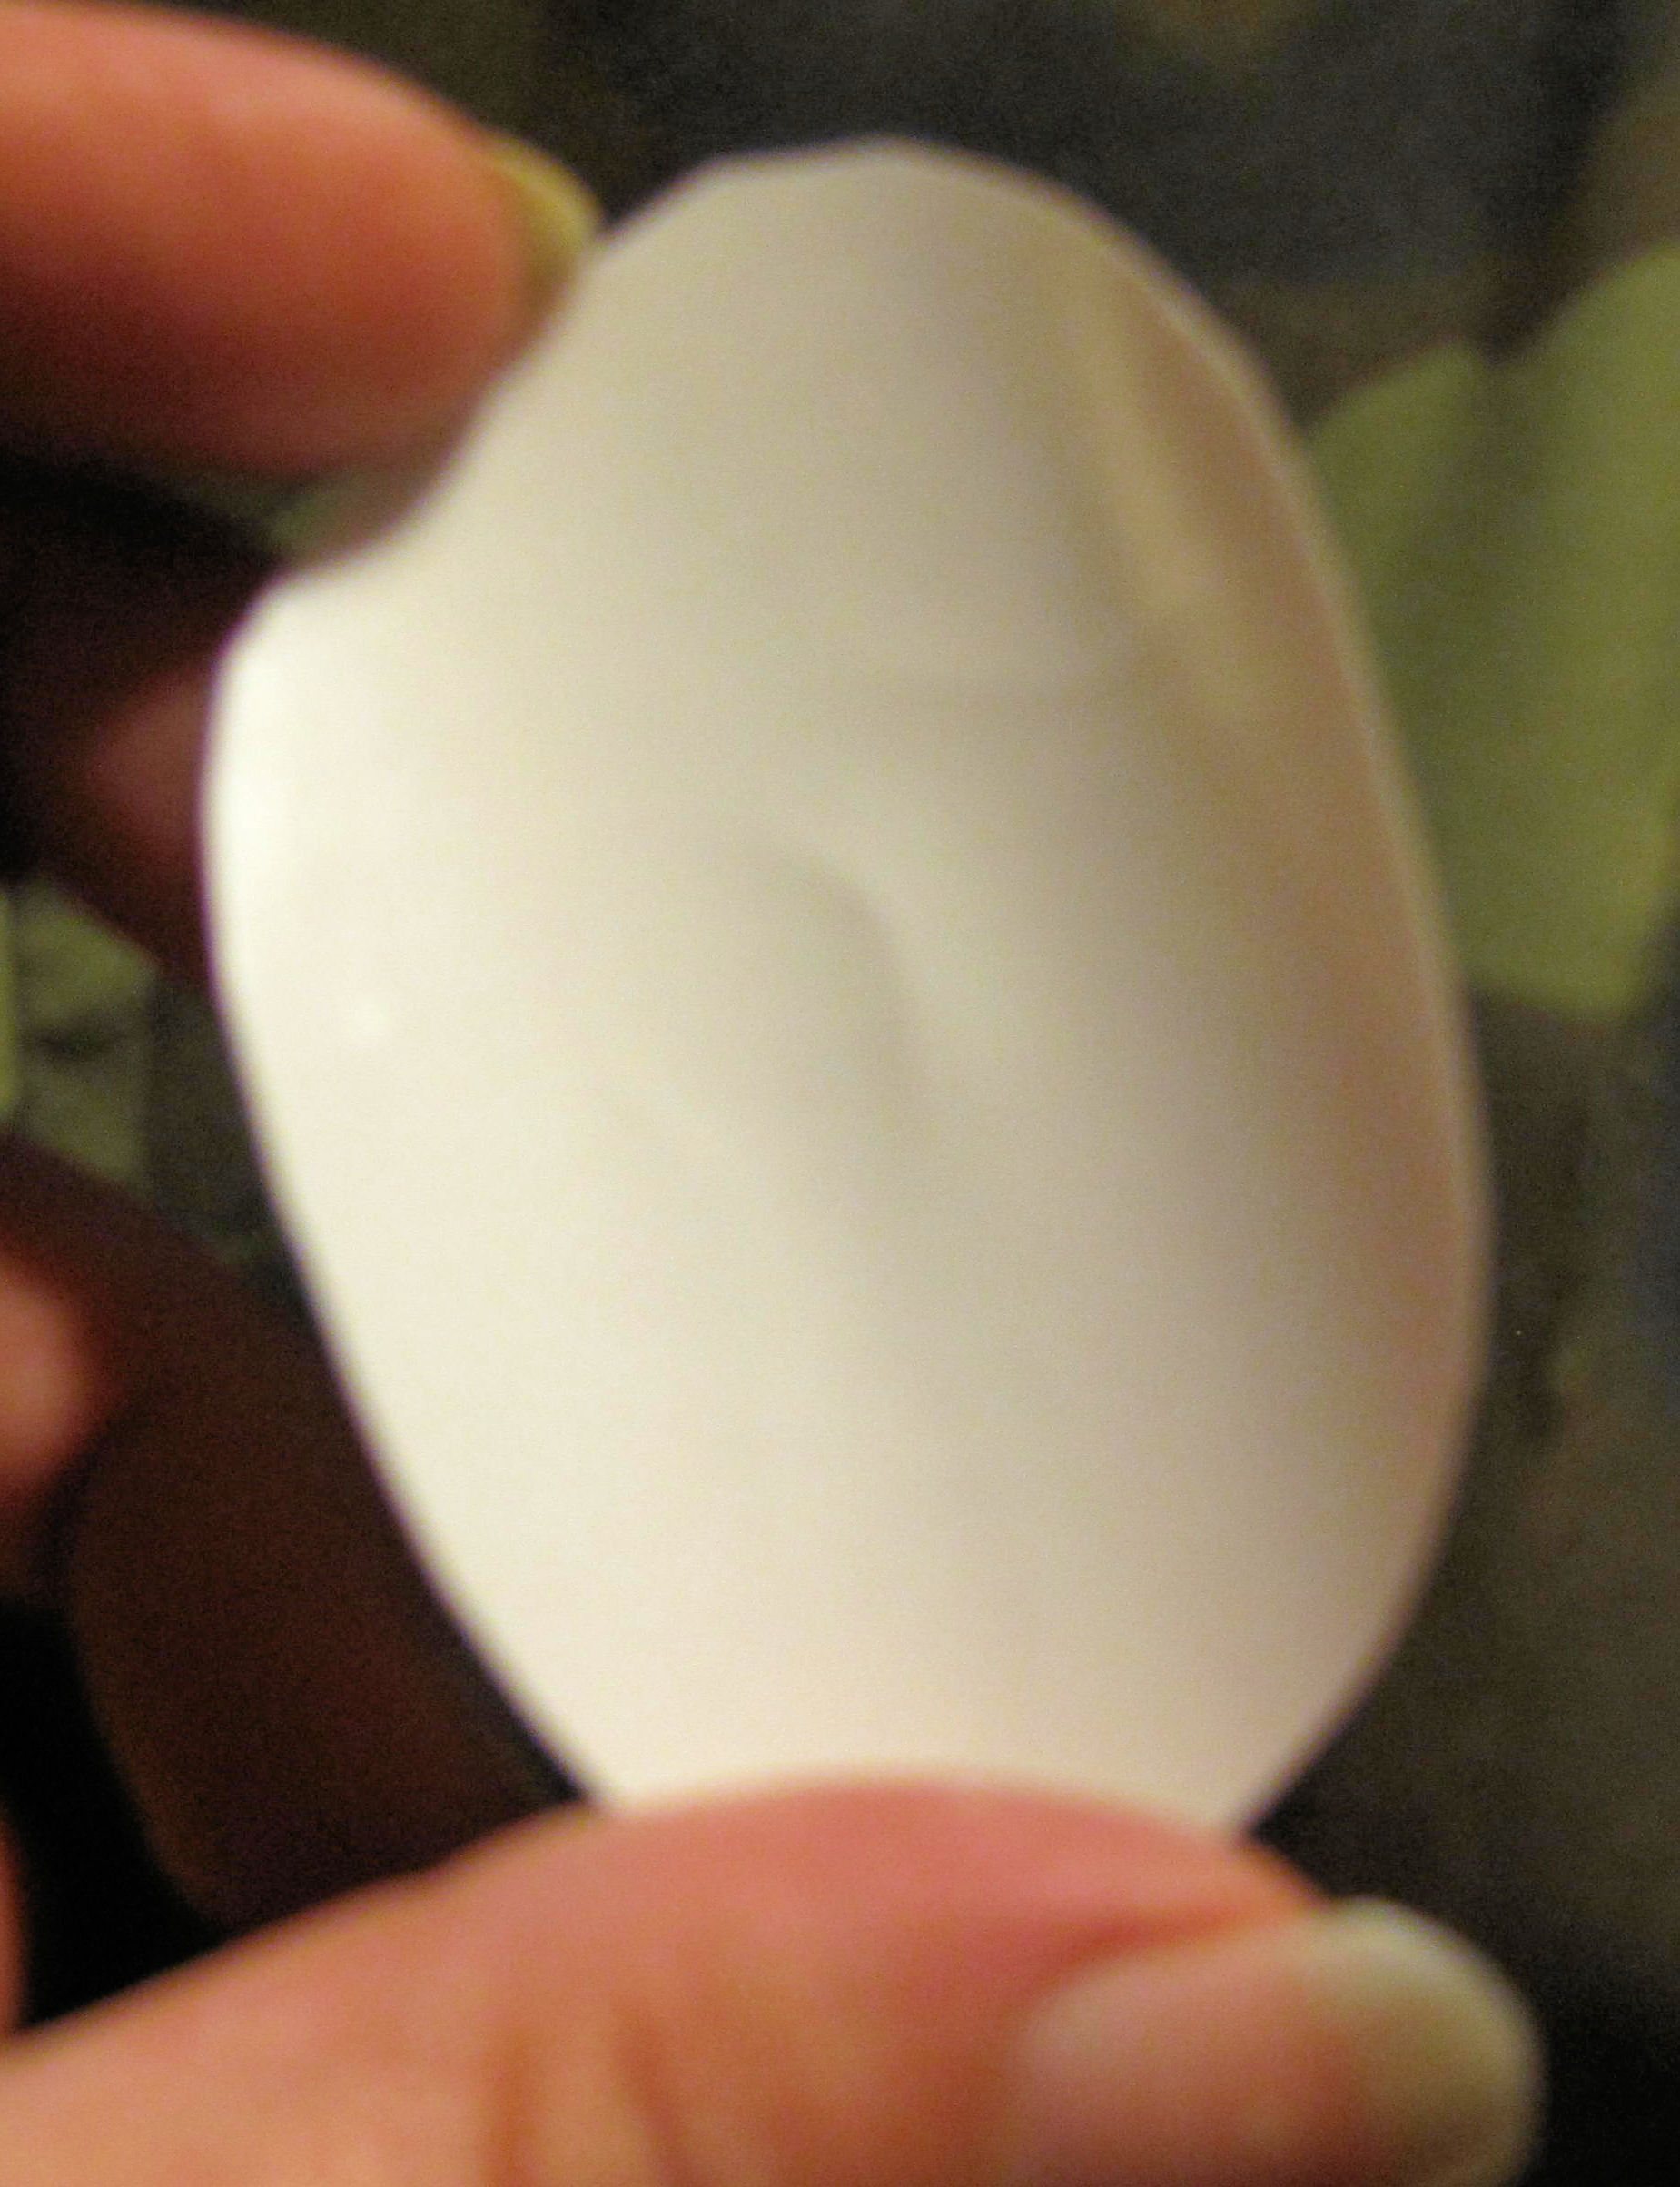
Bingo…repaired…it is a bit shiny and noticeable? as it is not REALLY clear tape but you know something? It WORKED. And I am thinking that after use/washing it will be even less noticable.

I have scratched at the tape, pulled, tugged and its staying PUT…knowing what I know about glues I am not washing it yet, but Vacreepinoutdoors will be wearing them out this weekend when we go ‘test’ our cold weather survival gear. Its supposed to rain and be cold so we shall see if it stands up to hunting, camping, sitting, and all that, but my guess is it will.
My only wish is that I could have gotten to the backside to reinforce the rip with another piece of K-Tape. People use this to repair tents and if that was my purpose I would do both inside and outside of the tent. Hmmm, I can see lots of applications outside of the woods…kids jackets, rain jackets…they say it works on fleece too (but use it on the inside for appearances sake).
So don’t throw that tent, frog togs, jacket, cover or whatever away! Repair it! Save yourself a lot of money and get the K-Tape…try it…it will make you a believer. And btw, this would be great to have in your bug out bag or camping/hunting pack…just in case!
As a side note, Vacreepinoutdoors and I, Survivingshtfmom, are teaming up to bring you live and in person lessons and hands on training to prepare, survive and thrive through Eastern Woodlands Prepared Survival School in central Virginia.

Winter Camping- Staying Warm Pt. 1 Clothing
Hypothermia during cold weather is probably more common than we realize… and CLOTHING is your first line of defense along with a little knowledge of how heat loss occurs.
I should know, went out hunting one early firearms season weekend, it was still about 40ish degrees and I am a warm person to begin with. Typically I get hot. It was overcast, chance of rain only about 20% and I dressed according to the weather forecast…just 3 layers, didn’t take anything for rain, no jacket, no coat, no hat, no gloves (blaze orange vest required!)…figured I would be good to go.
Yeah, sure…about ½ hour after settling in for the duration it started to drizzle, then rain…and don’t you know the temperature dropped too? Let me tell you something, I am a pitbull and won’t give up, but after getting pretty damp (not soaking) and handling the cold steel of the shotgun I use for hunting, with water dripping off the end of my nose…I started to feel the creepin’ cold setting in. About hour and a half of that (still raining off and on) I was down right cold and shivering. Still I sat there. DH was further down and finally called it a day (he was warm and dry btw having been ready for it if it came)…thank goodness…I didn’t realize until I stood up and started moving just how far down the road of hypothermia I had traveled, shaking like a leaf, a bit disoriented (in my own backyard!!!) and freezing cold to the bone. And did I mention my toes were numb? My clothing was only damp mind you, but my hands were frozen and fingers hard to move too, hair was wet and well…lesson learned. I actually went out the following day and bought a blaze orange water resistant, blaze orange hoodie…definitely warm and it is now my go to when I go out in the woods.
Soo…with that said…
#1 is clothing…dress for the weather and overkill is not a bad idea…you can always take things off but you can’t add enough if you get cold. Layers, water resistant, nylon, wool…and take extra with you just in case, especially socks. I also have a couple of different gloves I take with me, one pair is rather thin and another set is thicker. In this category I will include having the right socks and shoes. As VaCreepinOutdoors has pounded into my head lately, your feet is where most heat loss occurs. The thing about the head is a myth. Frankly I only wear a headband that goes over my ears and am just fine with that. And the ground is a heat sucker especially when damp or wet and its cold outside. Guess what touches the ground? Yep, your feet. I will say that cotton socks are a no go, wool socks, nylon are best. Cotton for the most part in the winter is a no go as it retains sweat which means heat loss.
Also, be mindful of your shoes. Unfortunately during this camping trip I chose to use my light weight hunting boots instead of my heavier ones, which turned out to be not so smart by the middle of the evening…toes were frozen after kneeling on the ground trying to get a fire going. Knees got damp and that was okay, I had some thermals on. But my right foot was resting on the ground (sole side up) so that the thinnest area on the boot was flat on the ground. Bingo…heat loss. And it was funny, but after those toes got cold the rest of my body started getting cold too. I wound up throwing on my heavy hunting coat on top of my hoodie, long sleeve shirt and jogging shirt that I like to wear when out and about (nothing like a bra to make life miserable!). And I will tell you something else…cold feet in cold boots next to a fire doesn’t work!!! I had thought to bring along some of those air activated hand warmers and wound up using those in toes of my boots, but those things took FOREVER to warm up, think it was about an hour or so before my toes unfroze. But more on those things later…
Got a bit of relief after taking my boots of for a short bit (long enough to stick the hand warmers into the toes of my boots) but put those babies back on…may have been better off leaving the boots off and putting my feet up close to the fire until the warmers were up and working.
I had my gloves with me but wound up still having to stick hands over the fire to warm the fingers up when I had to take them off to hook up sleeping bags…cold fingers and toes do not make for an easy evening of trying to get things done…walking is hard and dexterity goes out the door…
I wasn’t miserable camping in the cold but the experience taught me a few things about footwear and clothing…I had the socks right, but not the boots and definitely learned about heat loss due to the ground. Even slightly damp socks will suck the heat right out of you. Won’t be repeating those two mistakes again for sure. Waterproof, snow/winter boots, more than one pair of extra socks and making sure that I have a set of toe warmers open and ready to go if I even THINK that my feet are going to get cold. Also, I need to figure out some way of putting a barrier between me and the ground that easy and light weight to kneel on…VaCreepinOutdoors keeps some sort of oilskin cloth on him for that and think I have solved that problem.
Clothing wasn’t a real issue having been there done that one before, but I did try out a ‘new’ type of thermal leggings and I will tell you what, I think they would be good for spring or summer, but will be going with Columbia’s Omni-Heat or the old fashion type in the future. My legs weren’t cold, but they weren’t warm either.
At this point I will go over signs of hypothermia just so you can be aware…its not fun nor pleasant as I can attest to personally.
Signs of Hypothermia:
Hypothermia is most often caused by exposure to cold weather or immersion in a cold body of water. Primary treatments for hypothermia are methods to warm the body back to a normal temperature.
Shivering is your body’s automatic defense against cold temperature — an attempt to warm itself. Constant shivering is a key sign of hypothermia. Signs and symptoms of moderate to severe hypothermia include:
• Shivering
• Clumsiness or lack of coordination
• Slurred speech or mumbling
• Stumbling
• Confusion or difficulty thinking
• Poor decision making, such as trying to remove warm clothes
• Drowsiness or very low energy
• Apathy or lack of concern about one’s condition
• Progressive loss of consciousness
• Weak pulse
• Slow, shallow breathing
More on hypothermia here.
So, essentially clothing and the right TYPE of clothing for the weather is your best friend when going out in the woods. I did bring extra clothing just in case (that’s the nice thing about planned camping) but no true rain gear such as Frog Togs…an oversight on my part that luckily didn’t cause me any problems. So, lessons learned, mistakes not to be repeated (hopefully). Hope you get something useful out of this!