

Dehydrating Tomatoes
This is the year that I decided to become ambitious in my gardening, well, new raised beds were built, great soil mix put in, plants carefully selected (will say that after a disastrous year previously with heirlooms I went half with hybrids and half heirlooms) and put into the ground. But that is another story for another time. Last year was extremely hot and dry, bad crops…this year we were blessed with too much rain and cooler temps. My mother had mixed results with her tomotoes but she planted about 12 of them and its just her eating them, so she has some for dehydrating. Me, I only planted 4 and they took off great, then the rain came and came some more…got one good round of smaller tomatos which took forever to ripen and now the plants look like drowned cats…seriously, but that story and some ideas are for another post. I only mention this because I broke down and went to the store looking for some decent deals on tomatoes for dehydrating for use this winter. Got lucky and found different ones for between .99 and 1.39 a pound (yes, that much even though I live in the heart of tomato country the rain has caused massive crop failure of a lot of plants). So biting the bullet I purchased about 11 lbs of tomatoes, average cost of about 1.05 a pound.
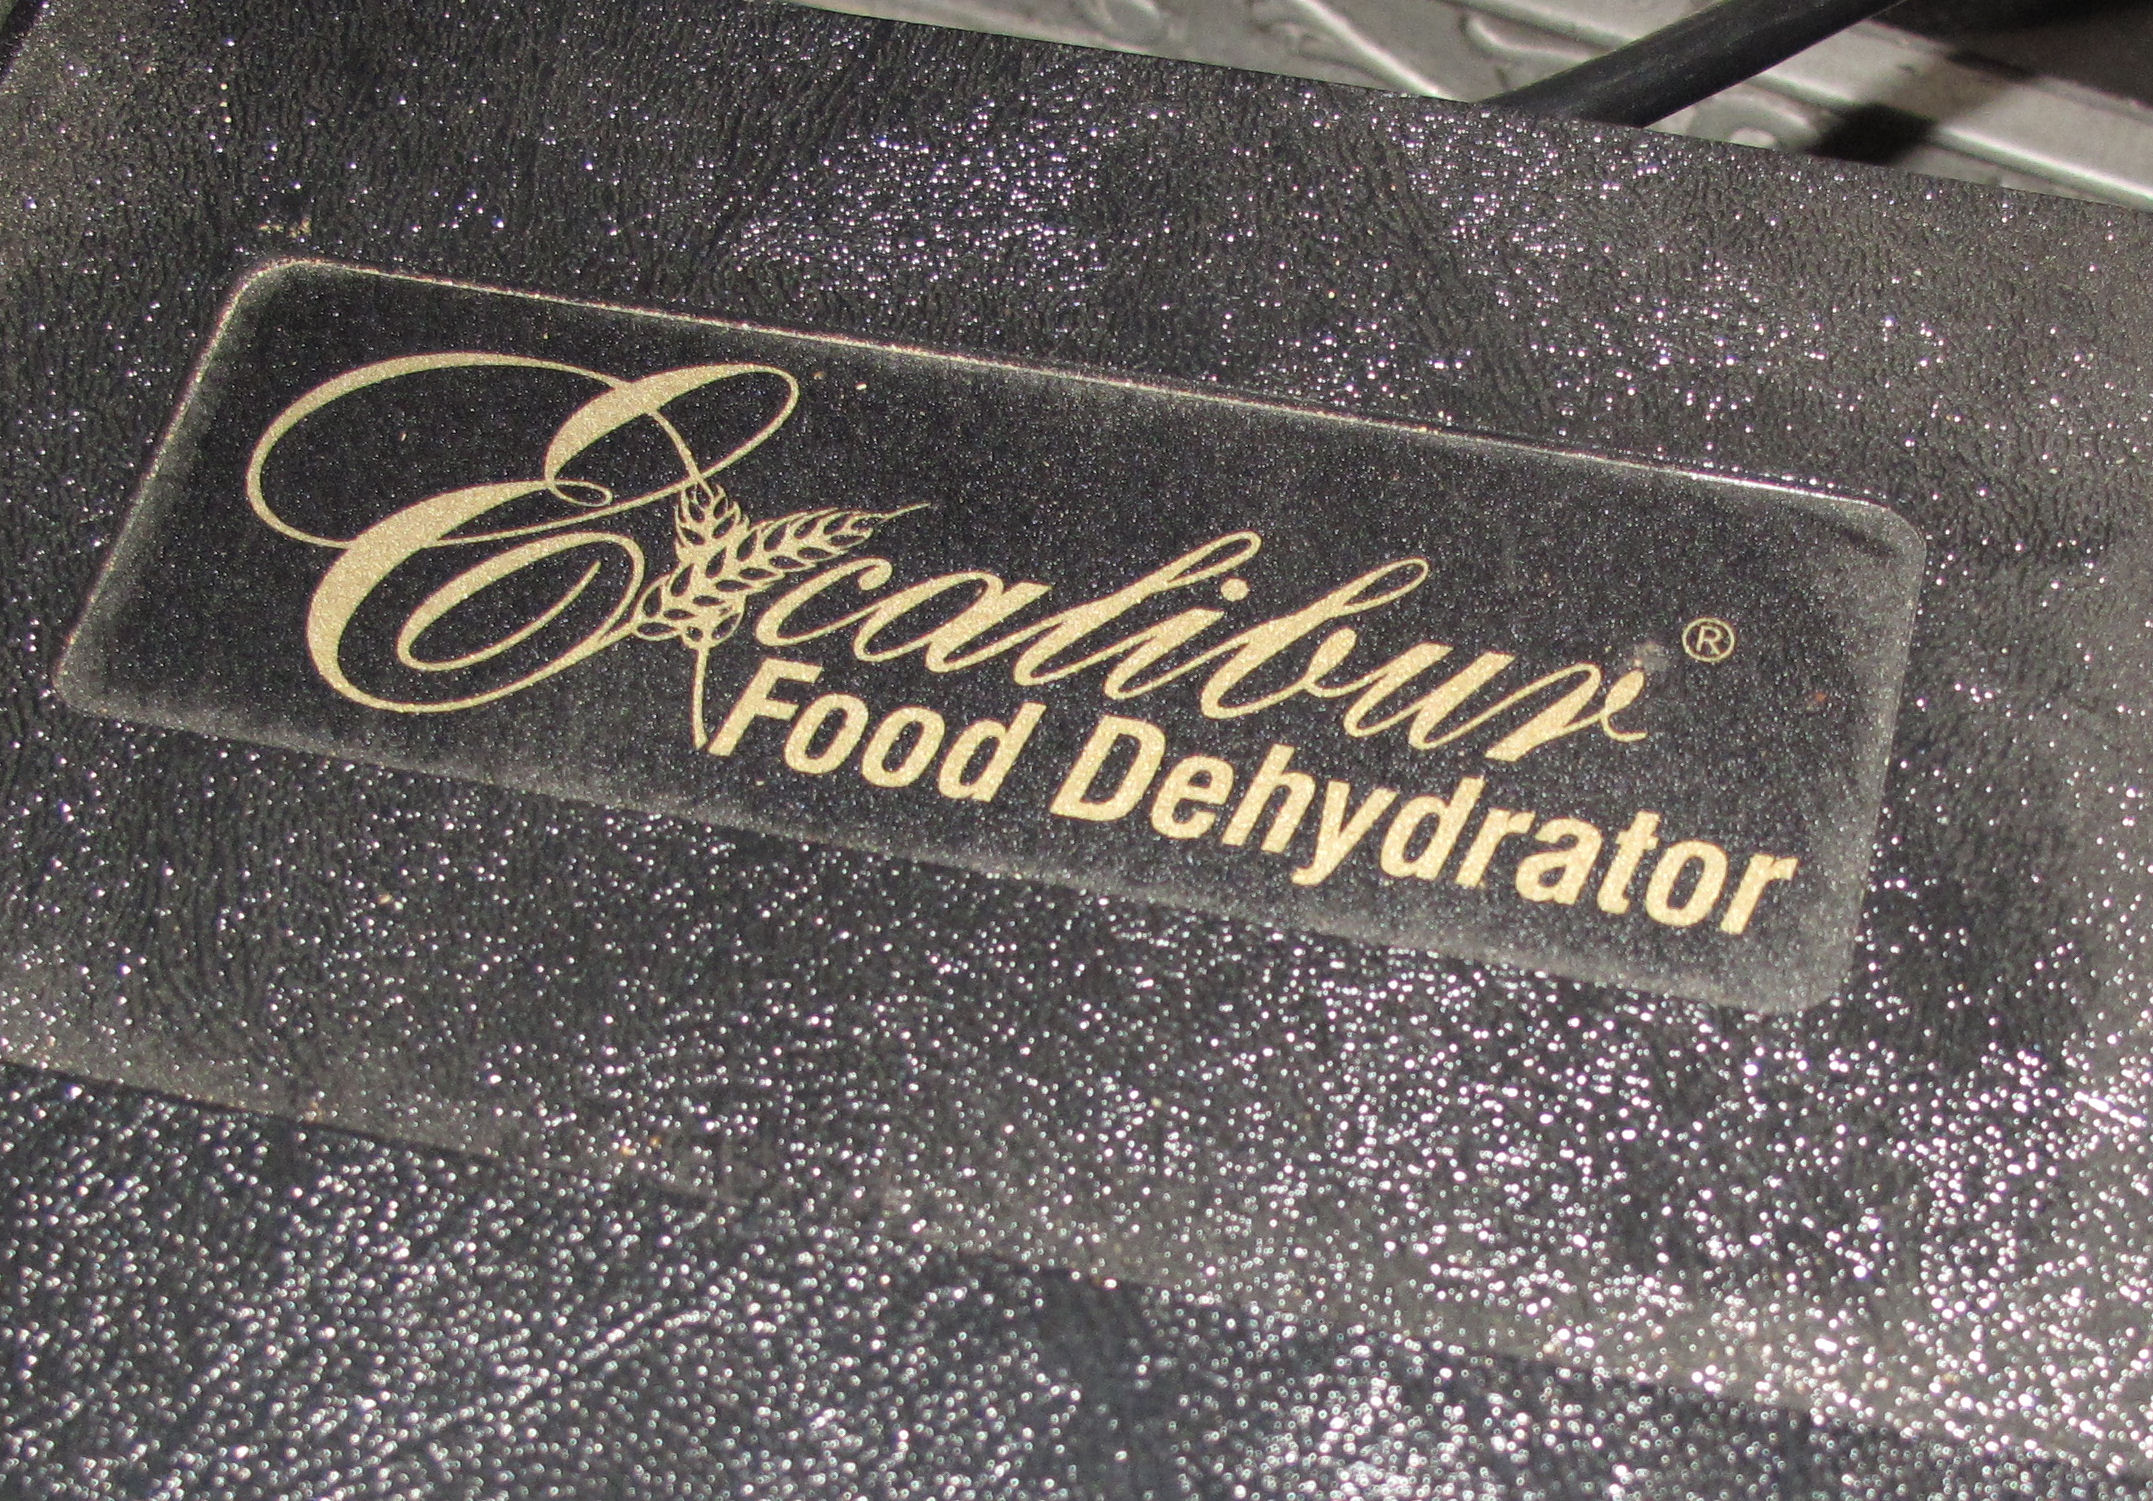
In years past I have thinly sliced my tomatoes and then placed them on racks (I had an old round dehydrator that was labor intensive and not very good) stacked 5 high and plugged in to let it work. It was constant checking, moving tomato slices or chunks around, they stuck, broke…lets just say it was a nightmare and not fun at all. Some burned, some fell to pieces…arghh…what is the point in dehydrating if you have to do so much work and still wind up with something that is not good? Cheap is not necessarily the best way to go…so last summer at the end of the summer I broke down and purchased an Excalibur Food Dehydrator. Did my research on which one to get as some are really fancy and large and others are very plain jane. I settled on one with temperature control (mostly due to the fact that the little cheap round dehydrators dry at one temp causing more work than I wanted to put in) and 5 racks. More research into this I also purchased some solid drying sheets and while not the ones that Excalibur makes (thin silicone that supposedly lasts for ever but apparently don’t and are hard to clean, etc.) but an off brand that is much cheaper…harder to wash without crimping the sheet, but cheap…Made all sorts of things last fall including fruit roll ups that lasted about two seconds in my house. I was very happy with the purchase and Excalibur lives up to its reputation, so if you can, do get one, and no, Excalibur is NOT paying me, I just like it for its ease of use, clean up and the fact that I can easily control the temperature with ease. Cut, place and walk away basically…
This year I decided to try something different with the tomatoes on the advice of my mother who has dehydrated for years…first off, to prevent your tomatoes from sticking (and they will!) lightly spray or coat your racks with olive oil or something other oil that will not go rancid in a high temperature setting for a short period of time…olive oil is your best bet. And YES, I know ‘they say’ not to use ‘fats’ when dehydrating because they go rancid or someother goobly gook…I will put it this way to you, I know quite a few people who have dehydrated in my family and NO ONE HAS HAD AN ISSUE with using oil on their sheets or trays to date and my family has been dehydrating and preserving for generations. My own ‘need’ to ‘follow the rules’ resulted in a lot of wasted time, effort and energy, so, BREAK THE RULES!!!

Get your tomatoes ready by thoroughly cleaning them and then slicing THICK…about ½ inch thick. Now what size or shape you choose to finish cutting them up…sliced, diced…your choice, I chose to ‘dice’ them in about 1 inch chunks or so since my primary purpose will be adding to soups and such later on. Dehydrated sliced tomatoes would be best suited to casseroles, pizza or eaten like ‘tomato candy’ (dried tomatoes are VERY SWEET).

11 lbs of tomatoes took up every inch of the 5 racks I have available to me once diced up in 1 inch by ½ inch cubes/pieces. I layer one rack and then put it in the dehydrator (not running at this point). Keep doing this until you have filled your racks. By the way, I suggest NOT cutting everything up but cutting as you fill the racks, this way you do not have produce leftover that is cut up and no place to put it to dry.

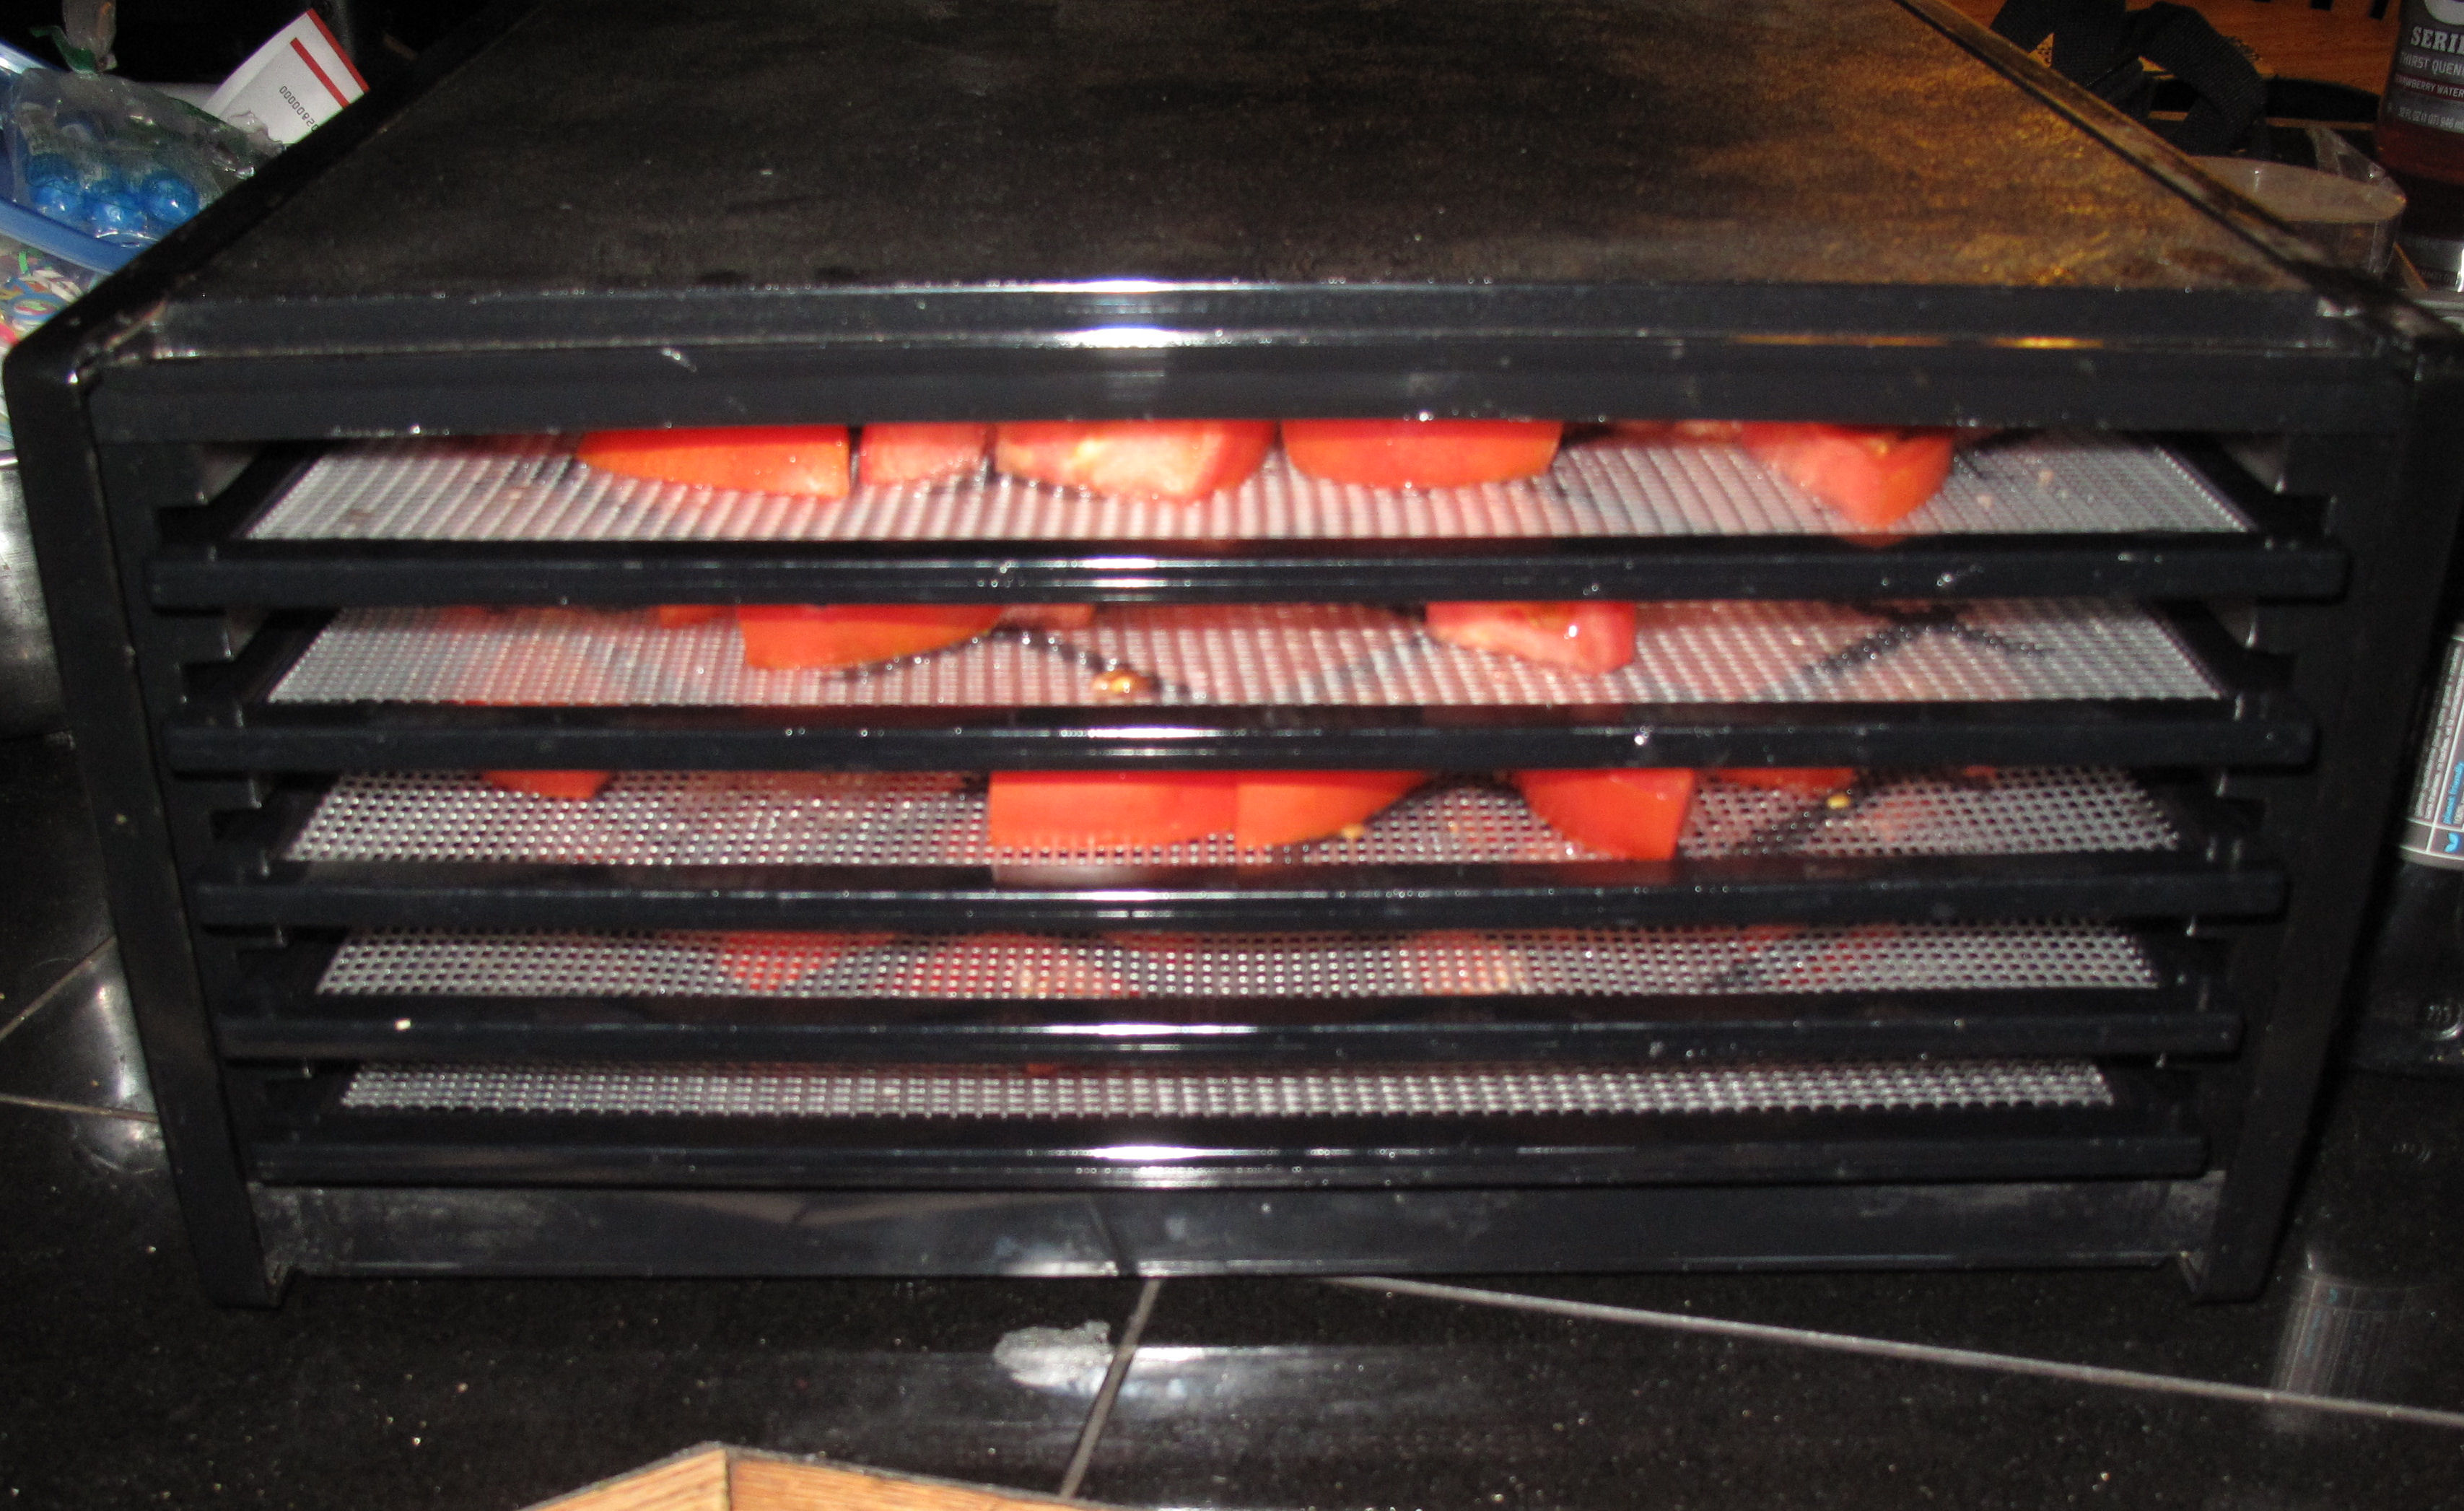
With all 5 FULL (and again, I am breaking the rules, ‘they say’ NOT to allow things to touch, make sure you have enough space around your material that you are drying to allow ‘proper air flow’…ugh…time for the real world please!) and yes, they are close or touching…I put the door onto the dehydrator, set the temperature dial to 125 degrees (which is what is recommended for veggies and yes, I have found this to be ‘right’ otherwise they will ‘burn’) and walk away for the next 12 hours. Did not open the door or check on things until I woke up the next morning and this is what I found….


At this point I did switch the racks around taking the top and bottom racks to the middle rack area and the middle racks to the top/bottom. This does help with the dehydrating process especially if your dehydrator is full like mine was. Put the door back on and walked away again until after dinner (about another 12 hours) and found this…
NOW they are really starting to dry and I simply took my fingers and moved them around flipping them in a general way (not all were flipped…this not an exact science). Walked away until I was ready for bead and came back to the dehydrator. At this point, drying was well on its way and I took two racks out, put them on the counter top and added the remaining racks of the tomatoes still in the dehydrator to the two on the counter top leaving me only TWO racks to put back in, one near the top and one near the bottom. Yes, I combined the racks! With the tomatoes half dried and much smaller than originally started with you can do this and it really helps with finishing up the drying. Racks back in and off to bed I went.
Next morning I was pleased to find that my thickly diced tomatoes were done!
Nice and sweet, ready to cool off. Now that is important to make note of…allow your freshly dehydrated items to thoroughly cool off BEFORE packing, if not, you will wind up with condensation and the resulting mold and spoilage due to moisture!
With 11 lbs of tomatoes I wound up with less than half a quart zip lock baggie of dried diced tomatoes, ready to be sealed up and used at a later date.
It seemed to take a really long time (36 hrs) to dry these tomatoes, but keep in mind times for dehydrating will vary depending up the fruit/veggie used, thickness and humidity in the air (very humid in my house right now with all the rain). So, if you are thinking checking only every 12 is a long time, then check every 4 or 6 if you wish until you get comfortable with the process and learn to trust the process. But keep in the mind, the more you open the dehydrator, the longer it will take.
Enjoy trying out making your own dehydrated tomatoes this year!

Great Blog I was only talking out dehydrater today as I am growing around 150 tomato plants and really would like to preserve as many as possible by drying. I do make relishes, sauces etc but love love love sun dried toms. Thanks for sharing.
I love the dehydrator that I have, the little ones are okay, but the Excalibur is worth its weight in gold! I am thinking about trying out making truly sun dried tomatoes, but with all the rain and humidity as of late…that may have to wait! but doing the tomatoes this way makes them TASTE like sundried tomatoes 🙂 enjoy!
Thanks Laura I will have a look on the web. Happy gardening